
 Production of French Bonsai


Many beginners in the art of bonsai want to train their first trees from seedlings. Let's face it, this technique is considered the royal road to forming potted trees, and while it has many advantages, it is still long, very technical, and sometimes tricky to implement.
For more than 30 years, we have been growing trees to make bonsai trees in our nursery, many of which are grown from seedlings. We don't consider ourselves experts in this field, but we have a certain experience and above all the necessary hindsight to give you advice that will save you time and avoid some mistakes.
Why start from a seedling to form a bonsai?
There are many ways to create a bonsai. Buying a seedling from a garden centre, making a marcotte, taking a tree from the wild only takes a few years of work to obtain a bonsai.
Other techniques, such as sowing or cuttings, will require years of cultivation and patience, but they also have advantages that make it possible to create beautiful bonsai trees.
In this article, we will talk about seedlings, but most of the information is also valid if you want to start from a cutting. You simply skip the sowing stage and start directly from a seedling.
Why is training a bonsai from seed considered the royal road to bonsai? Because you have near-total control over the entire development of the tree. You are the one who will decide the shape of the trunk, the position and orientation of the branches, etc.
On the other hand, when you start with a garden center plant, or a yamadori, you have to make do with what you have. You can rarely correct certain structural defects.
In Japan, some nurseries specialize in seedlings. That's all they do, and when the plant starts to grow, a new nursery will take over, bringing it to the pre-bonsai stage. Then, there is usually a third nursery that will work on refining the tree, and give it the status of bonsai.
Why such segmentation in the training process? Because each of these steps is highly specialized and technical, in order to obtain high quality bonsai (capable of obtaining an award in exhibition).
But that doesn't mean you should be discouraged. Stay humble, because for many of you, bonsai is just a hobby. You'll definitely make mistakes on your first seedlings (and we've made some too), but that's okay. You'll still be proud of having made them yourself!
Choosing the right seeds
So it all starts with a seed, which you can buy from specialist dealers or simply pick up in the wild. To optimize your chances, it is best to collect the mature seeds directly from the tree, on the highest branches. That's where the most vigorous ones are.

An essential point to clarify: bonsai seeds do not exist. What makes a bonsai is the techniques applied and not the choice of a particular species that will give you a small tree as if by magic.
When making your seed selection, keep these 3 points in mind:
- While you can theoretically make a bonsai with almost any woody plant (i.e. a wood-growing plant), in practice some are more suitable for bonsai than others. You can have fun sowing whatever you want, but if you're looking to get a good result, stick to the classic;
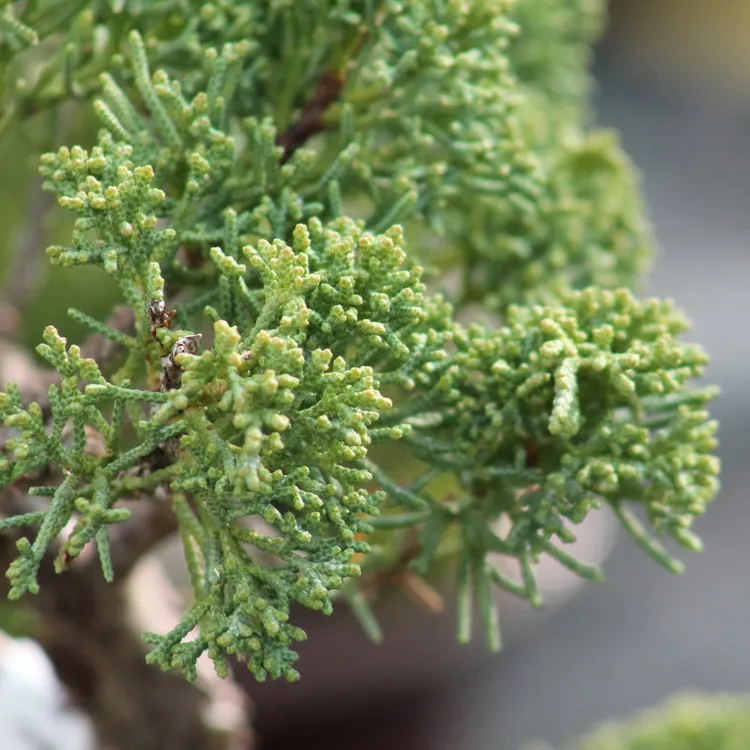
- There are also species that are not easy to germinate, and that are easier to propagate by cuttings (e.g. juniper). Others grow very, very slowly, and may make you lose patience (such as oak, ginkgo biloba);
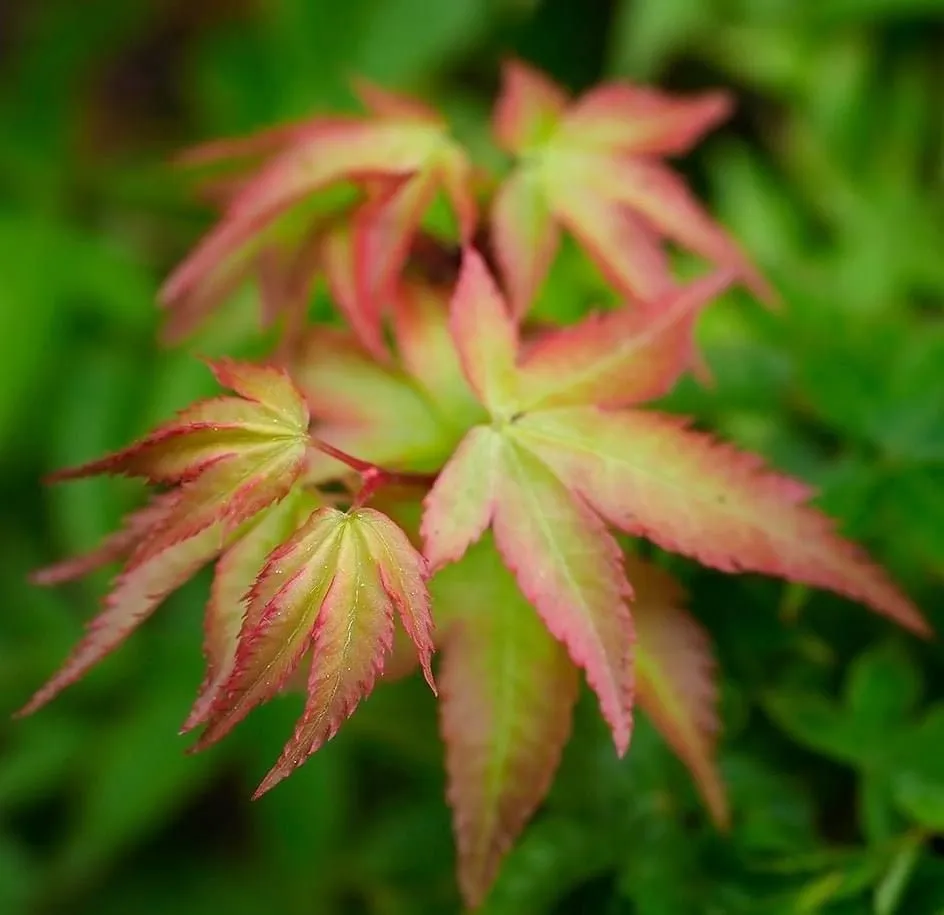
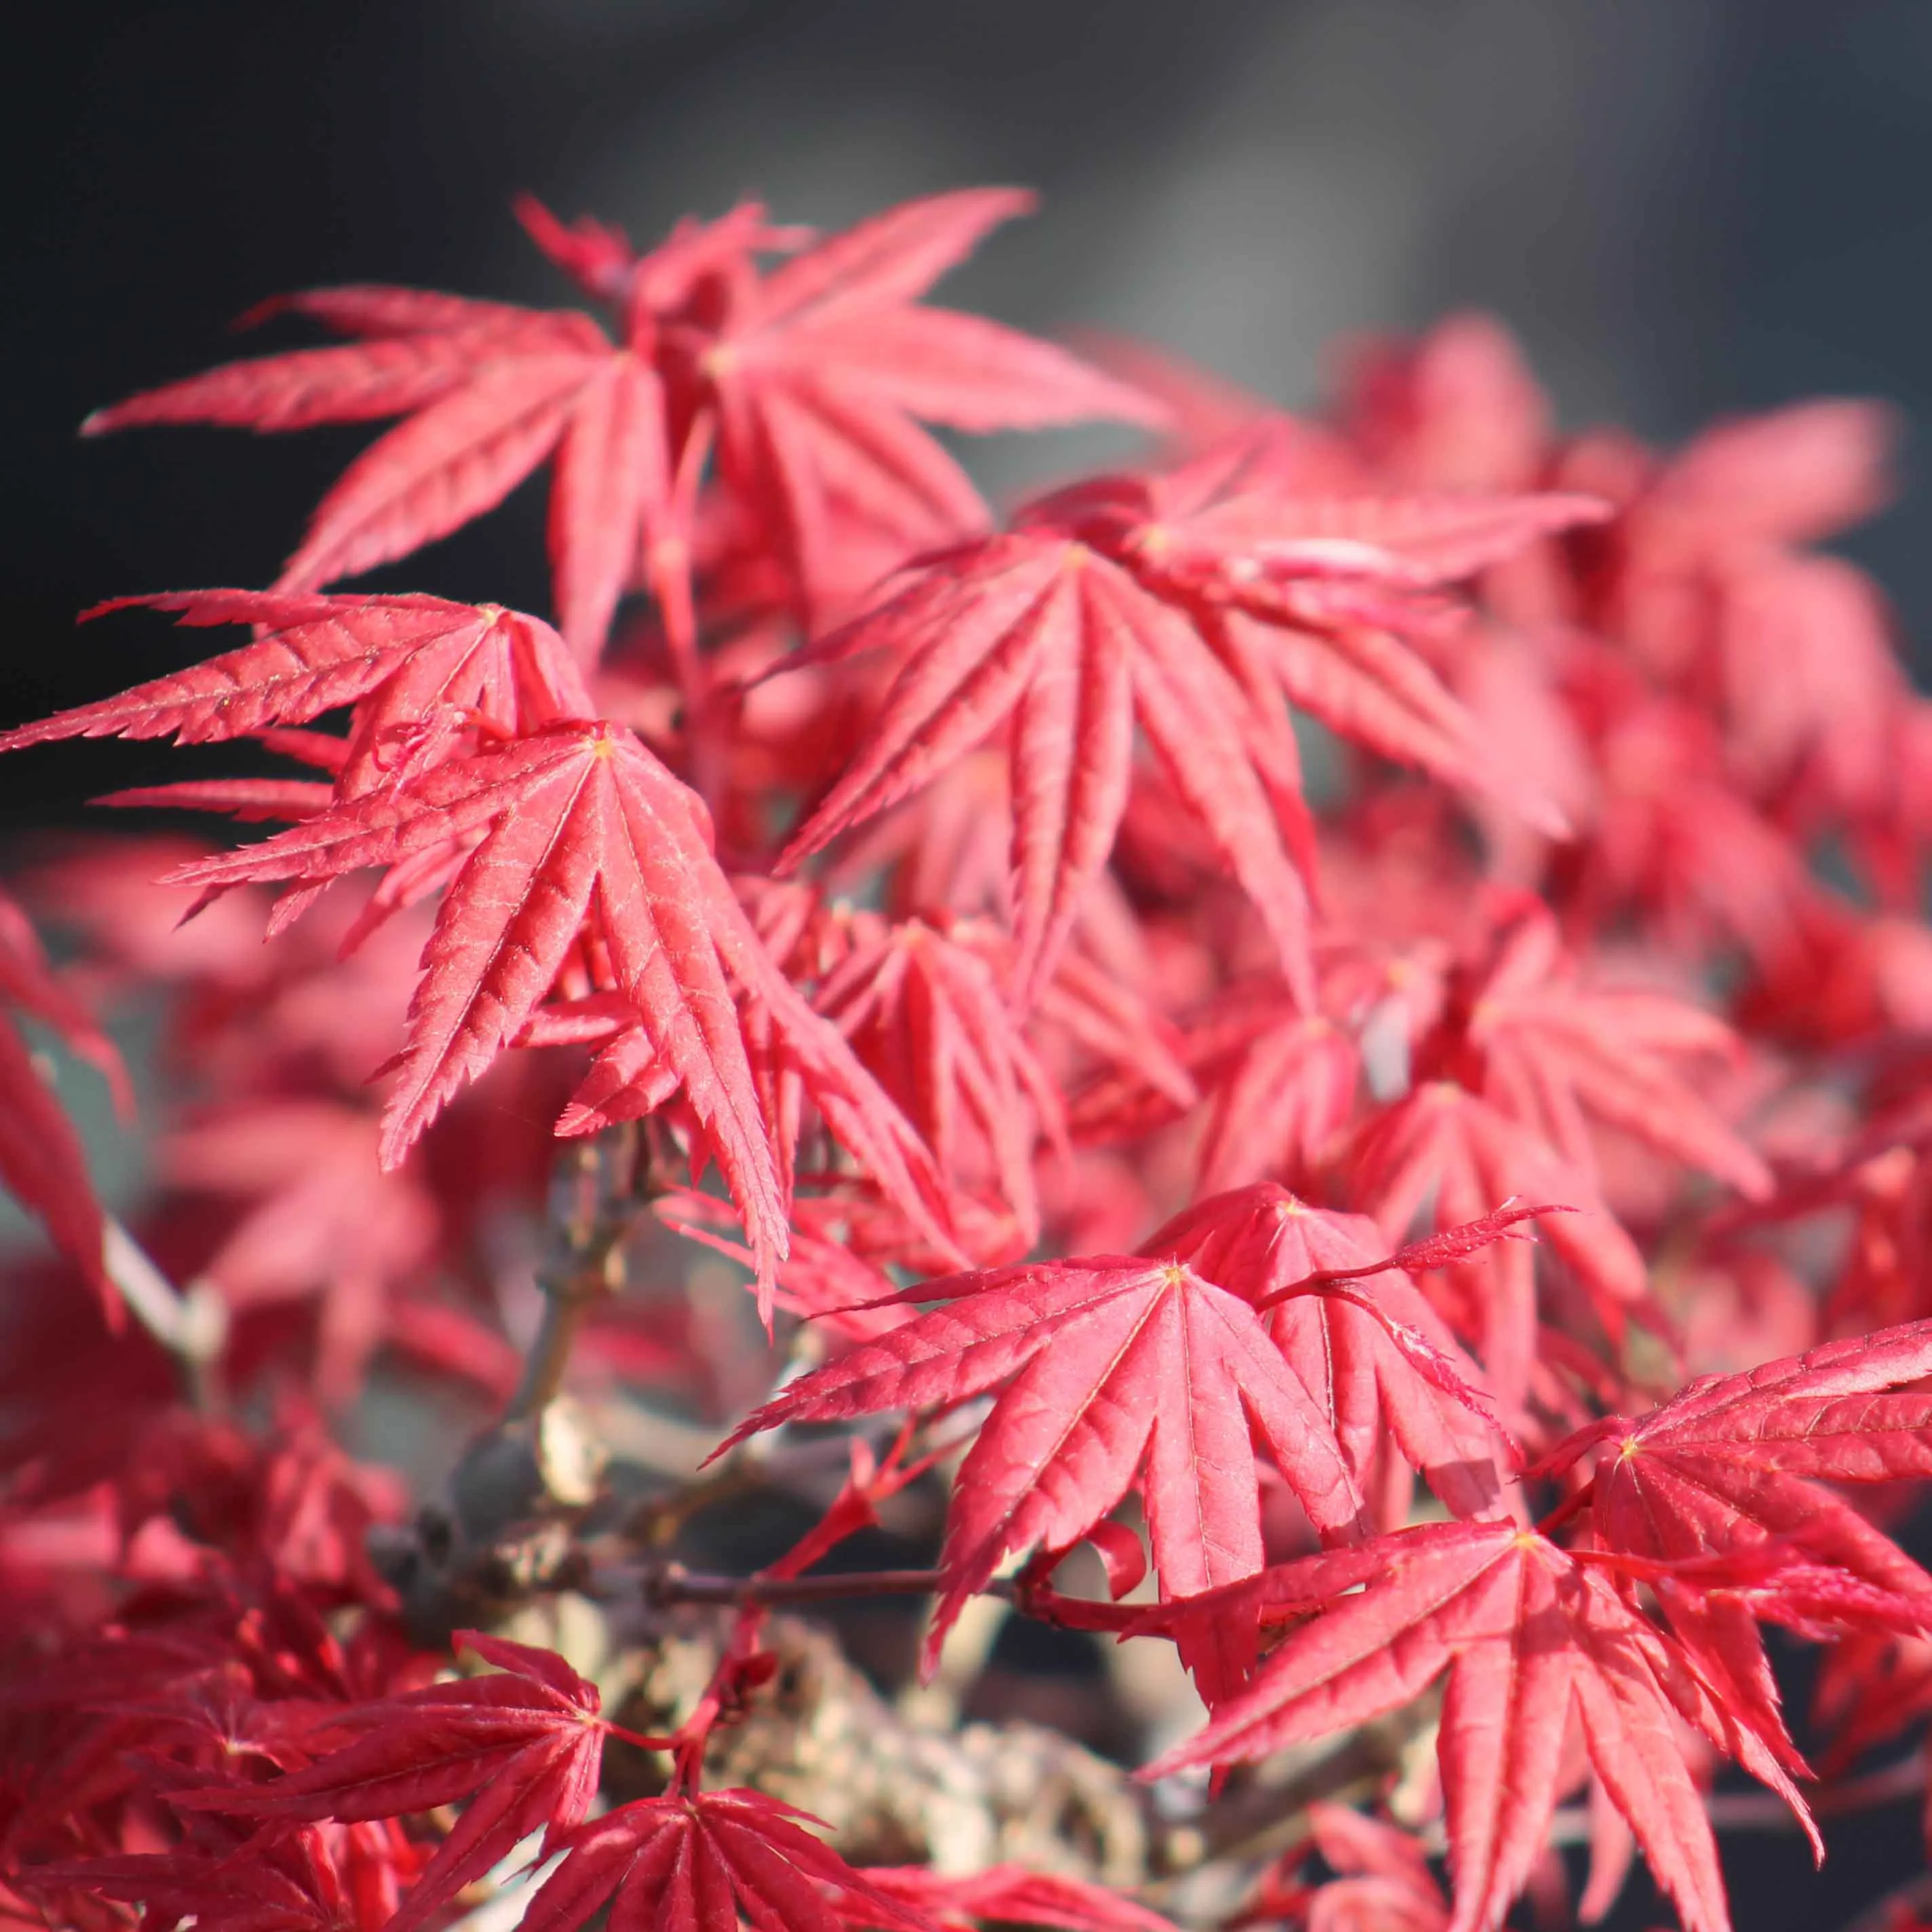
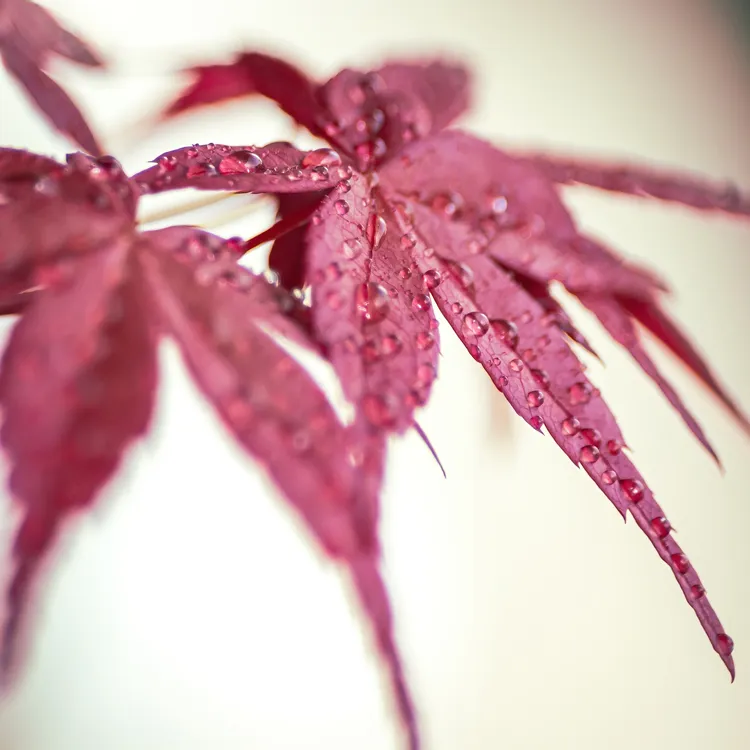
- When you sow a grafted variety, you will fall back on the stem variety. Many cultivars of Japanese maple are grafted; by germinating their seeds, you'll return to the base Acer Palmatum.
For best results, choose trees that grow near your home. Walk in the forest, in the parks, look at those that grow in their natural state or that are used as ornaments. These are the ones that will grow best and with which you will have fewer growing problems.
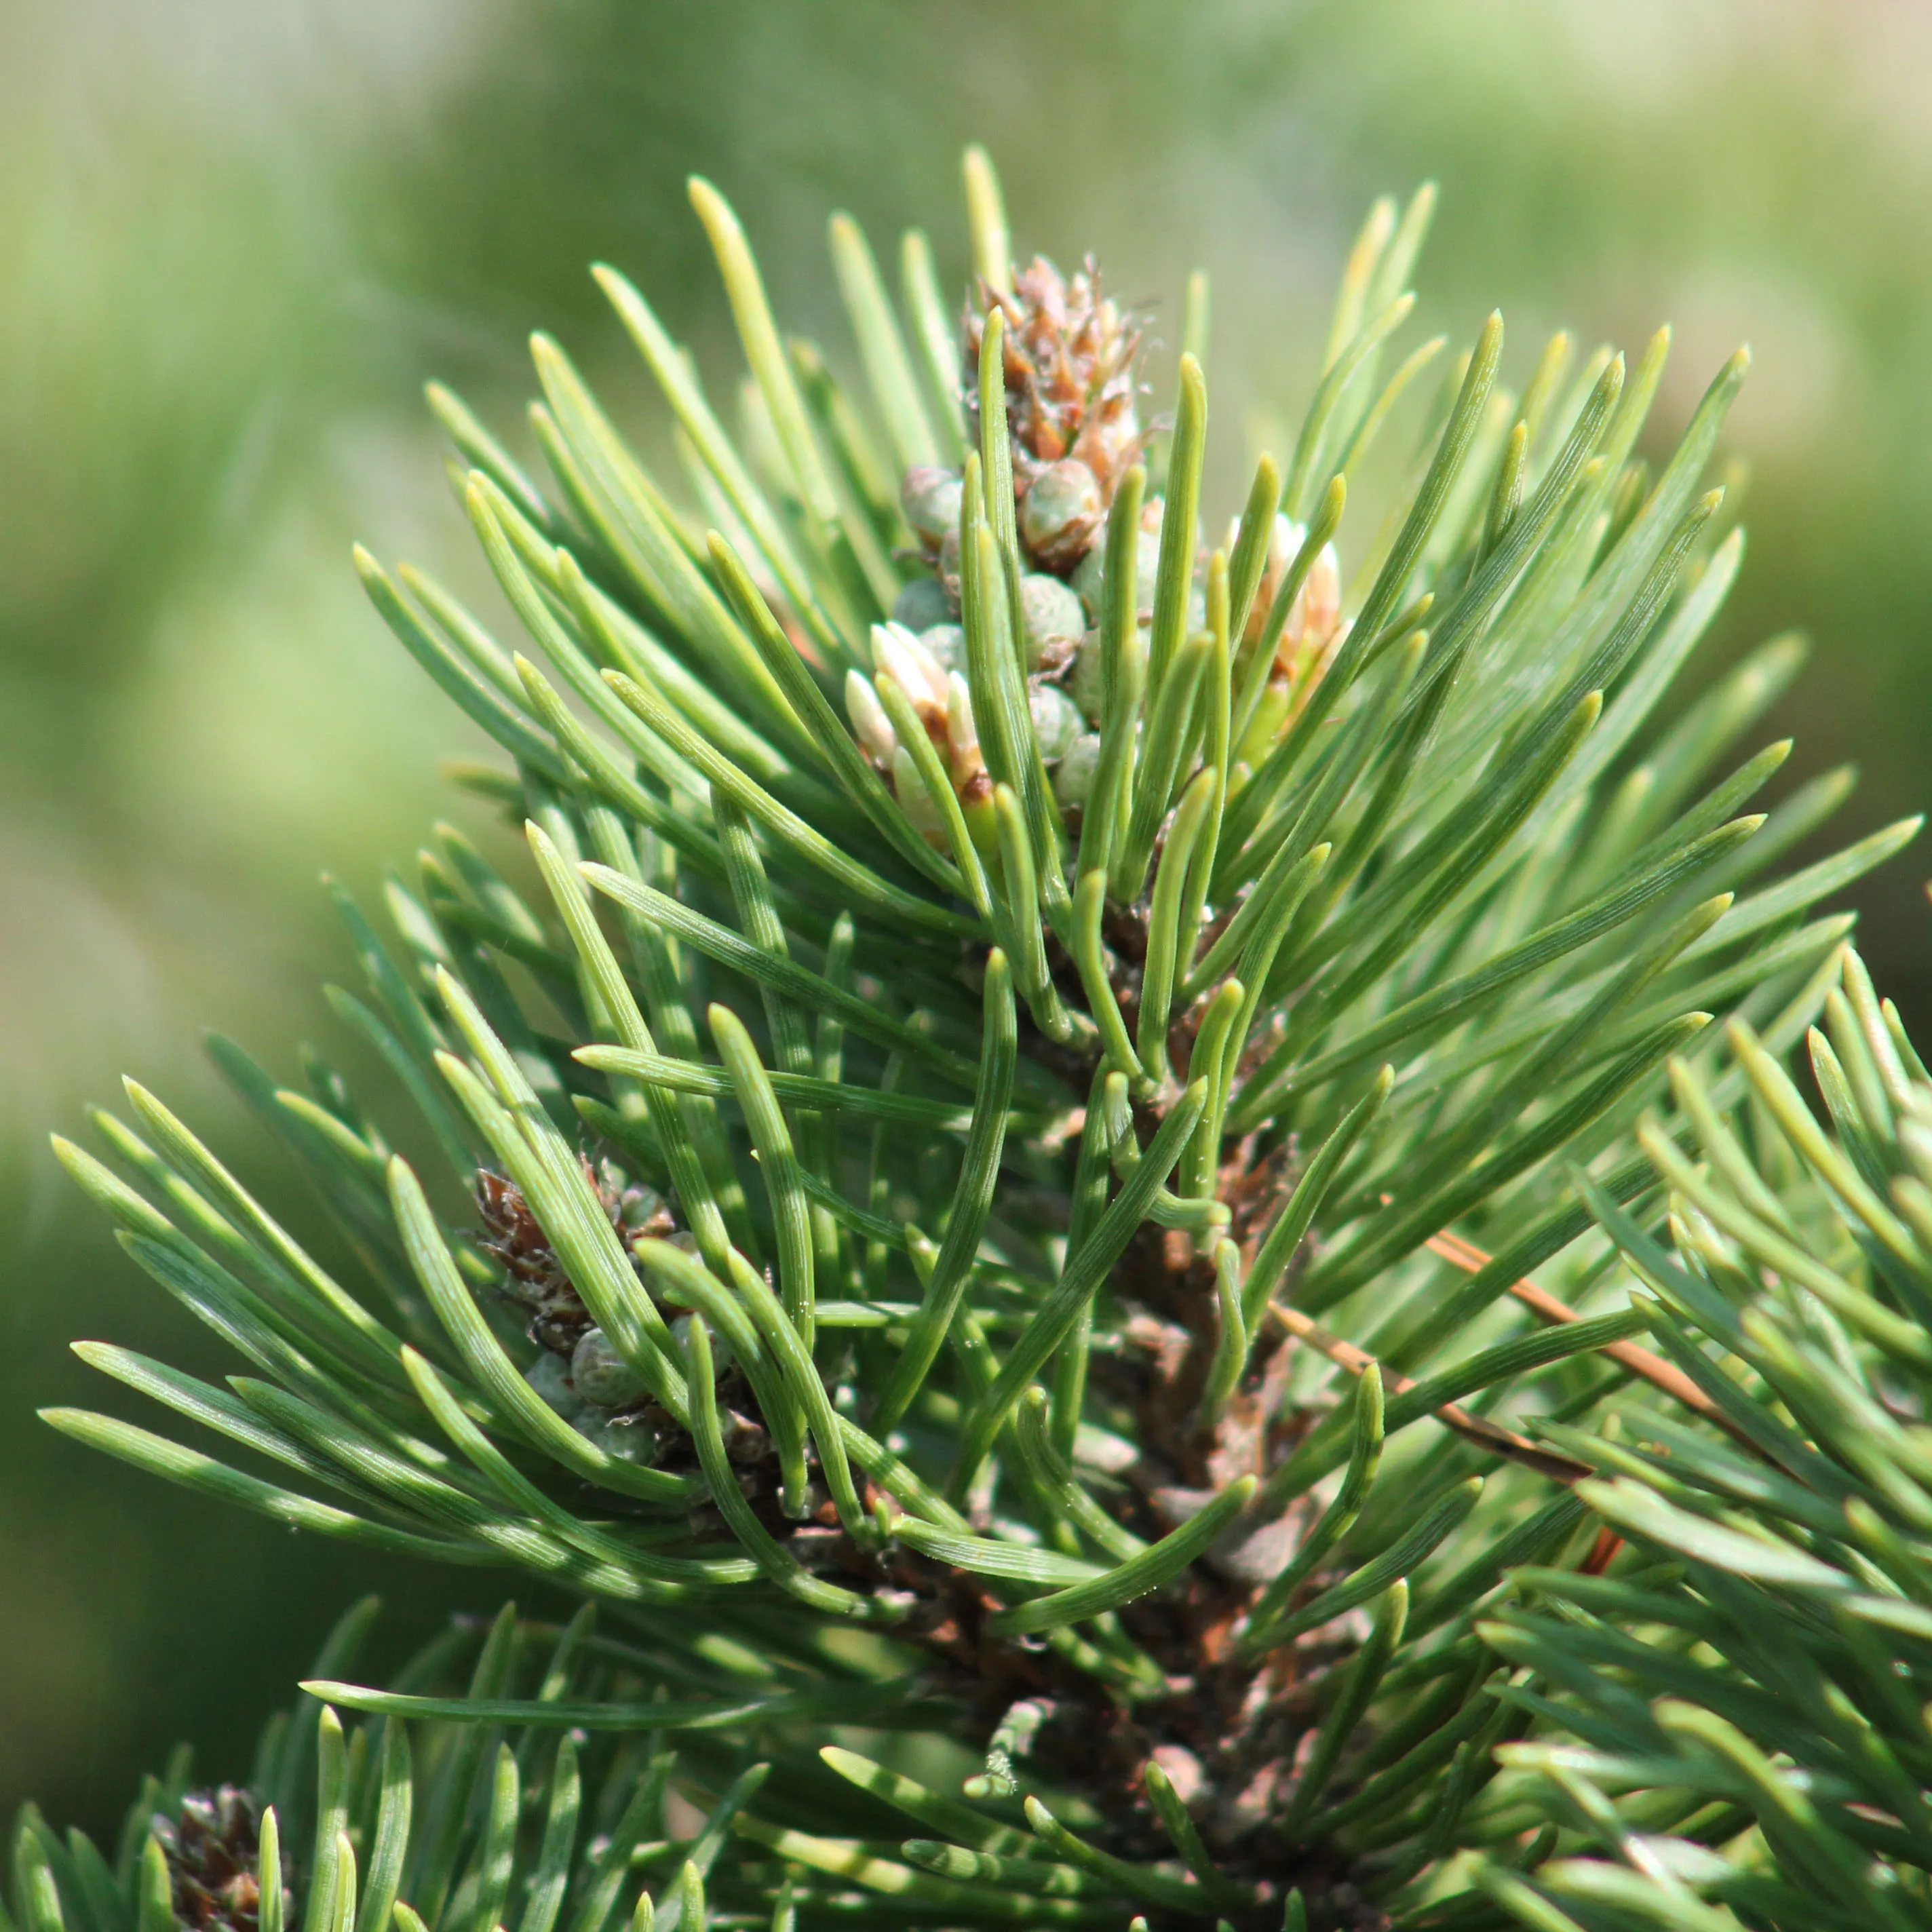
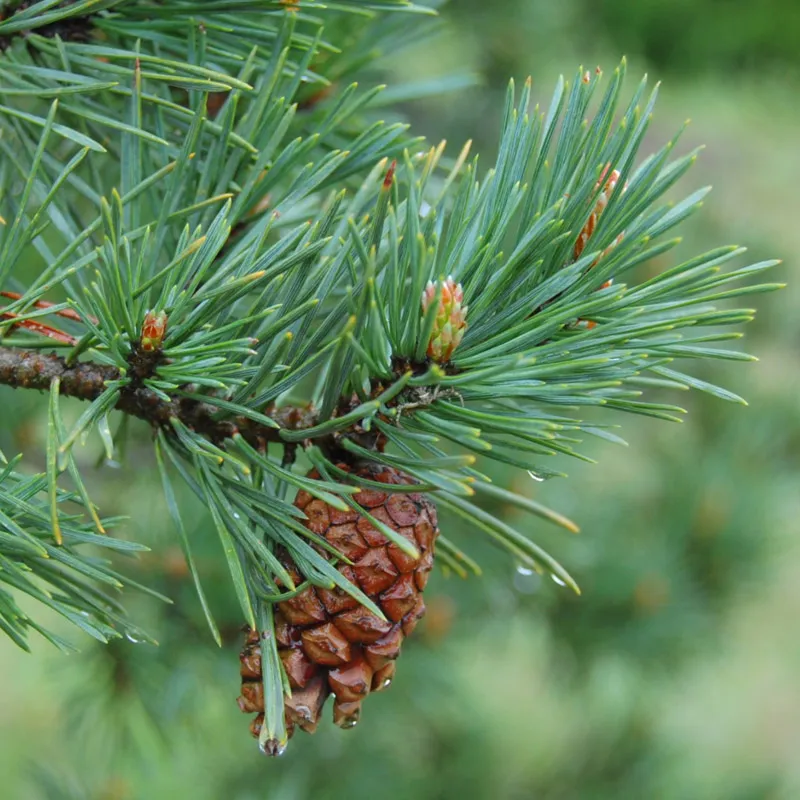
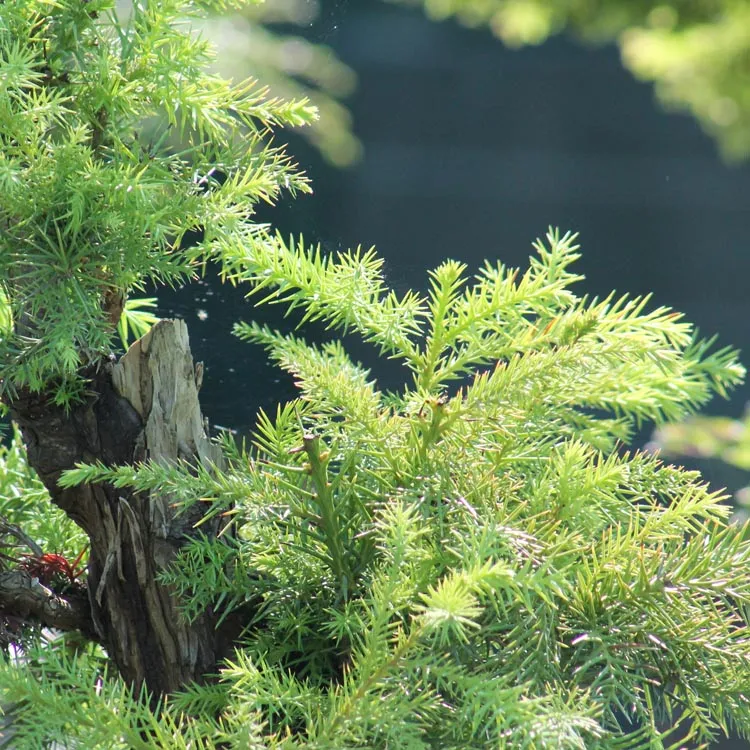
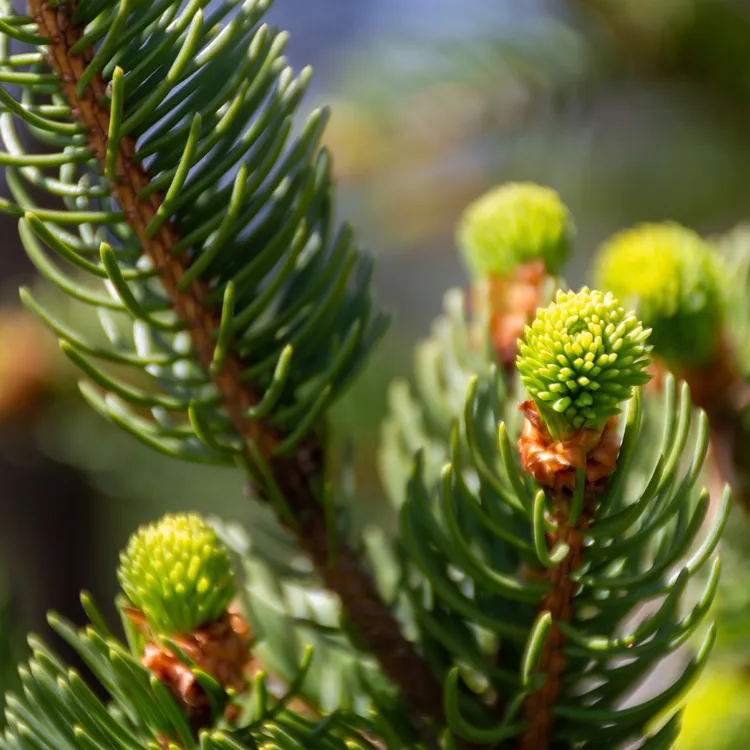
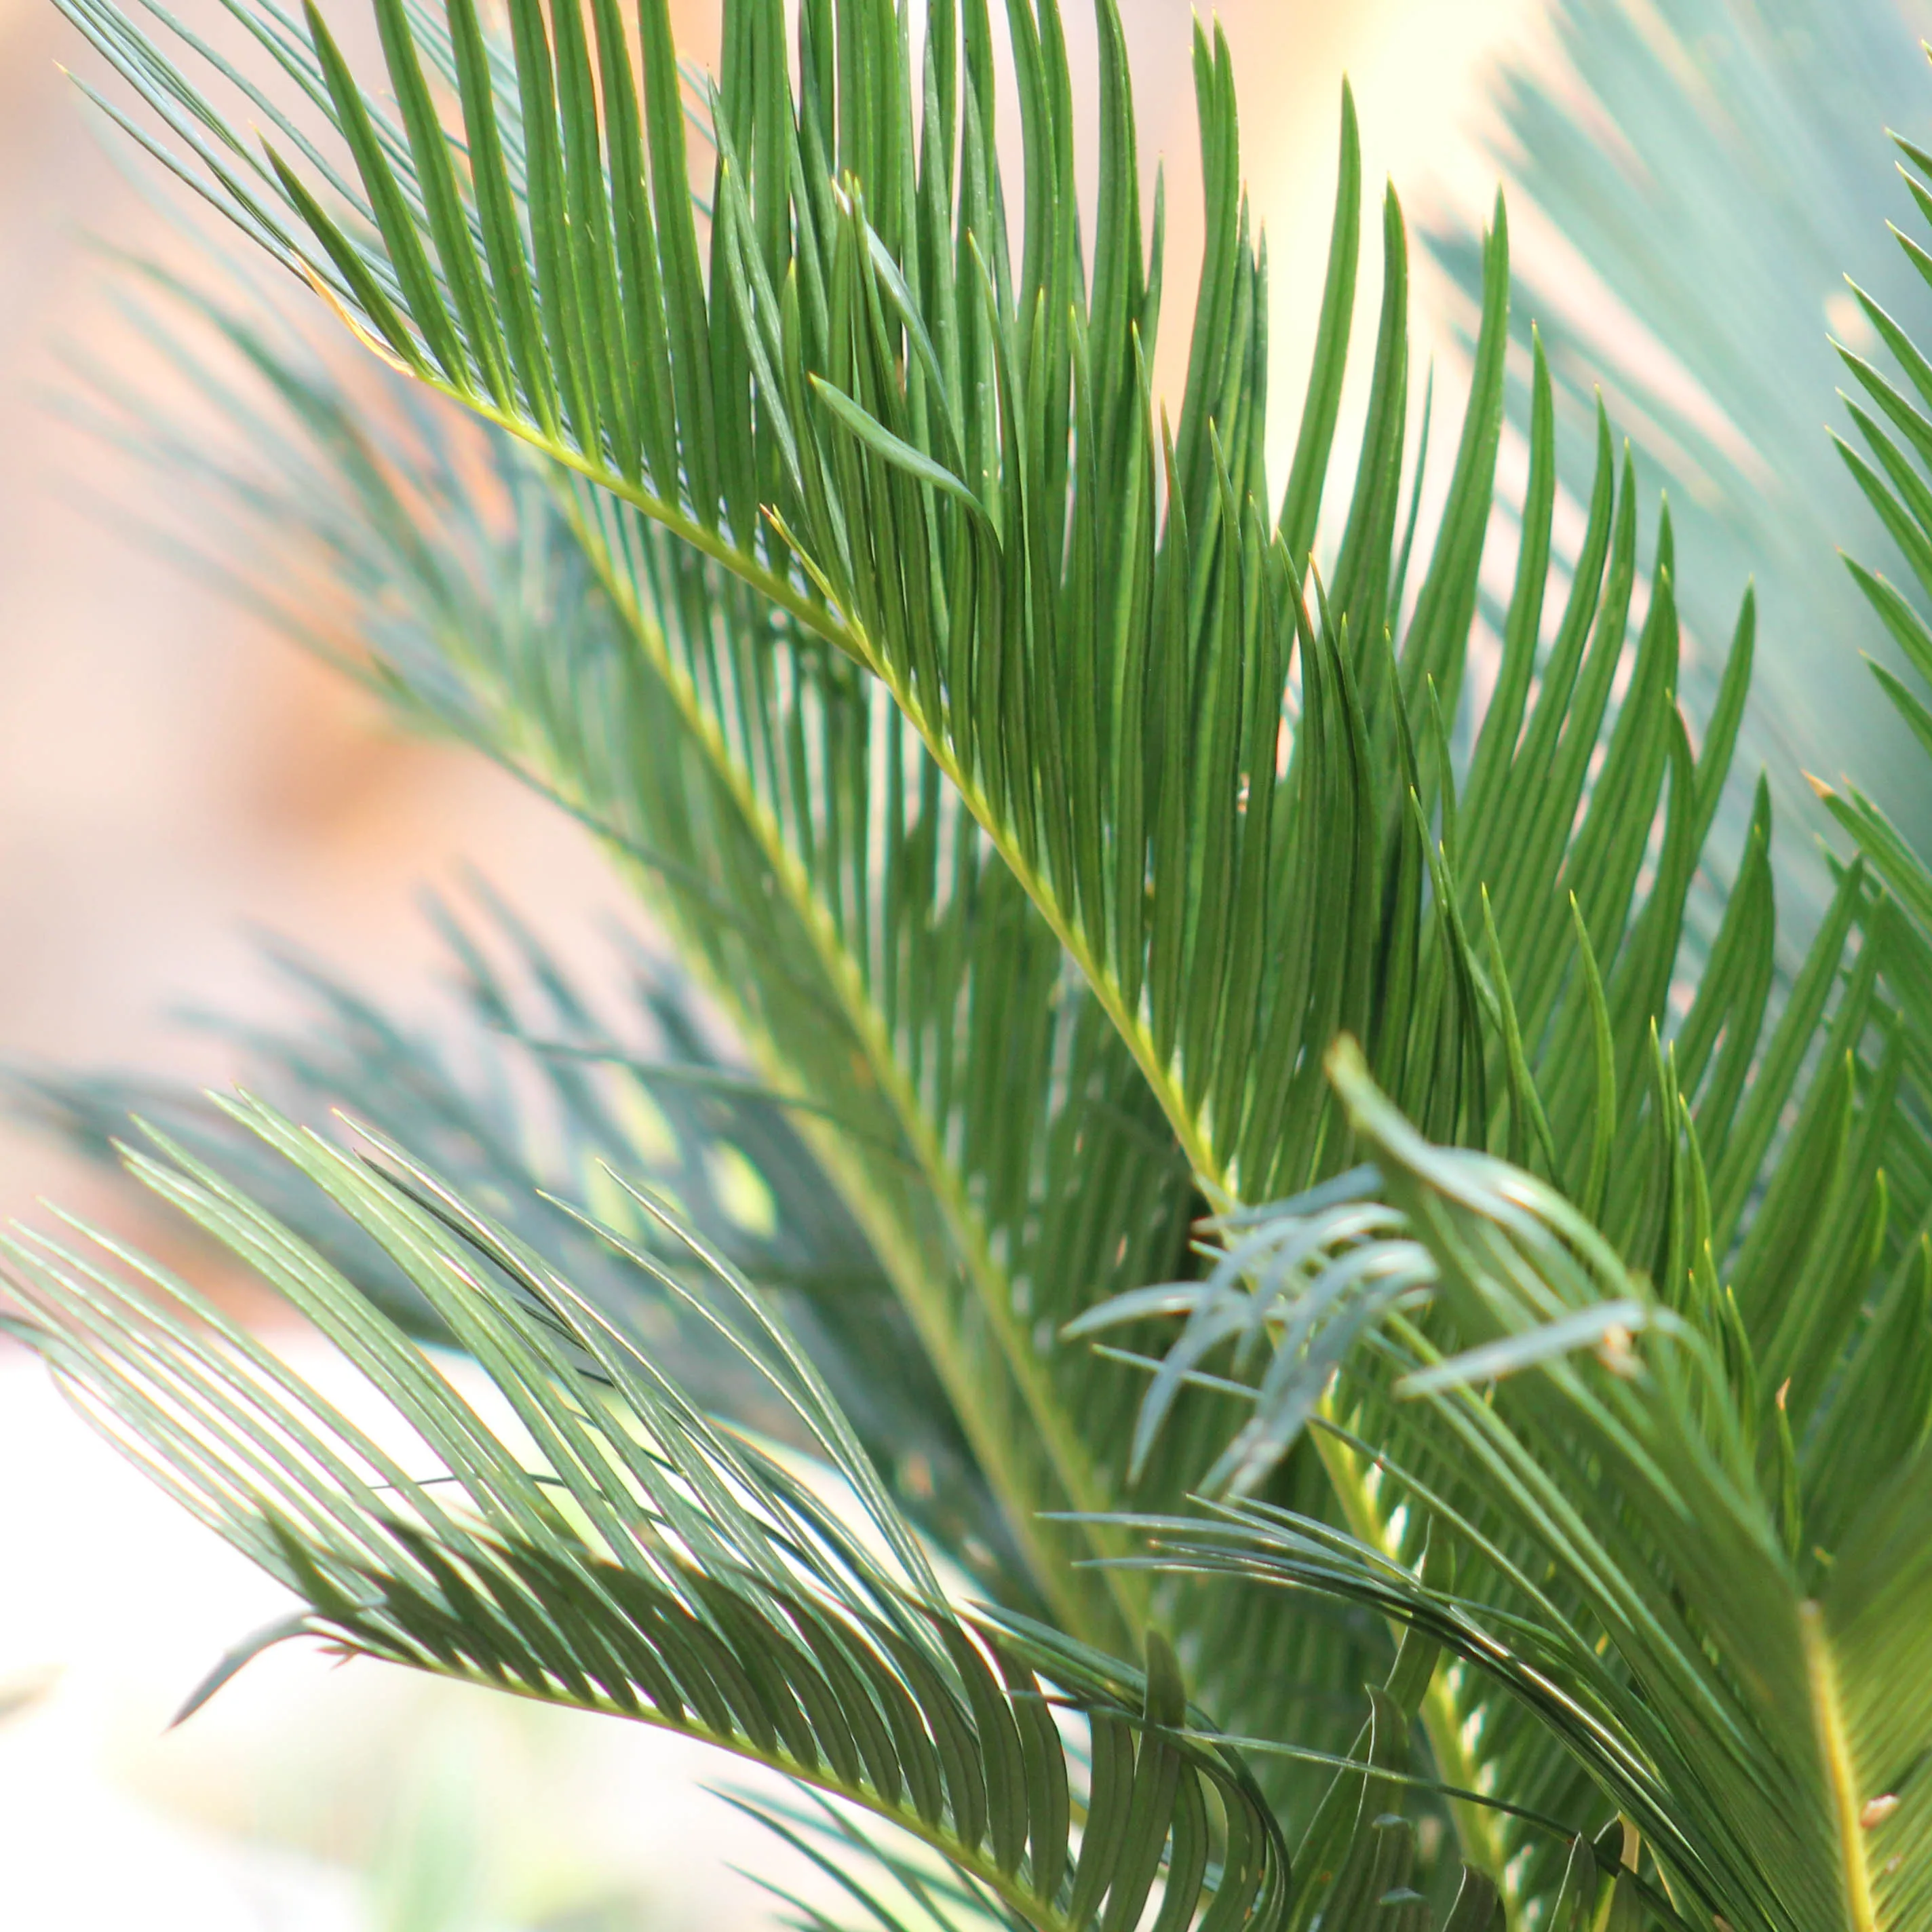
In general, conifers are often more difficult to germinate than deciduous trees.
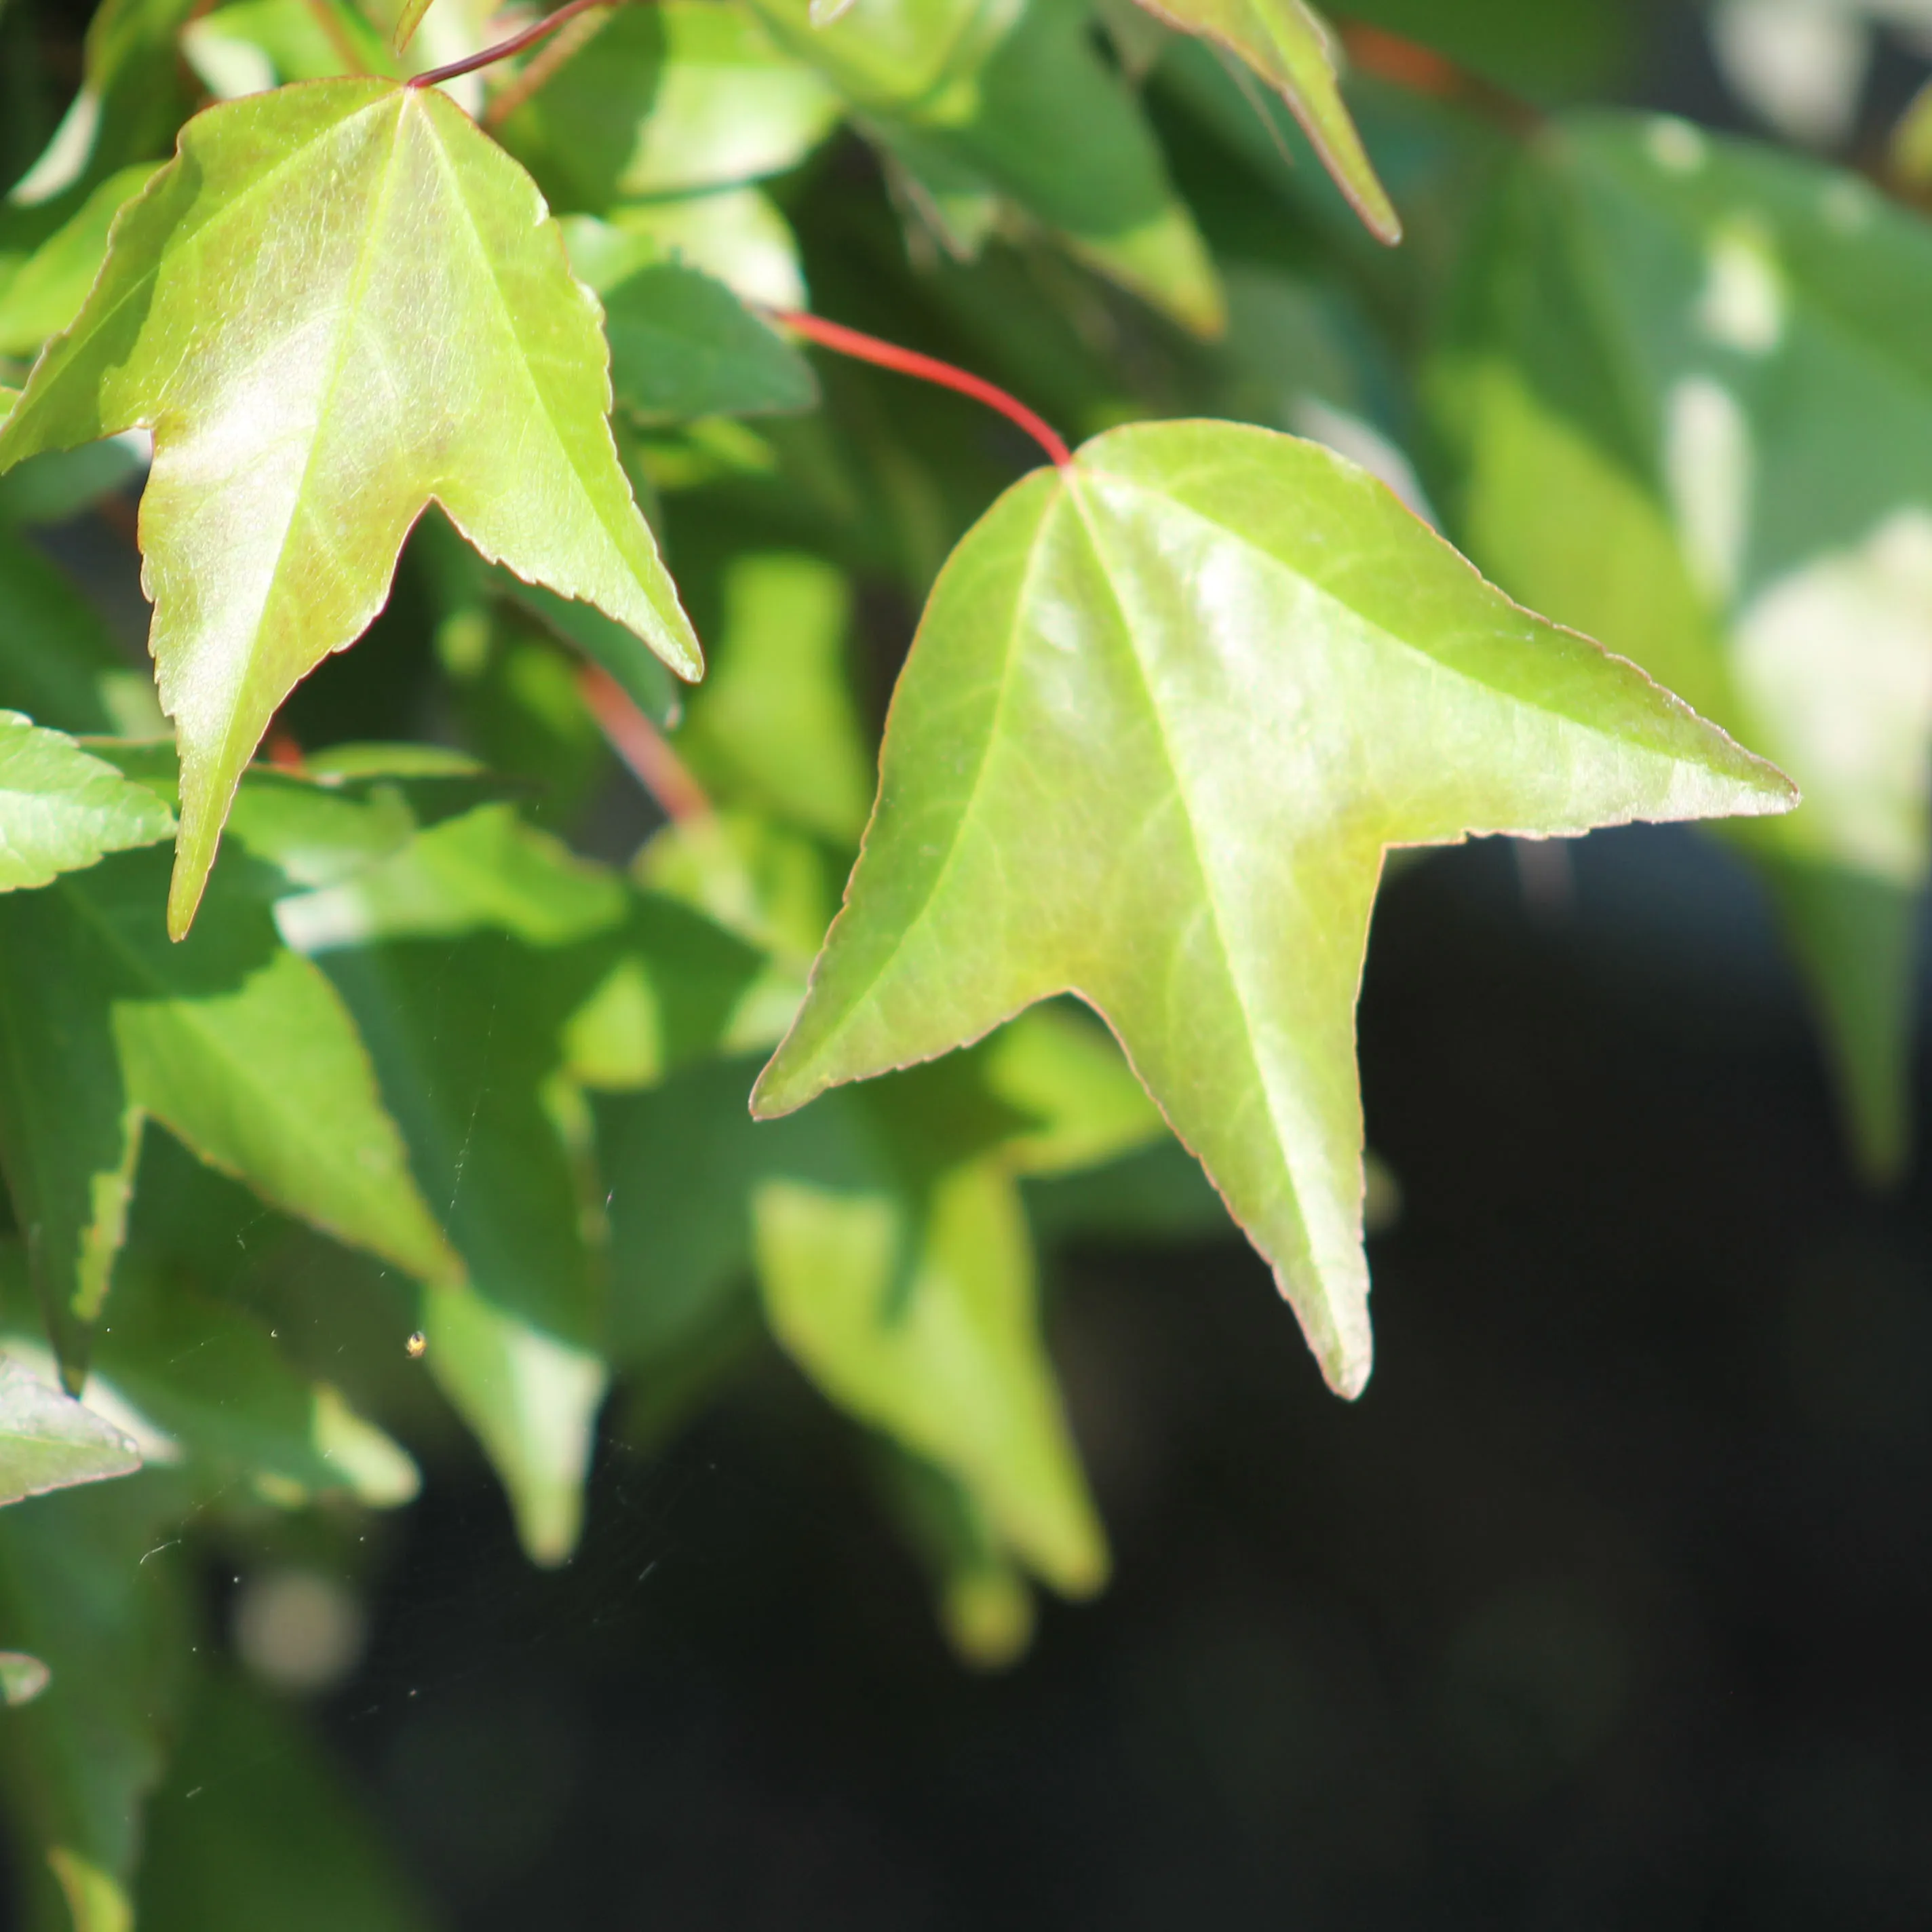
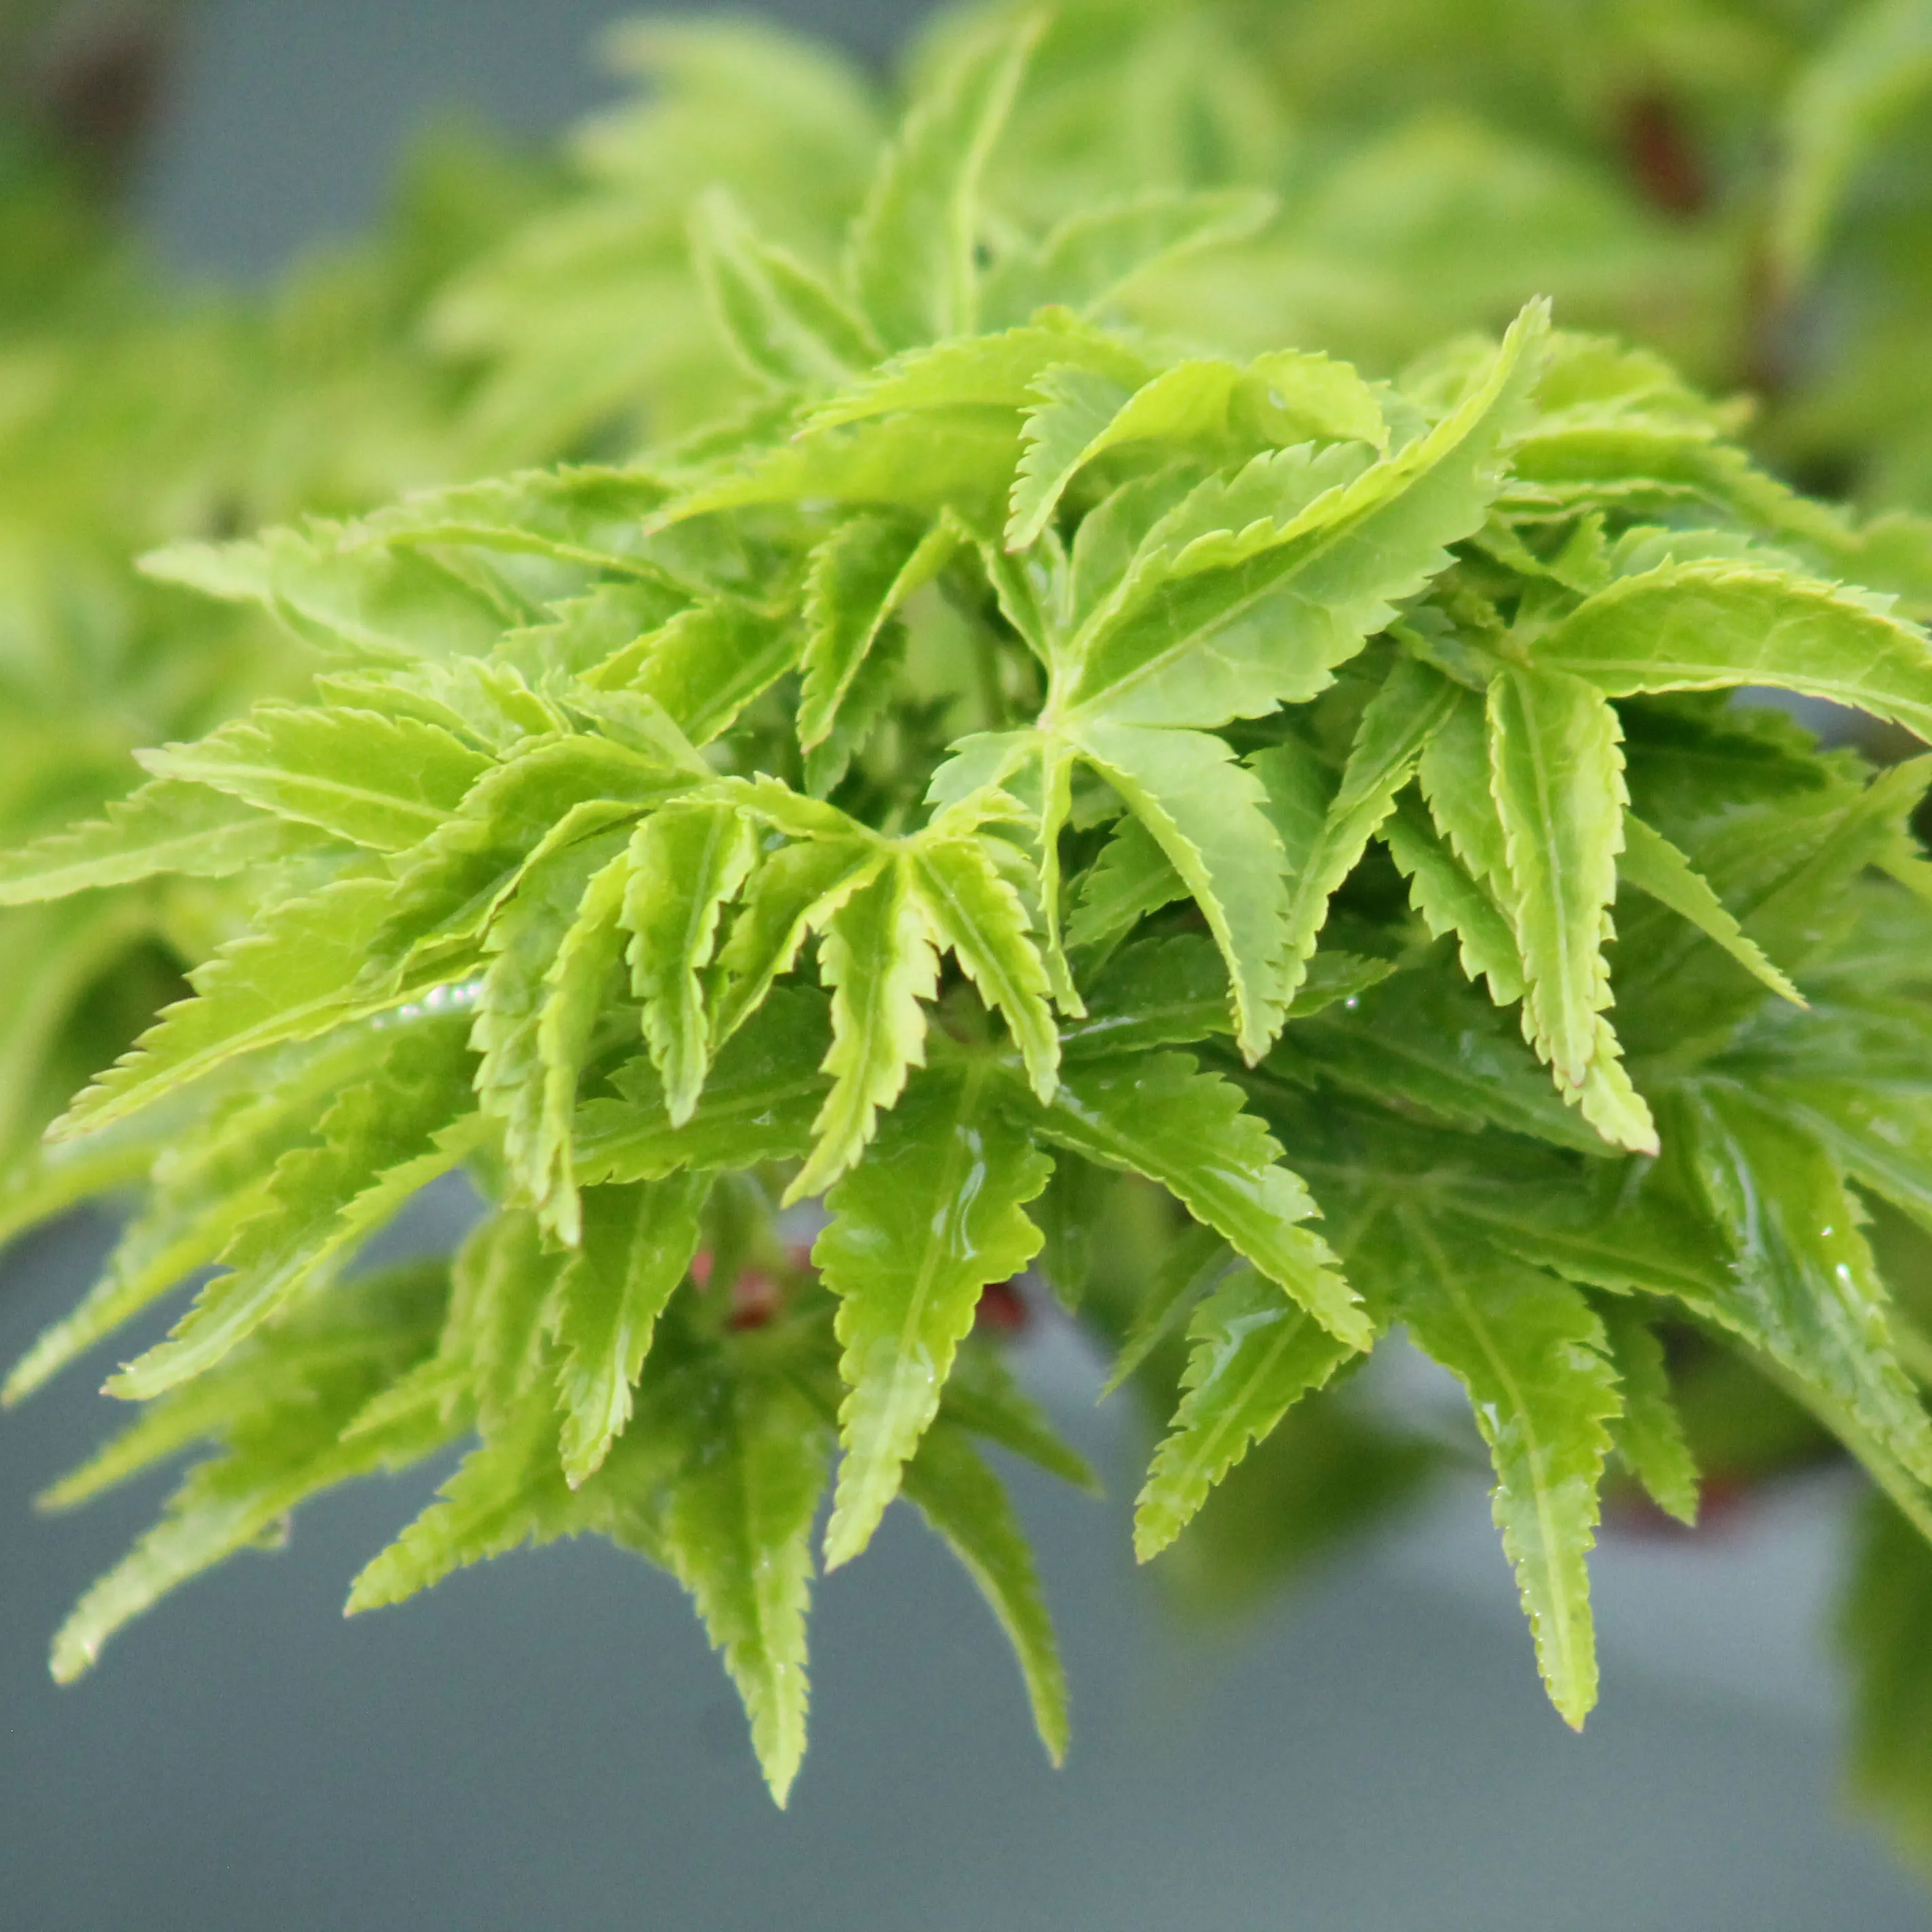
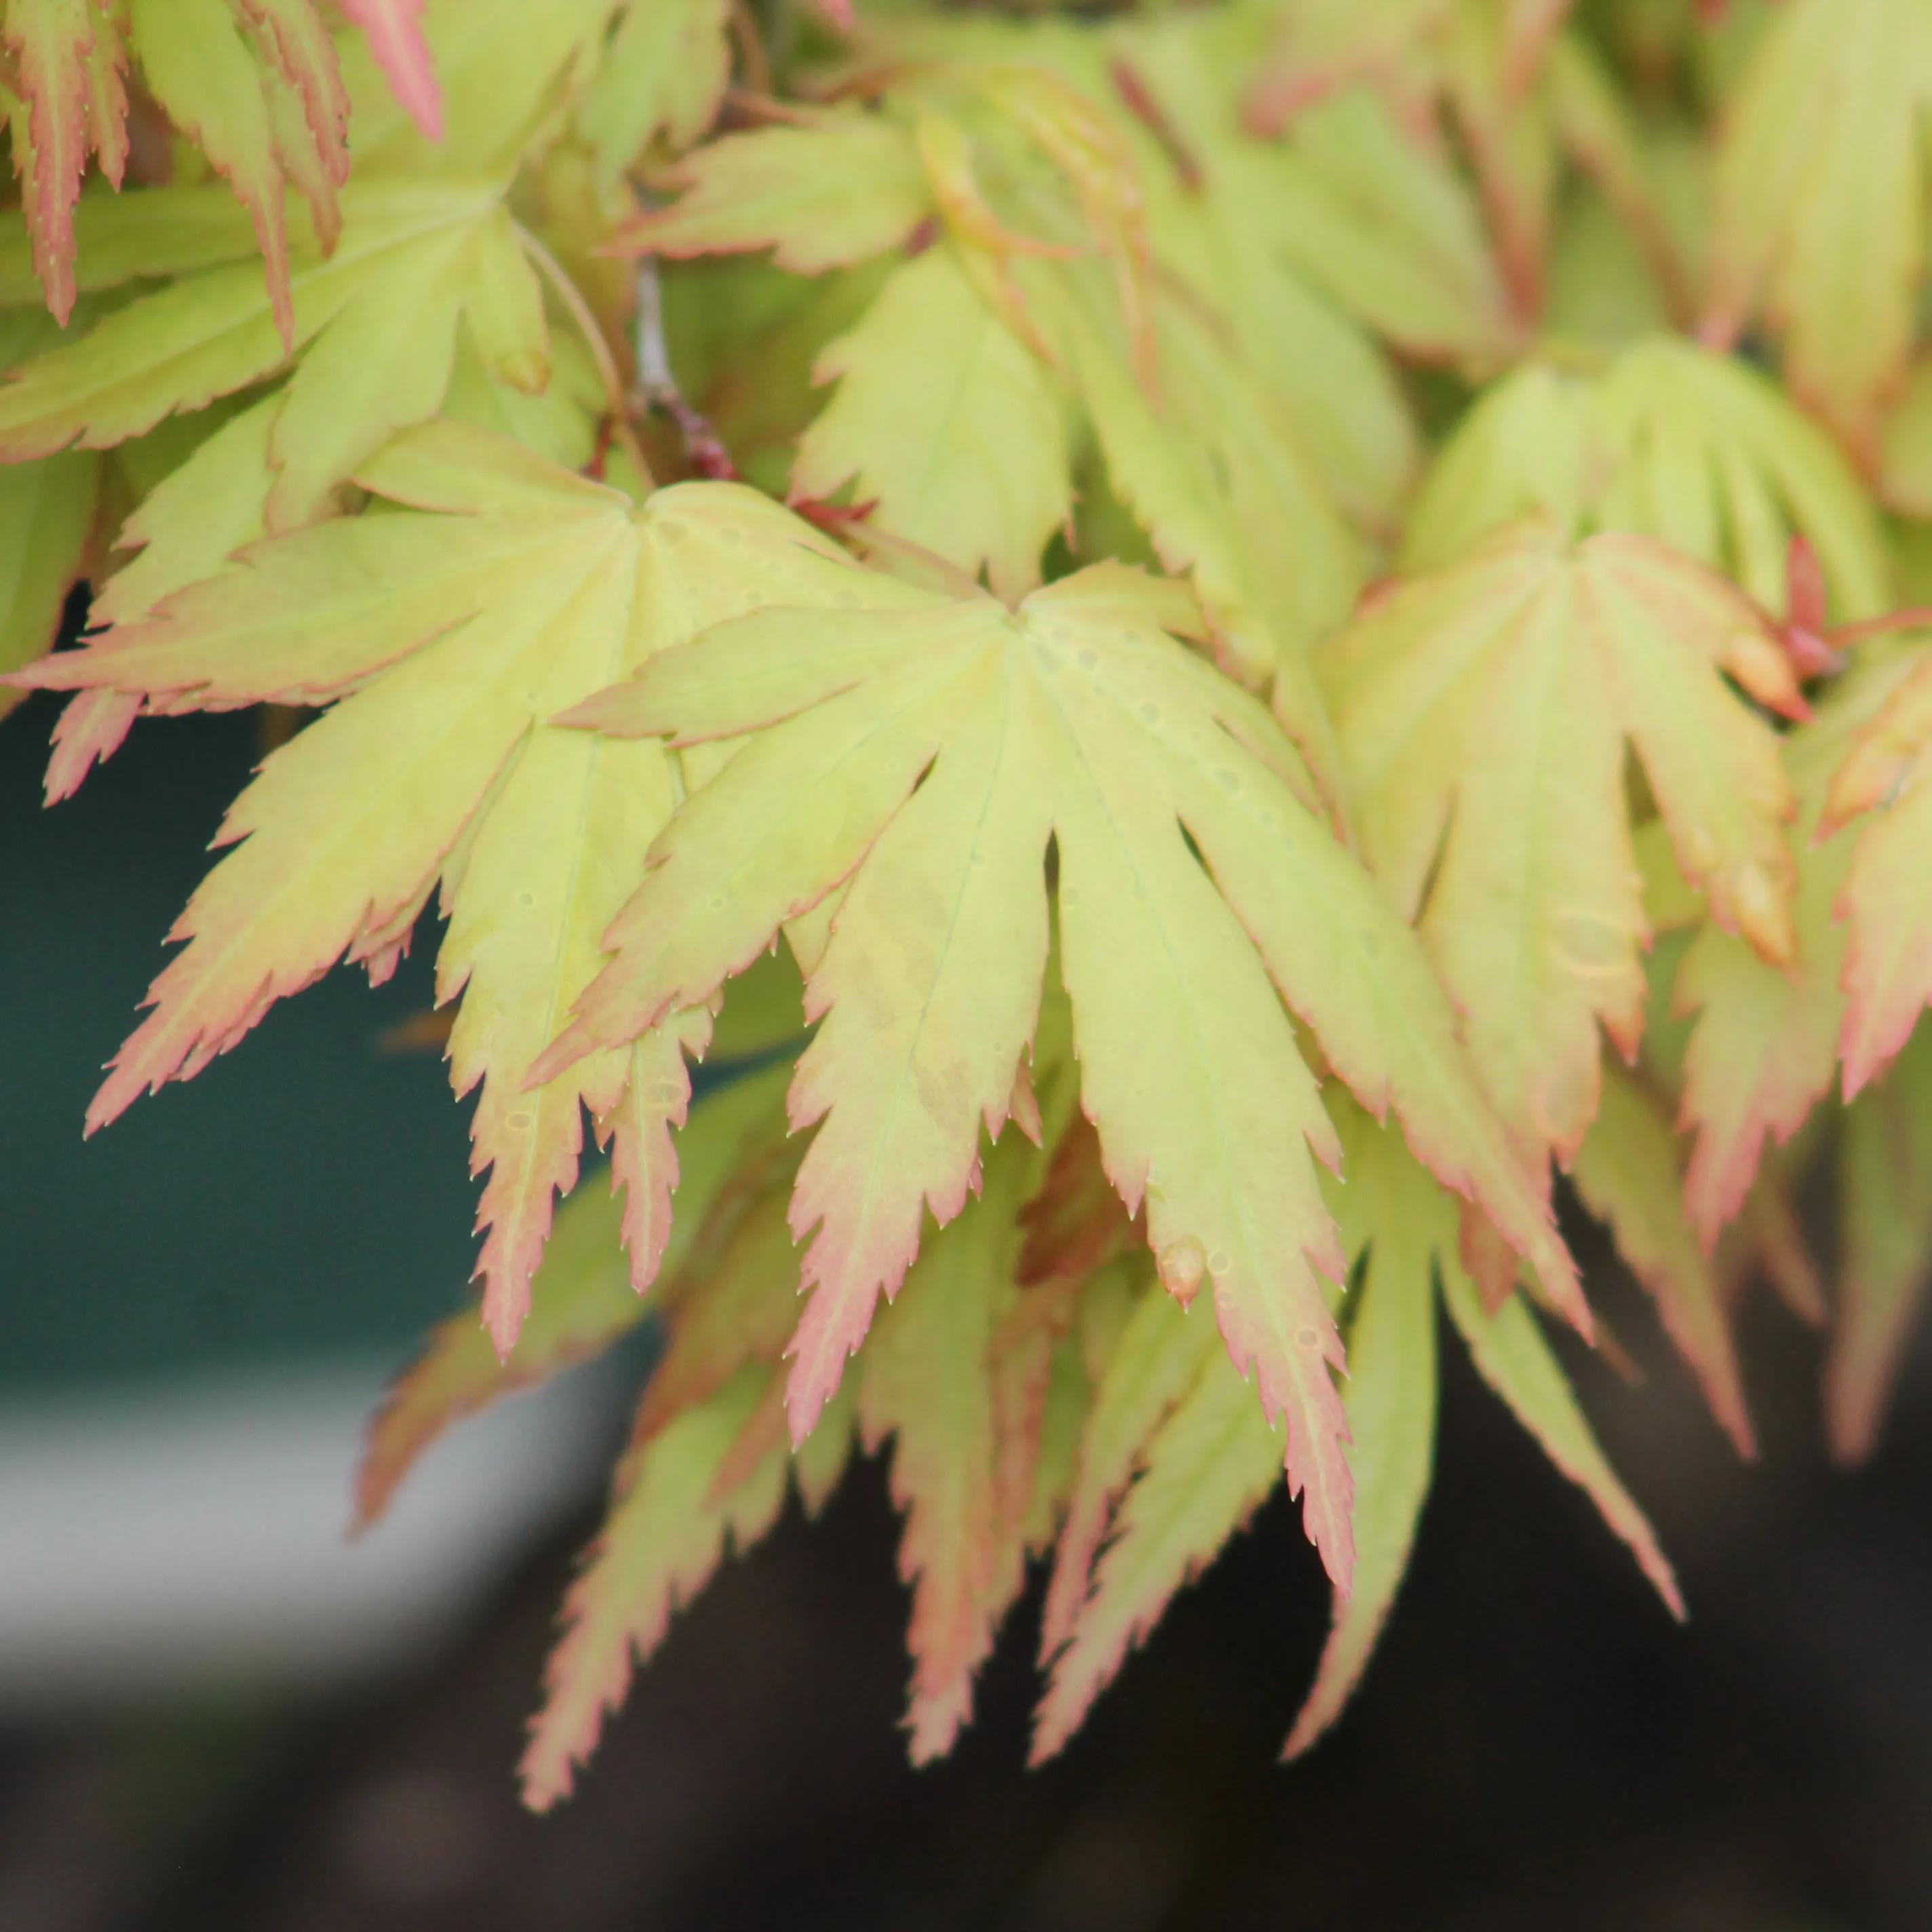
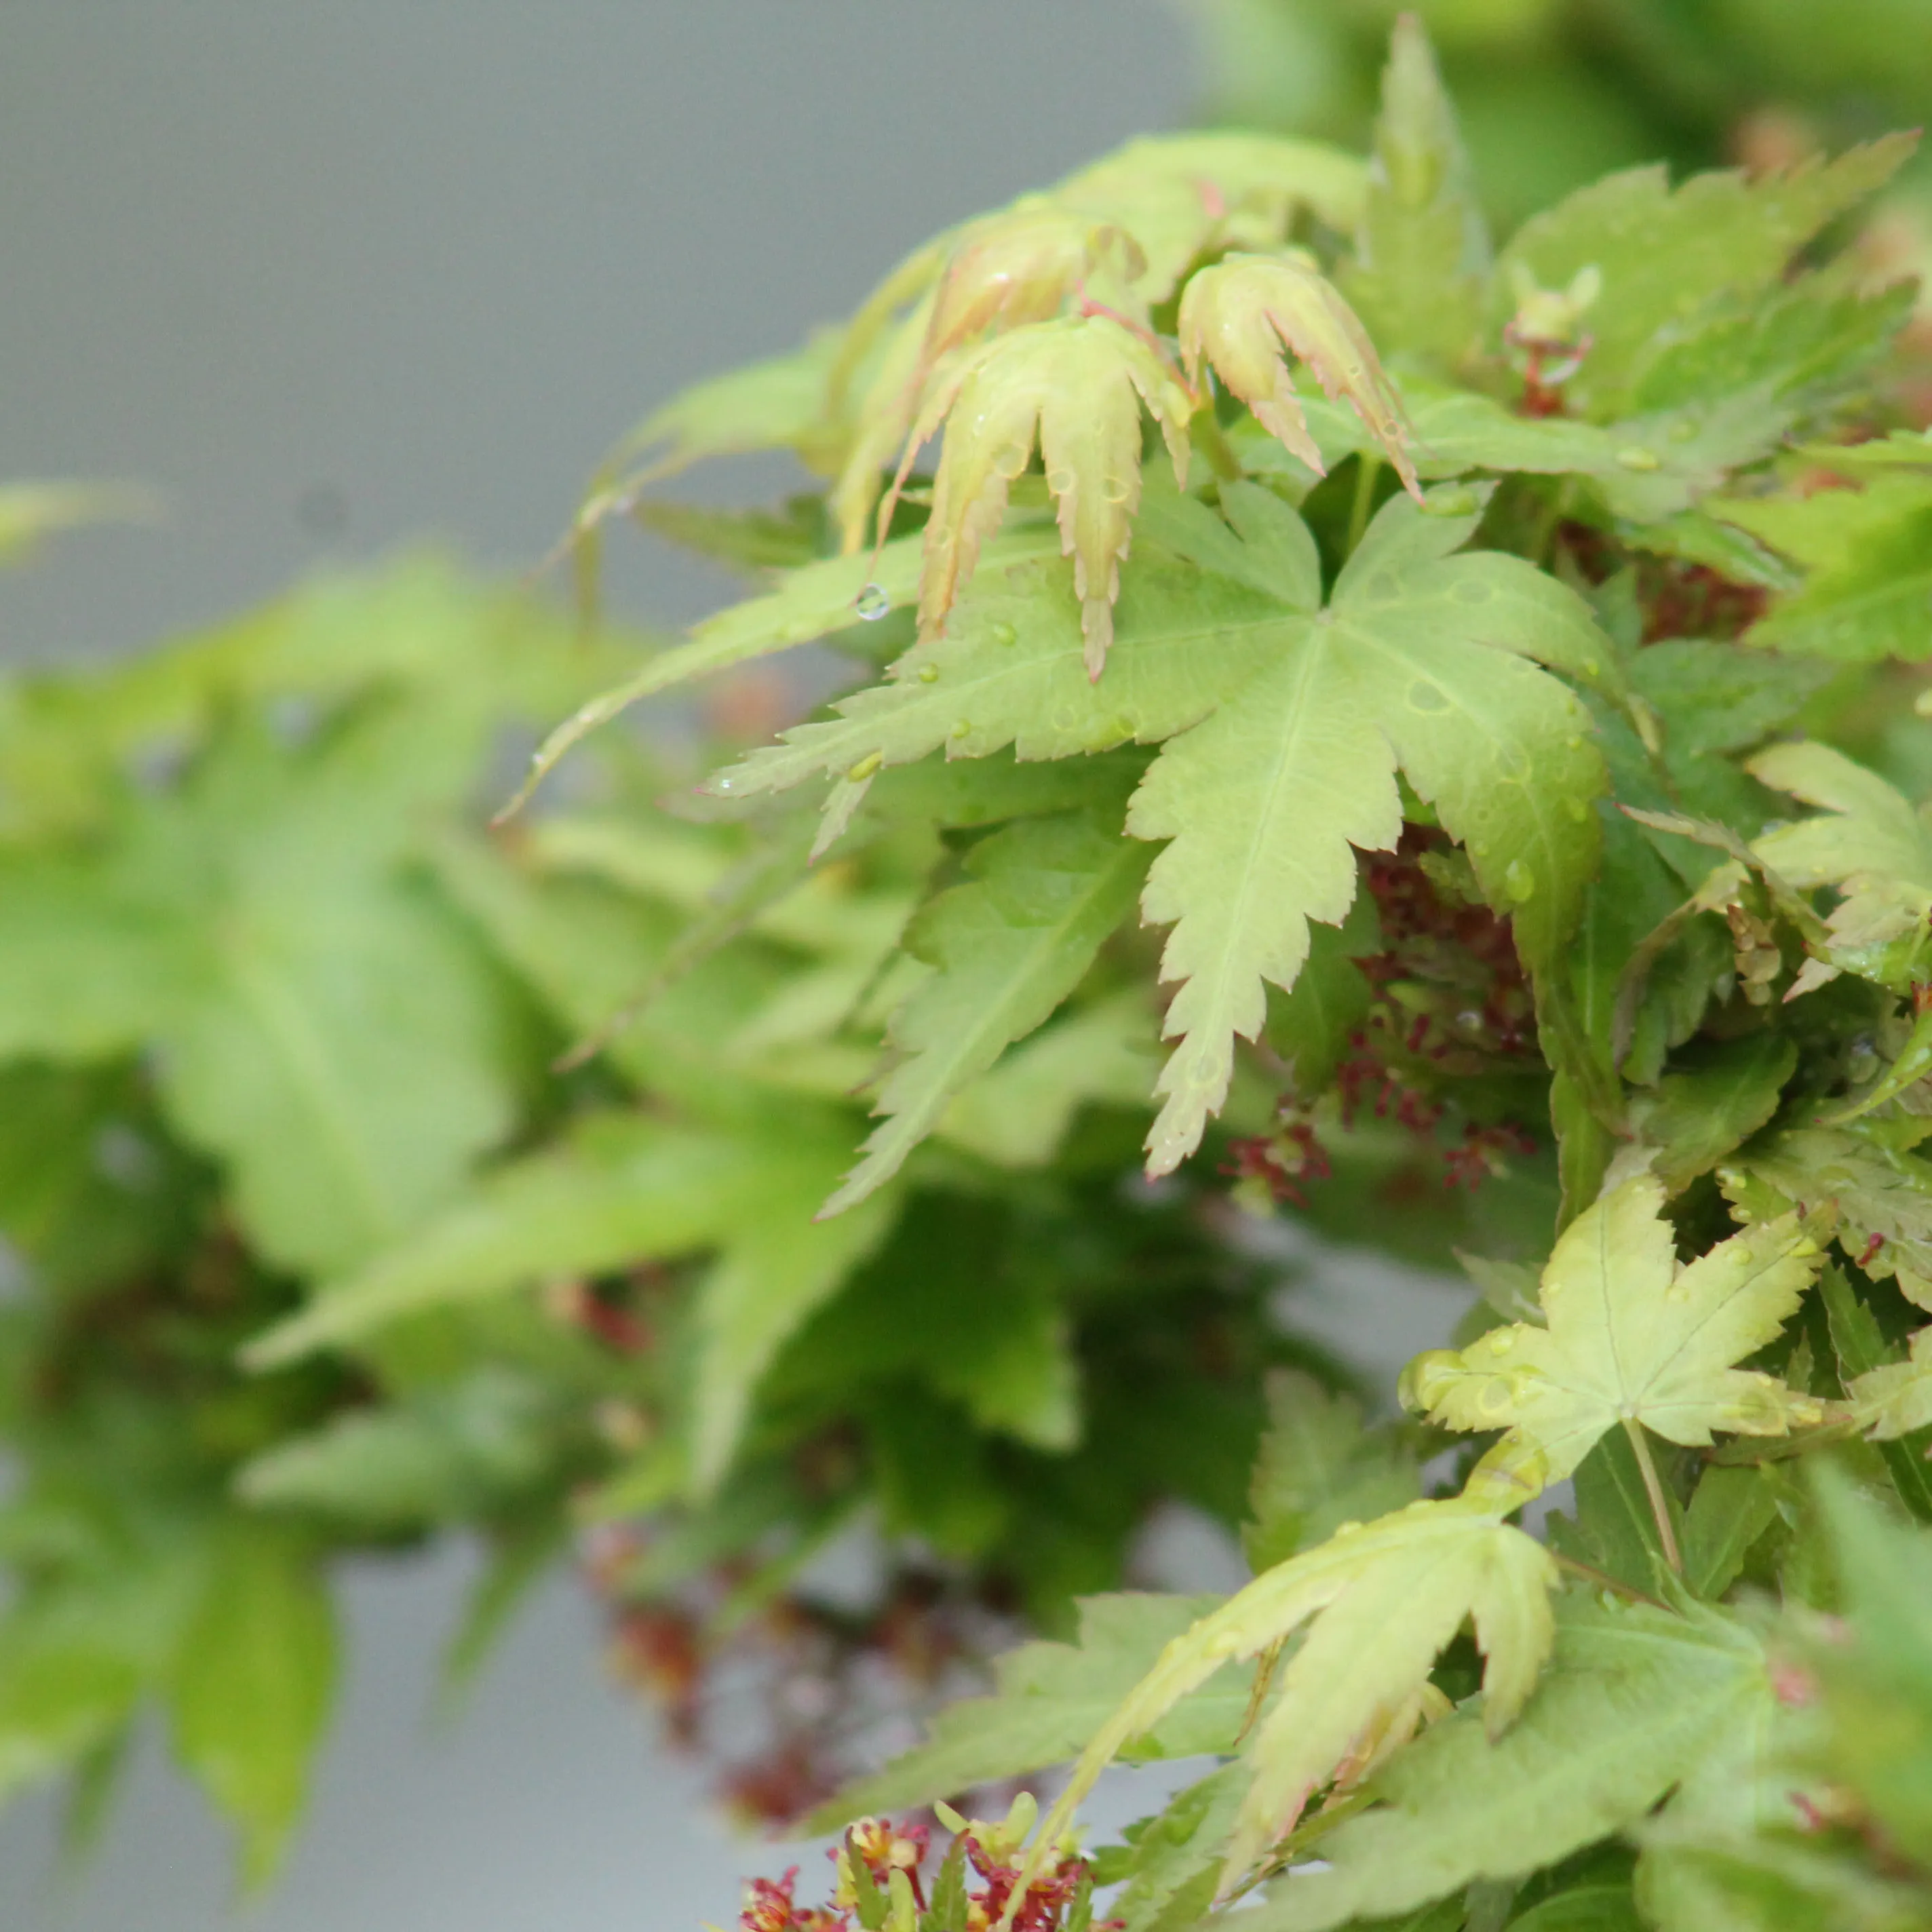
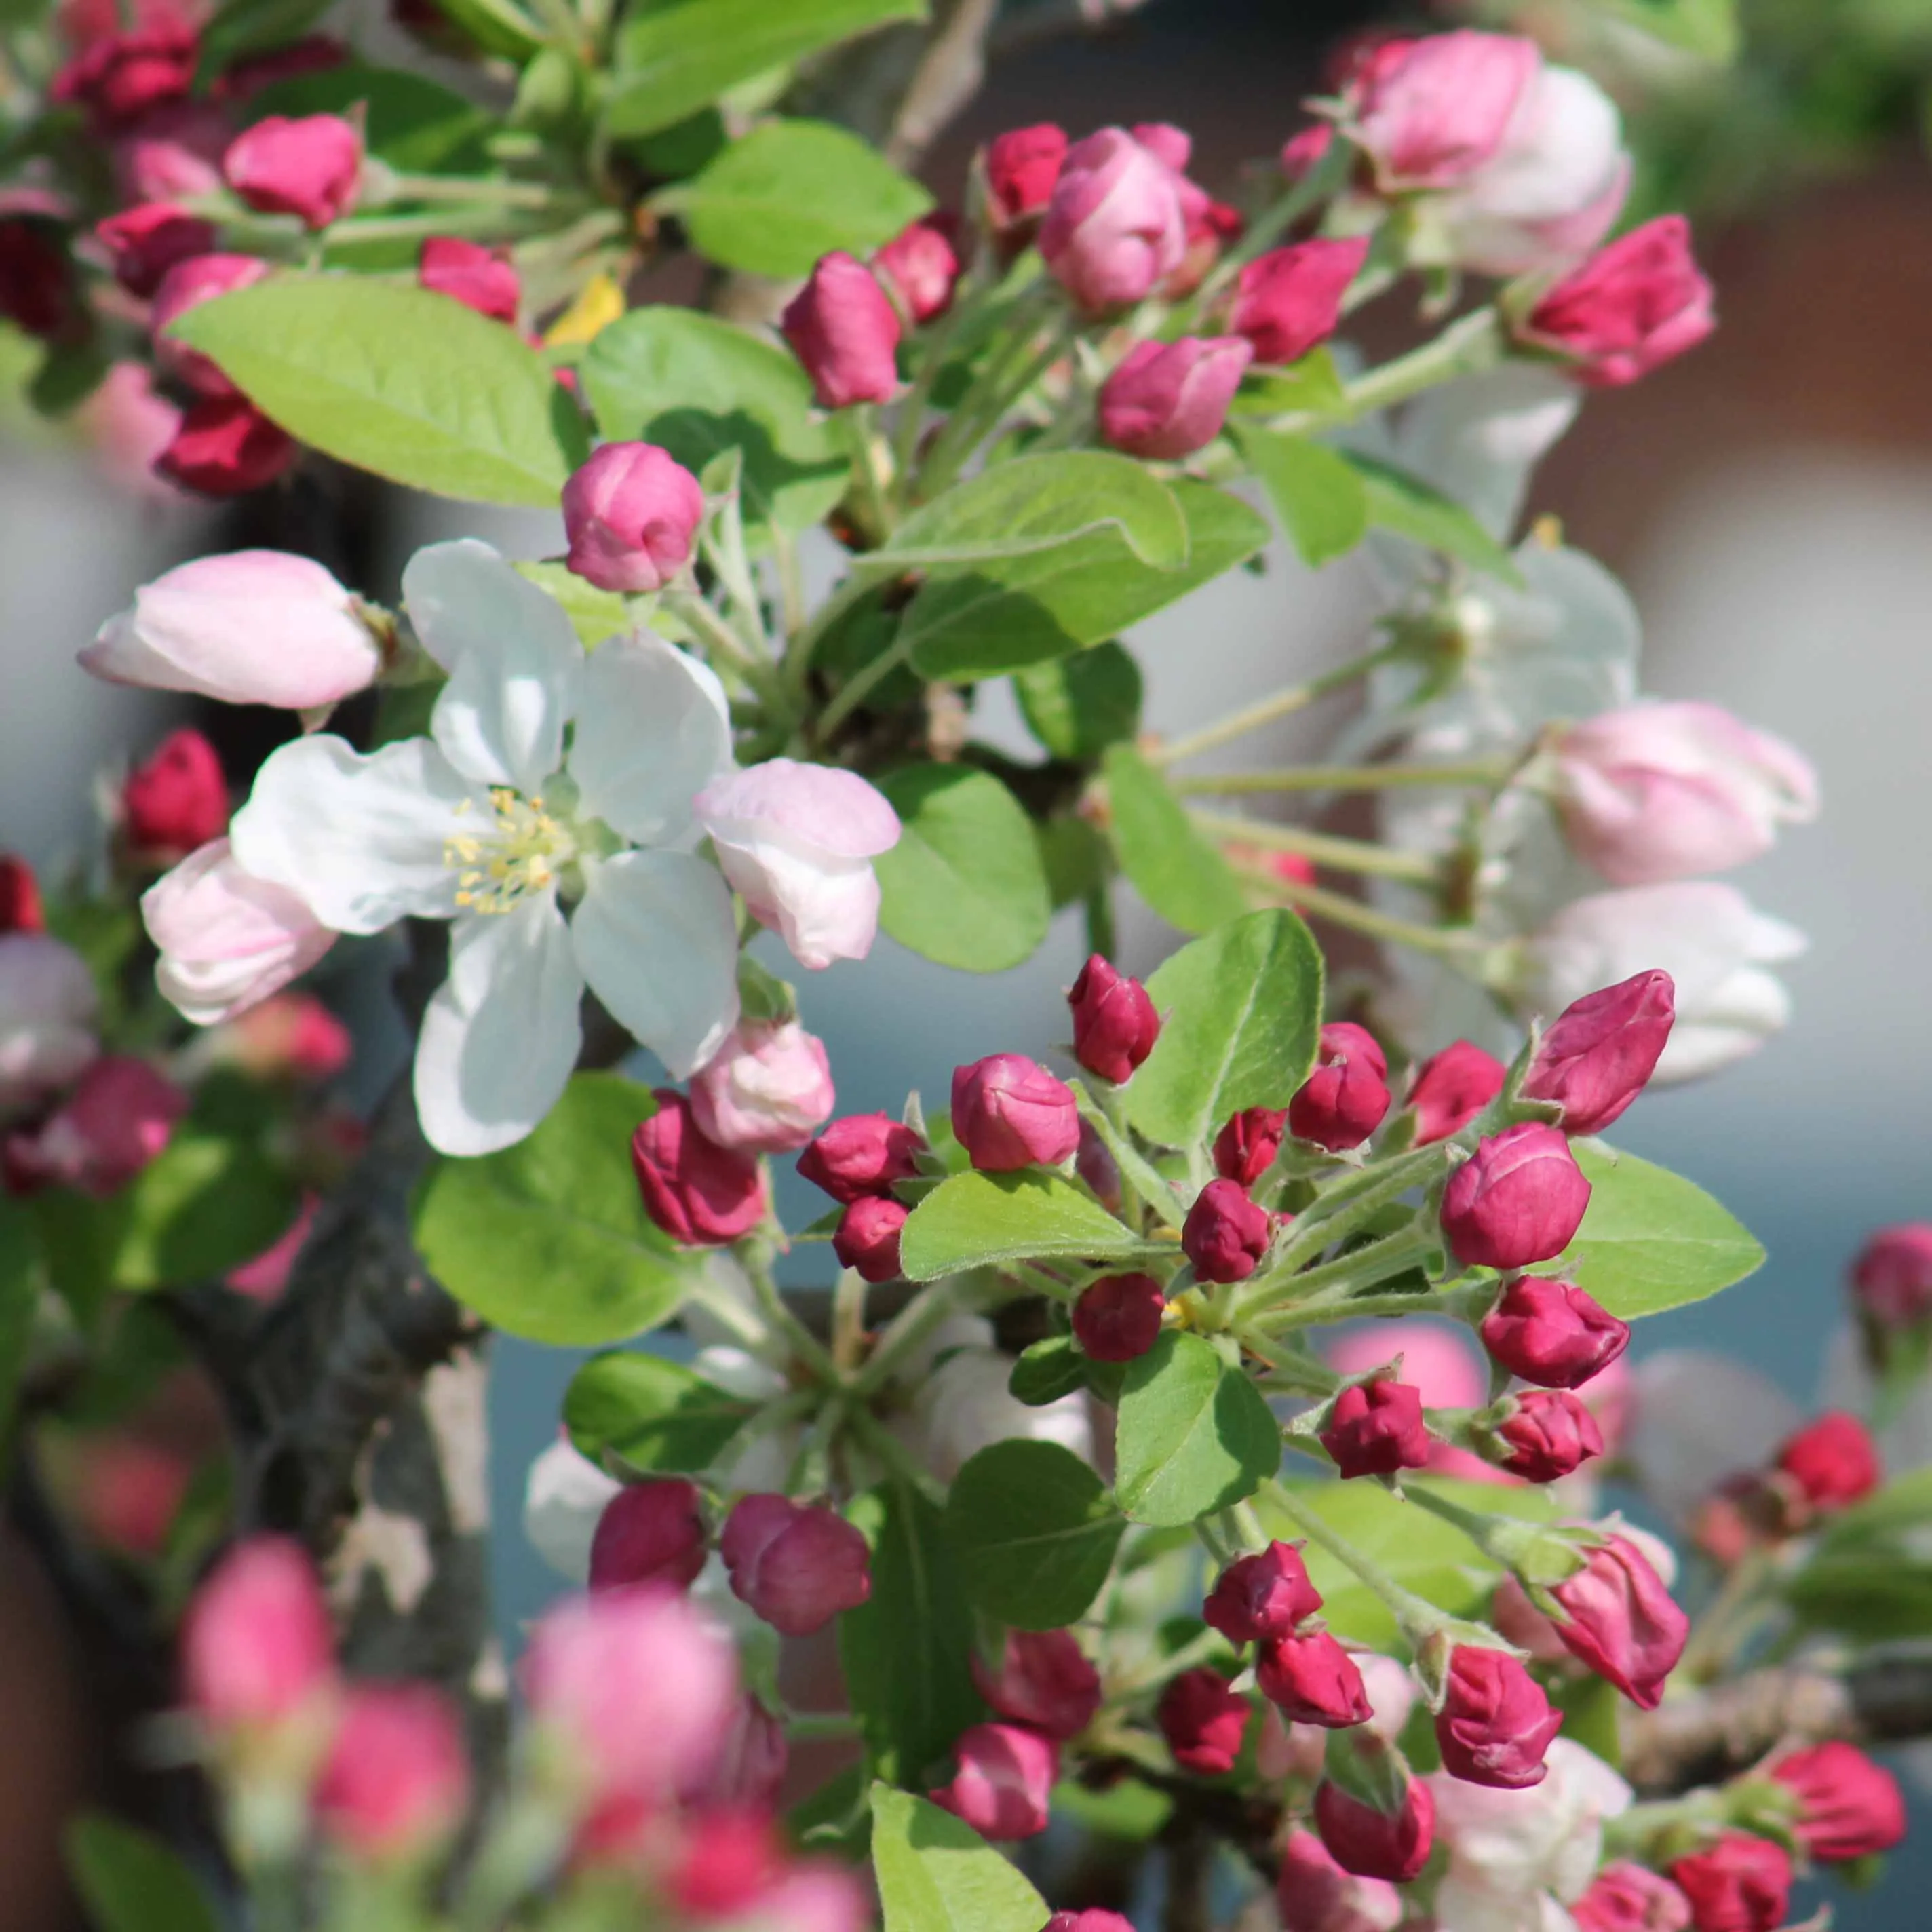
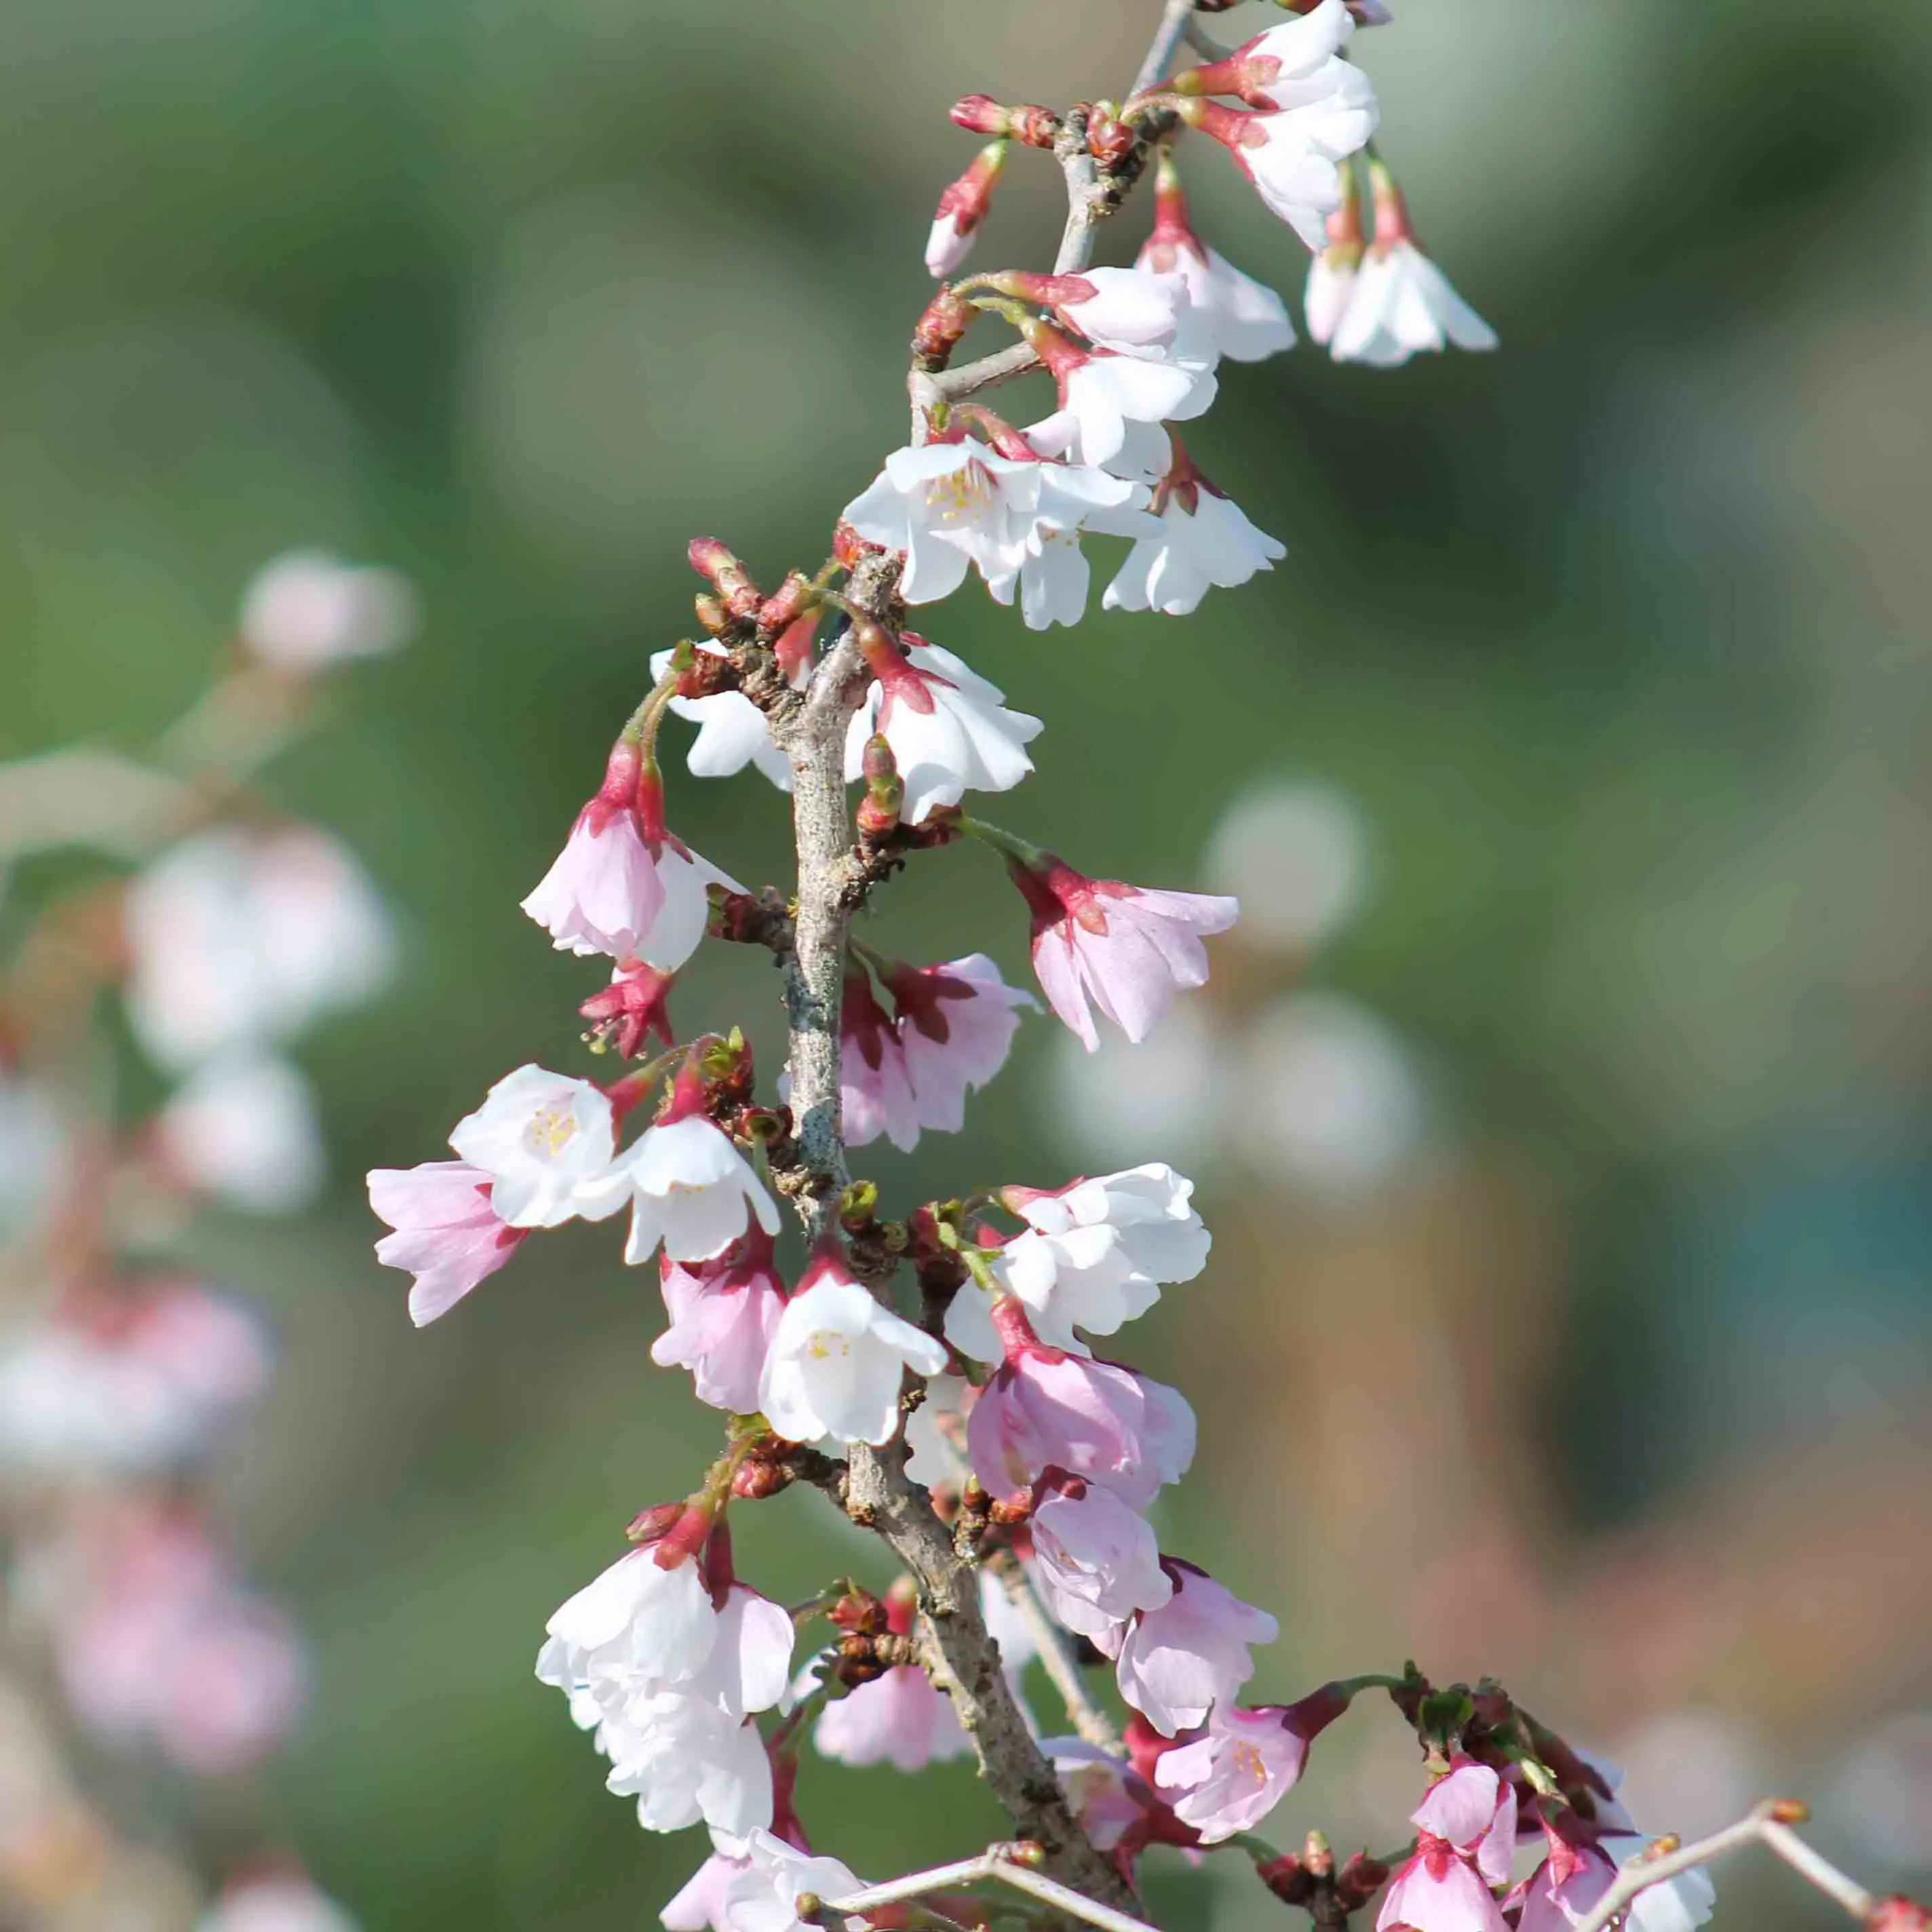
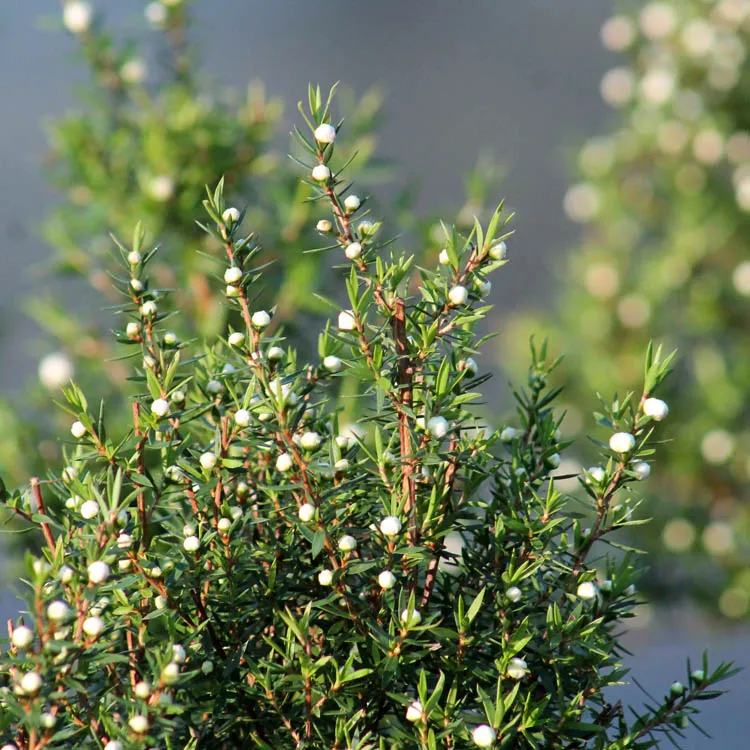
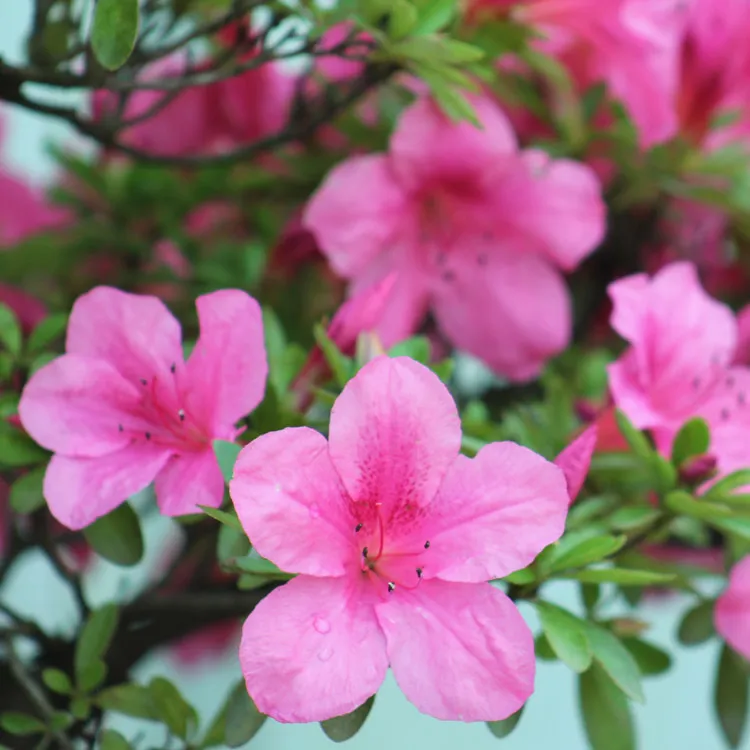
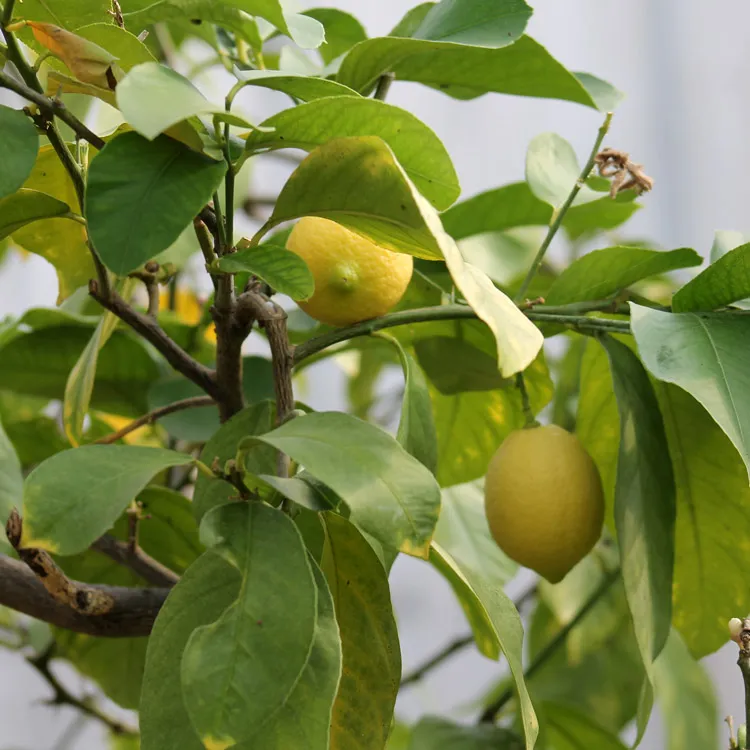
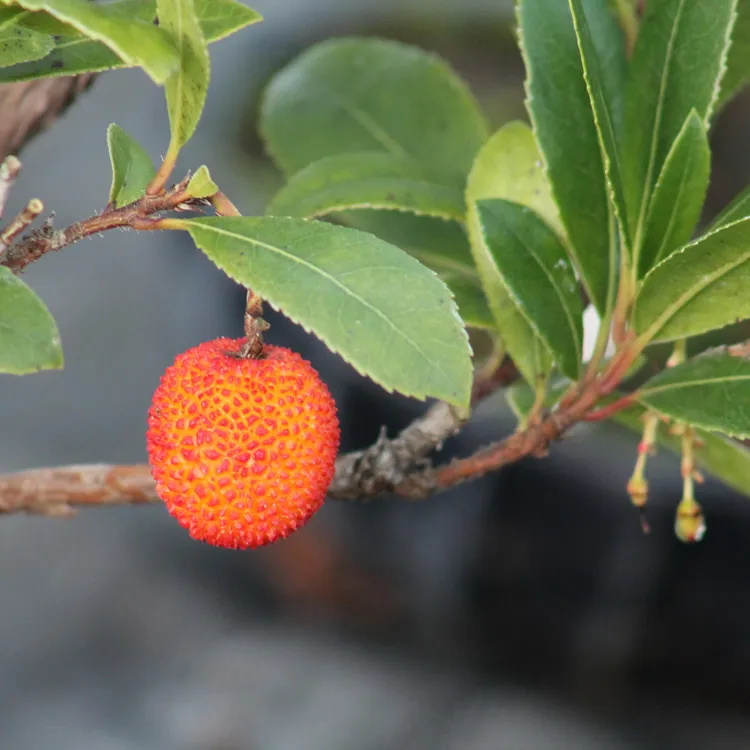
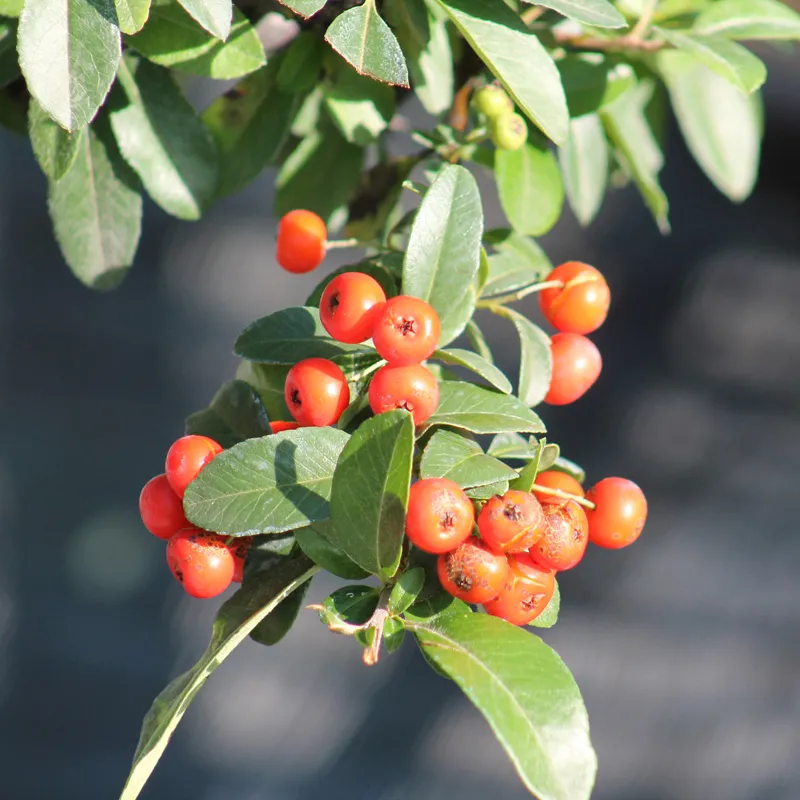
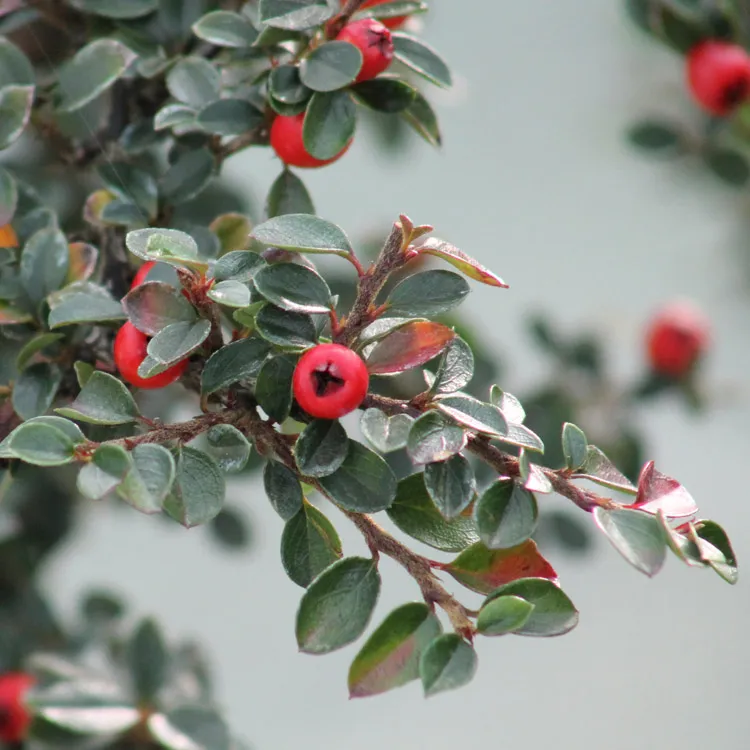
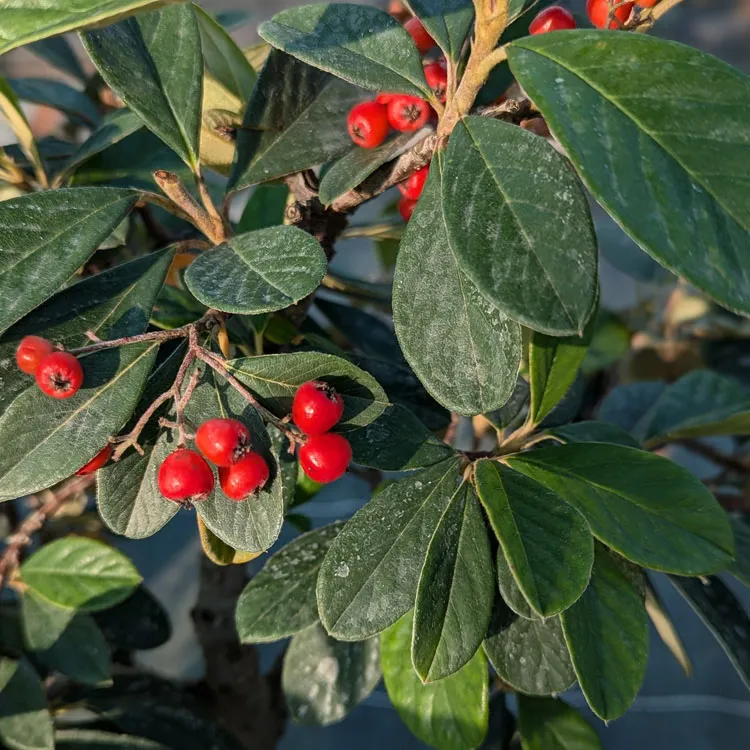
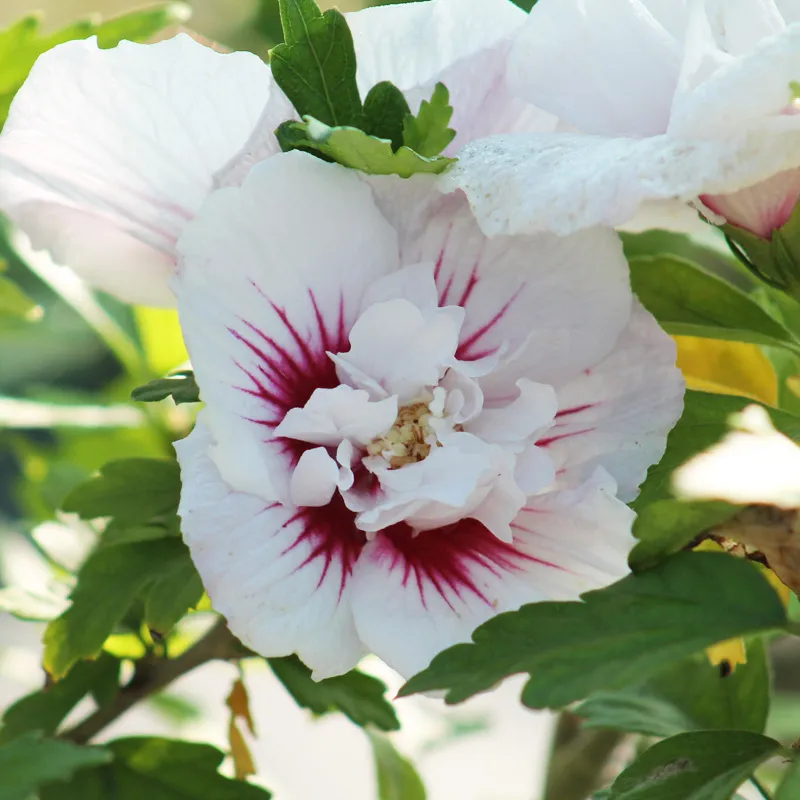
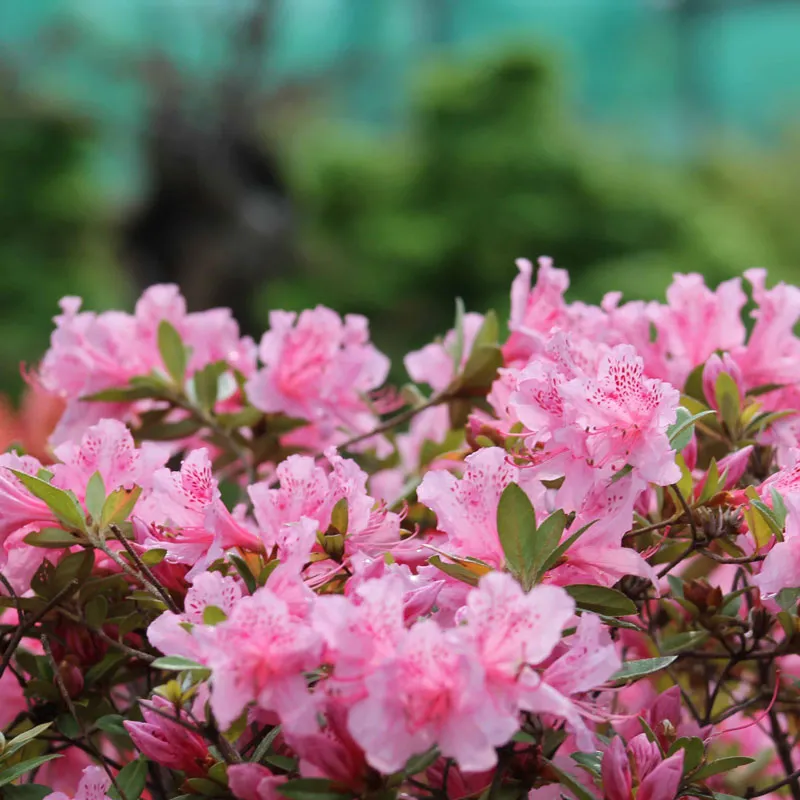
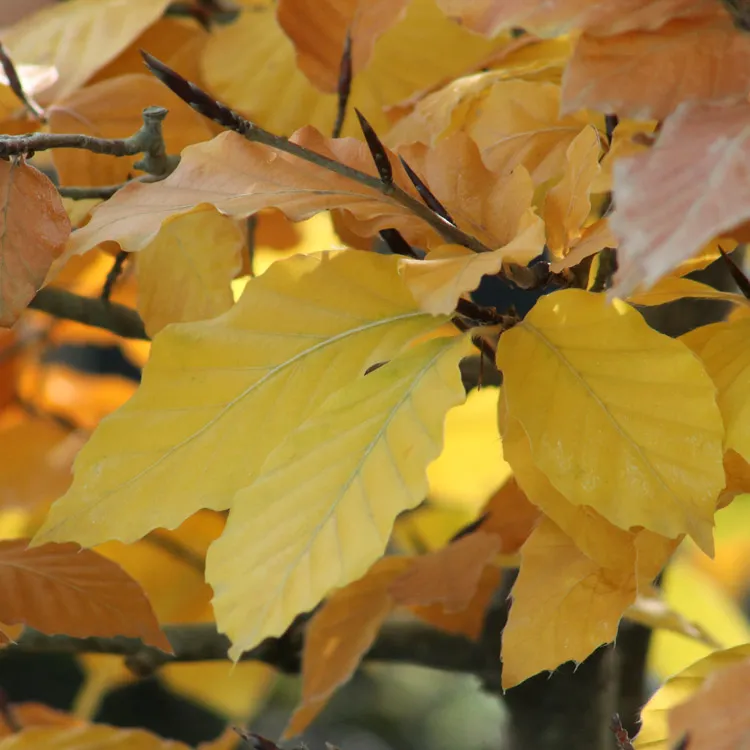
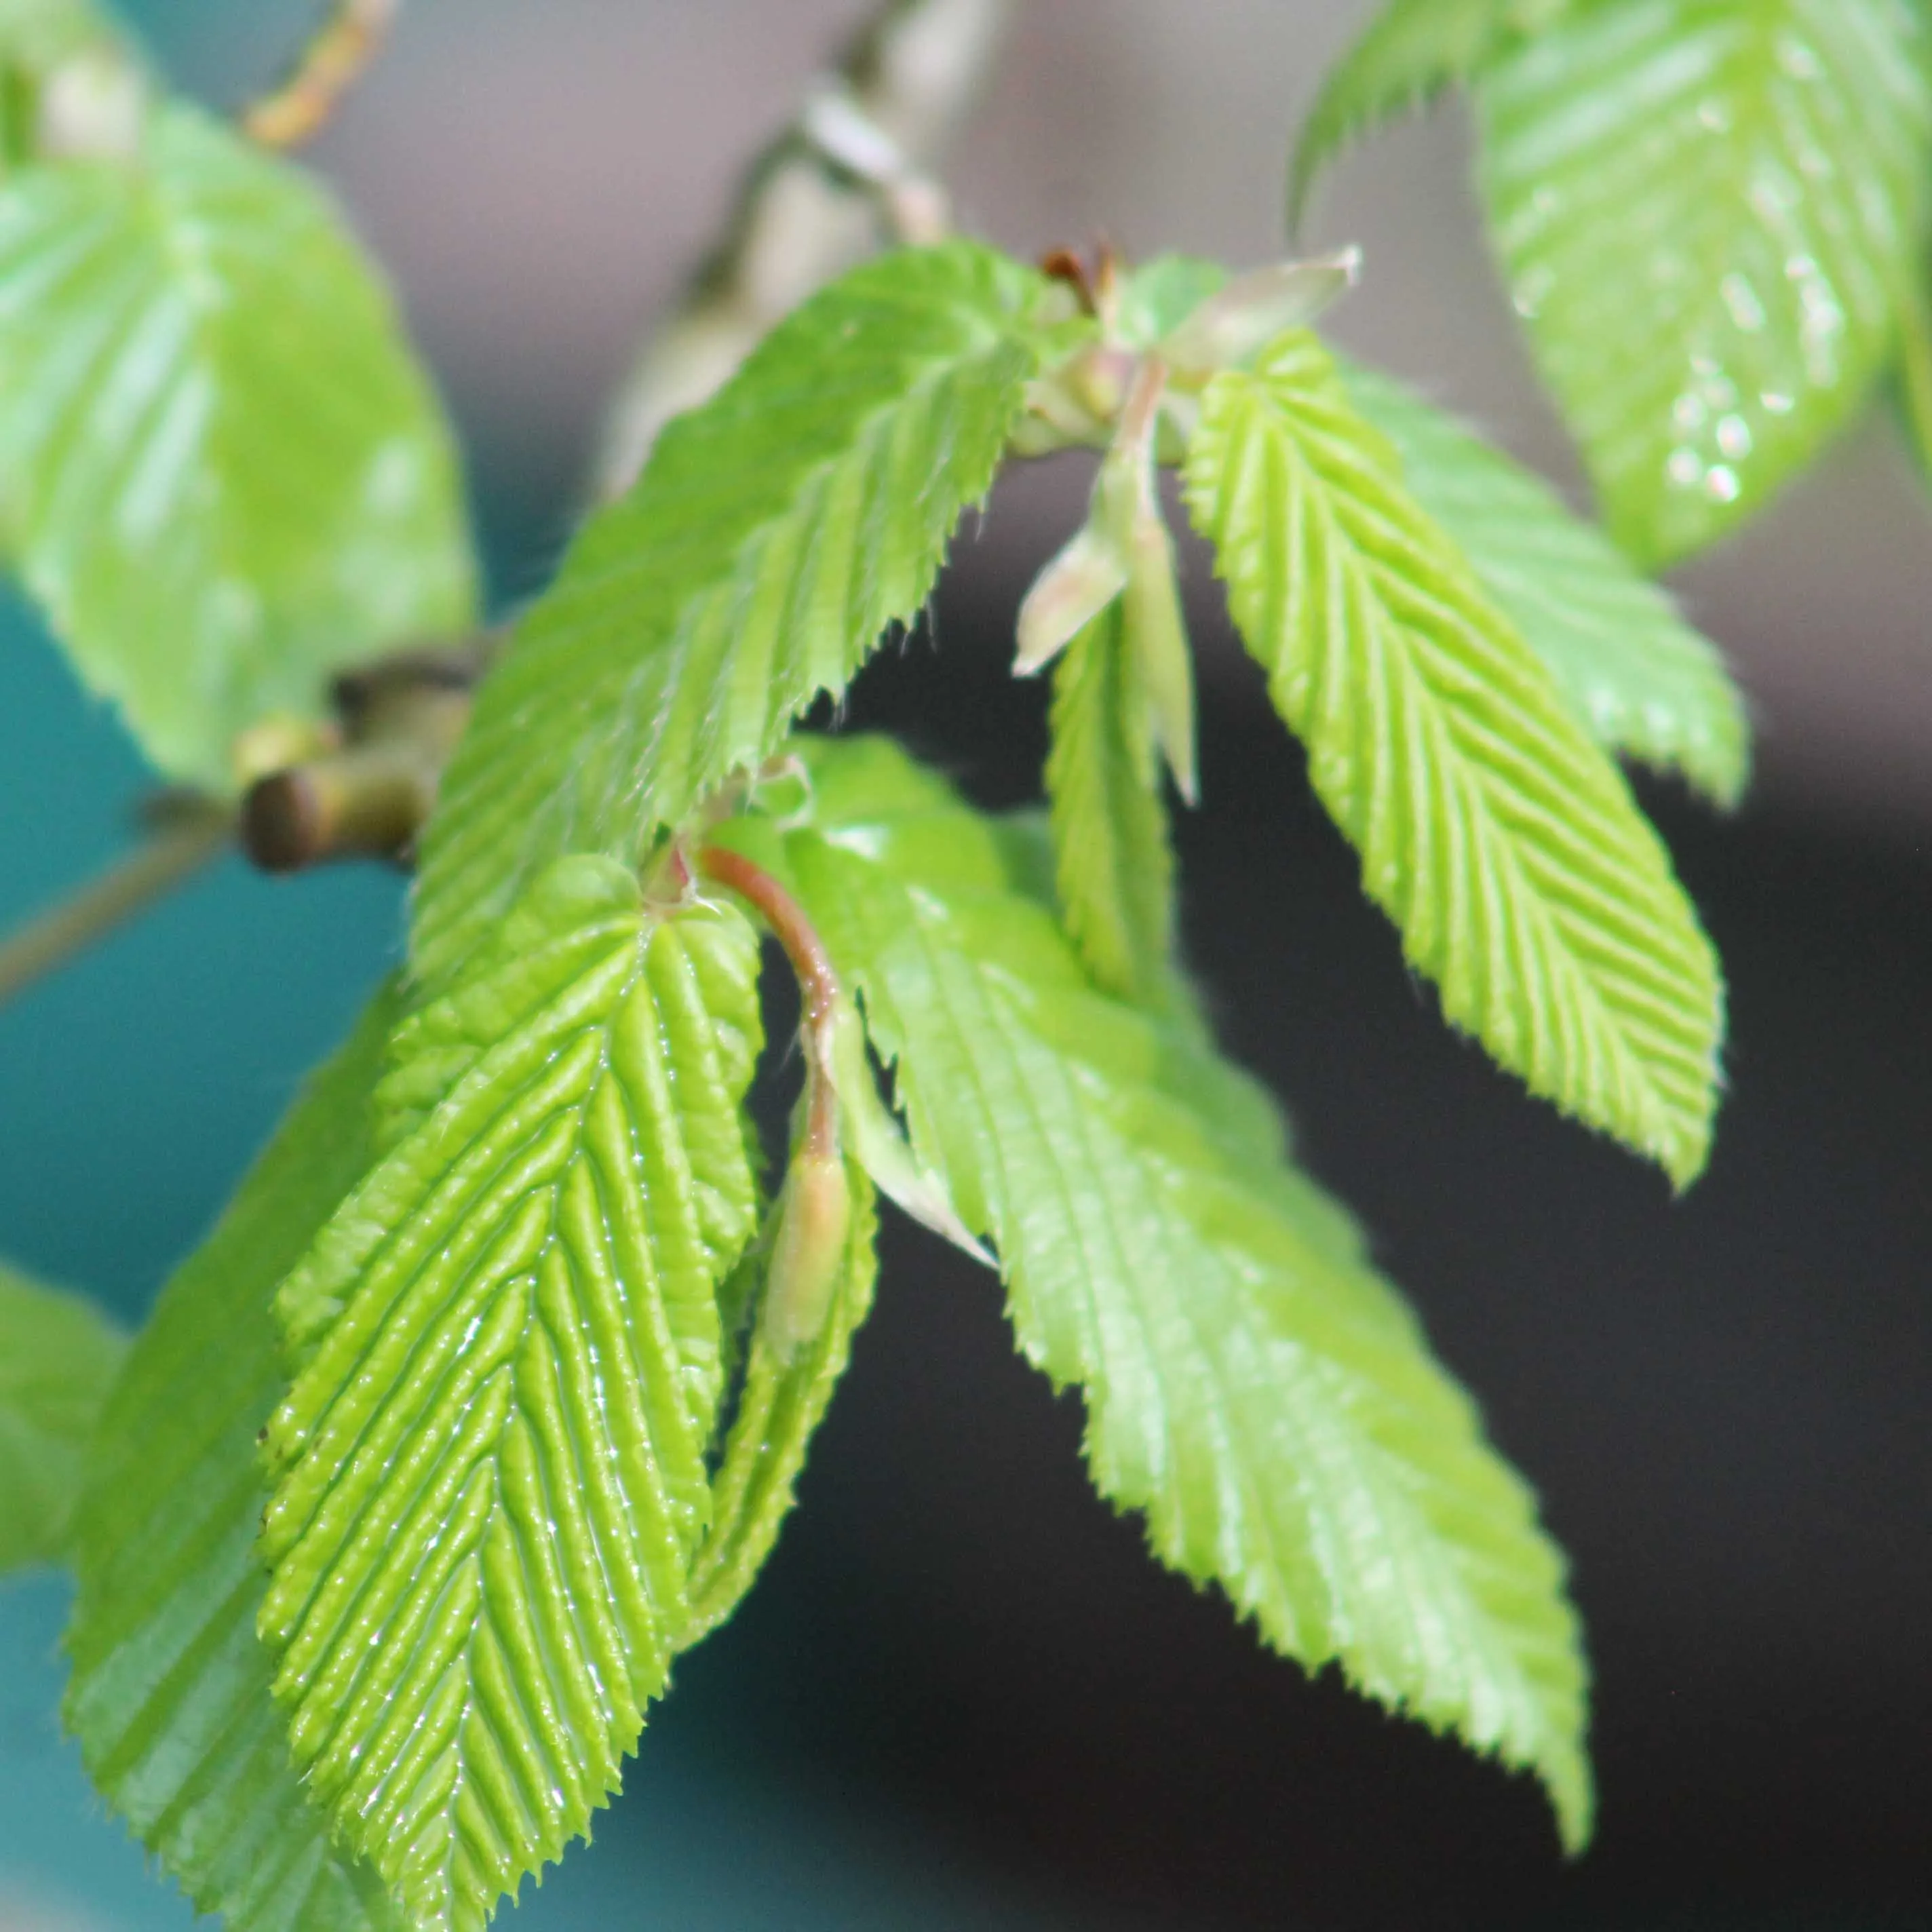
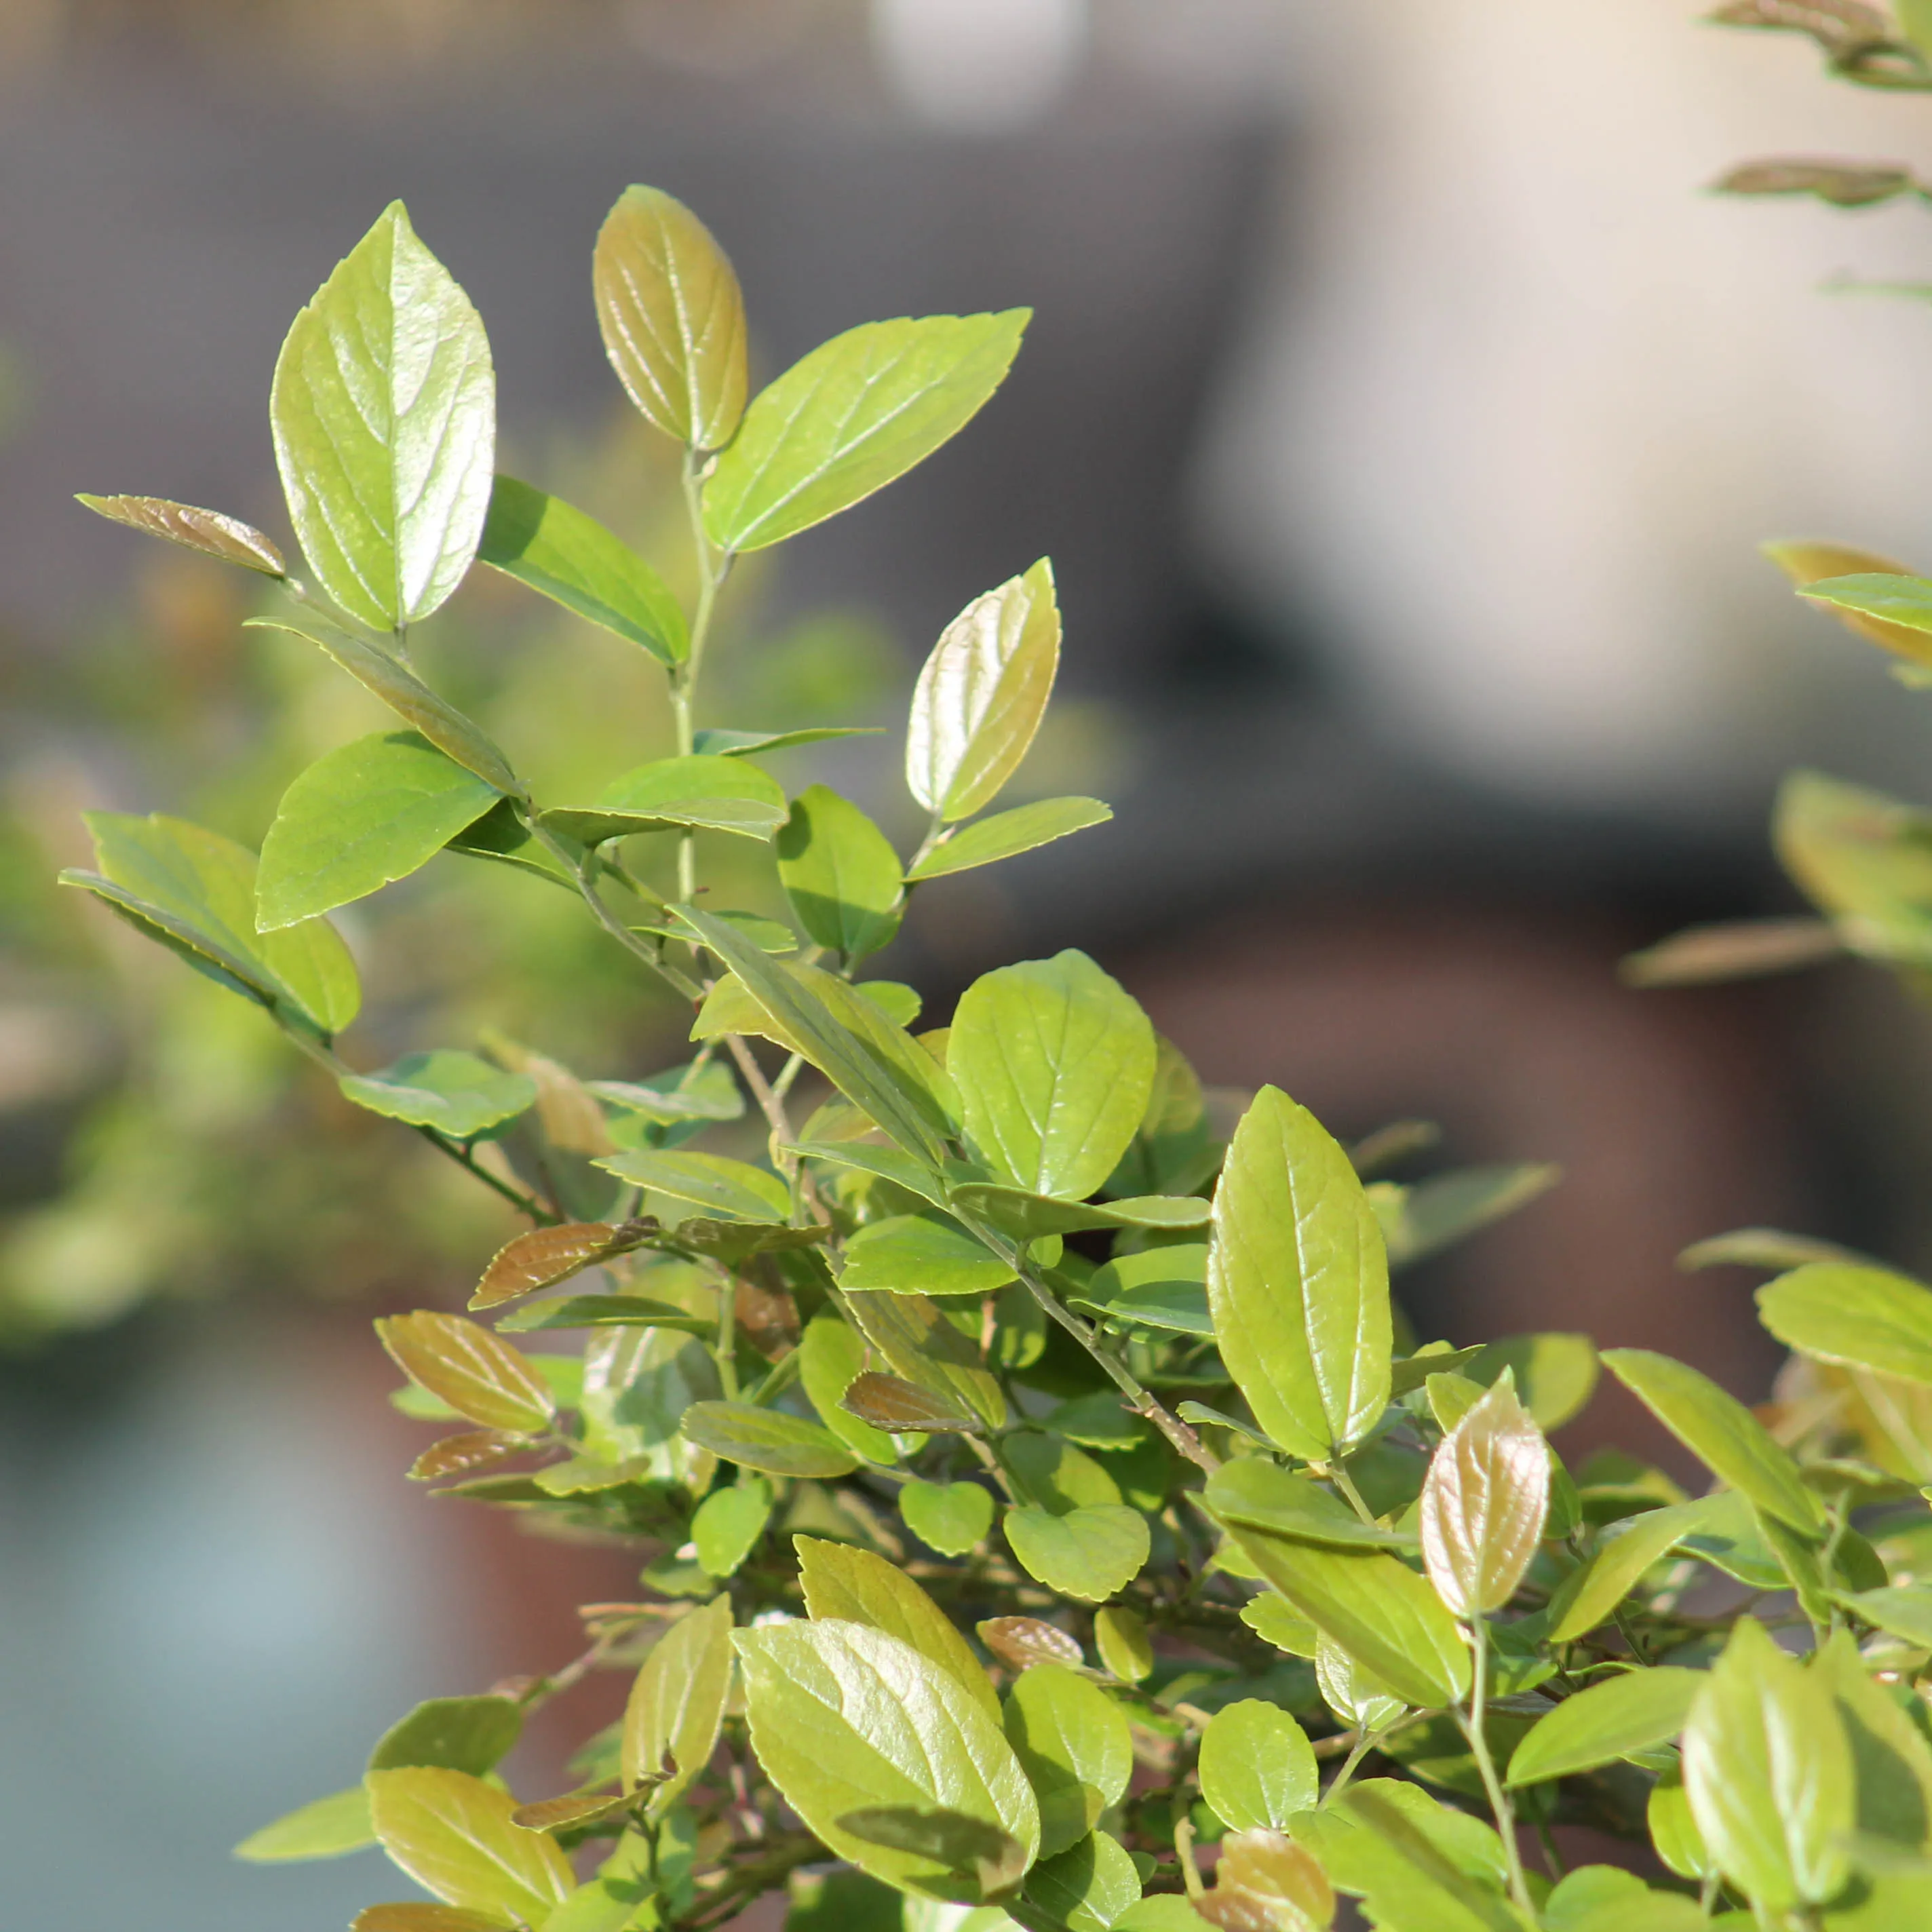
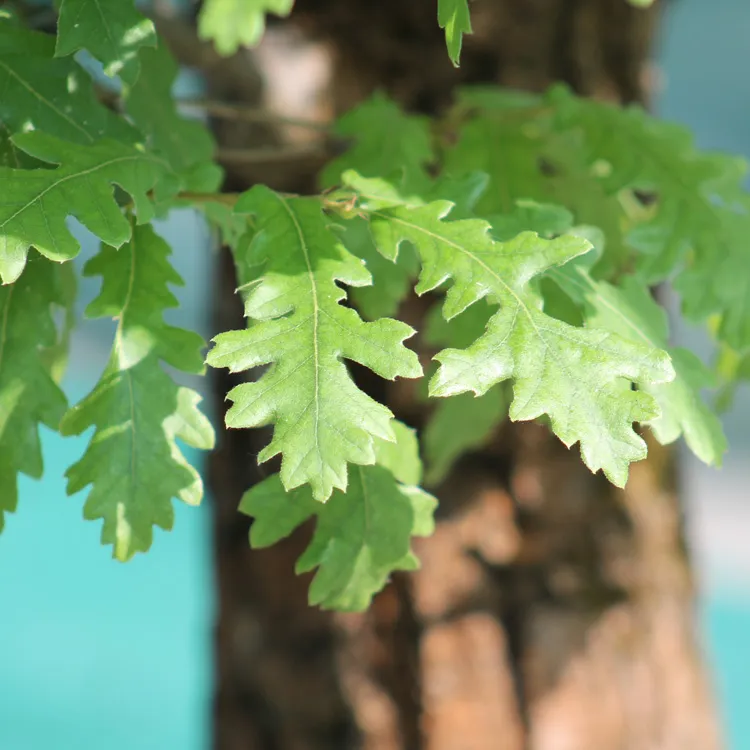
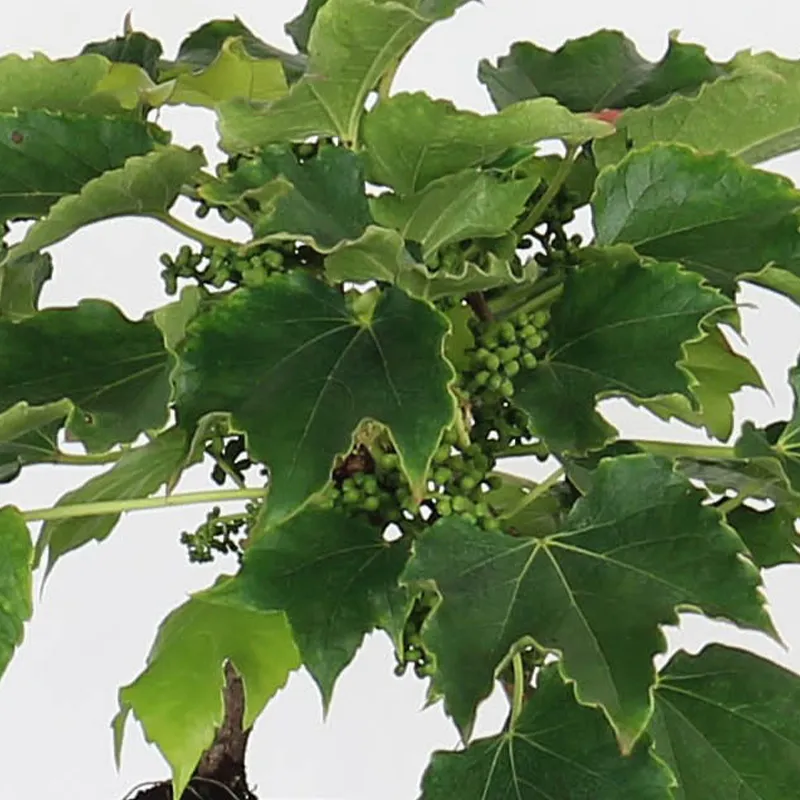
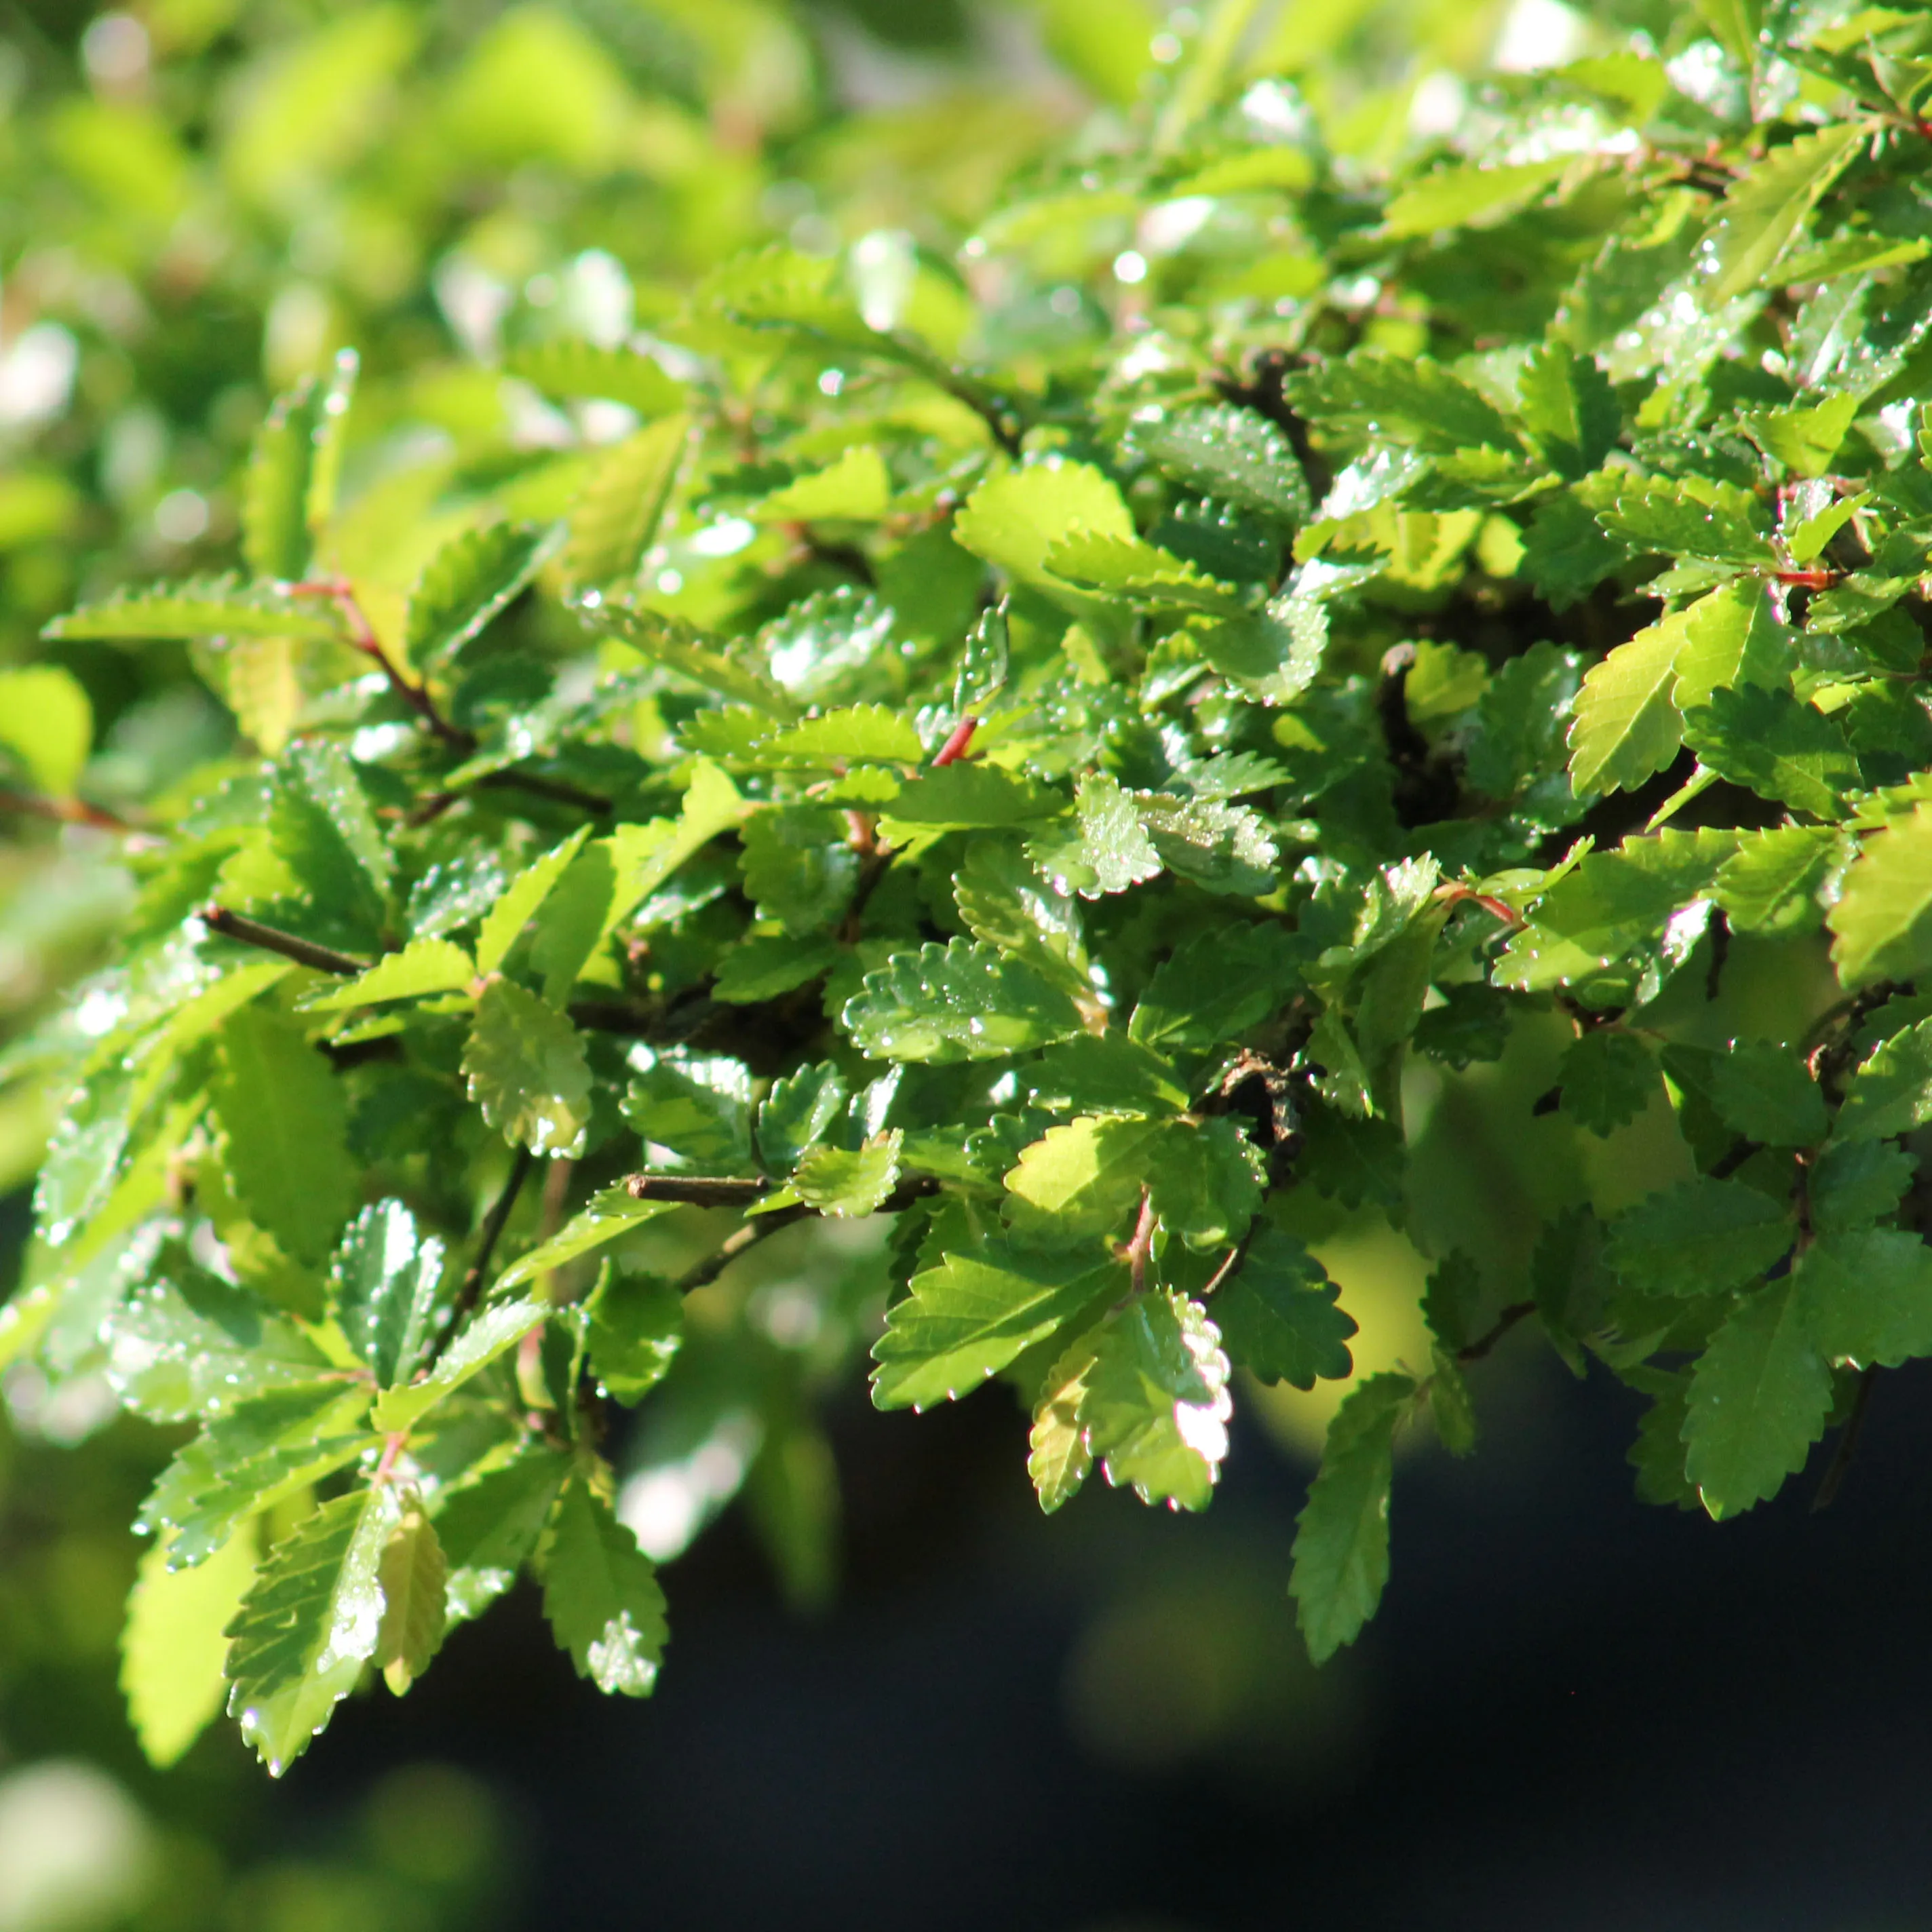
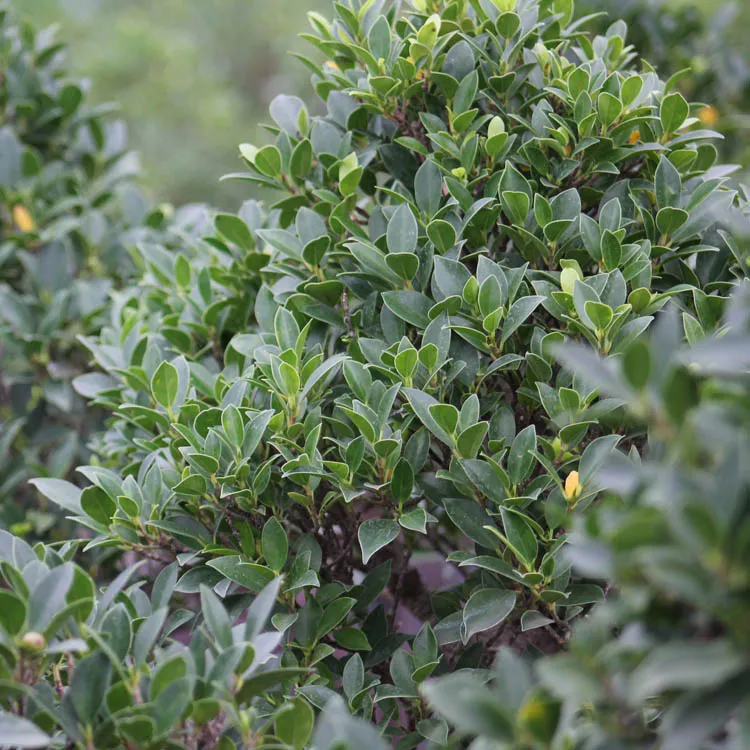
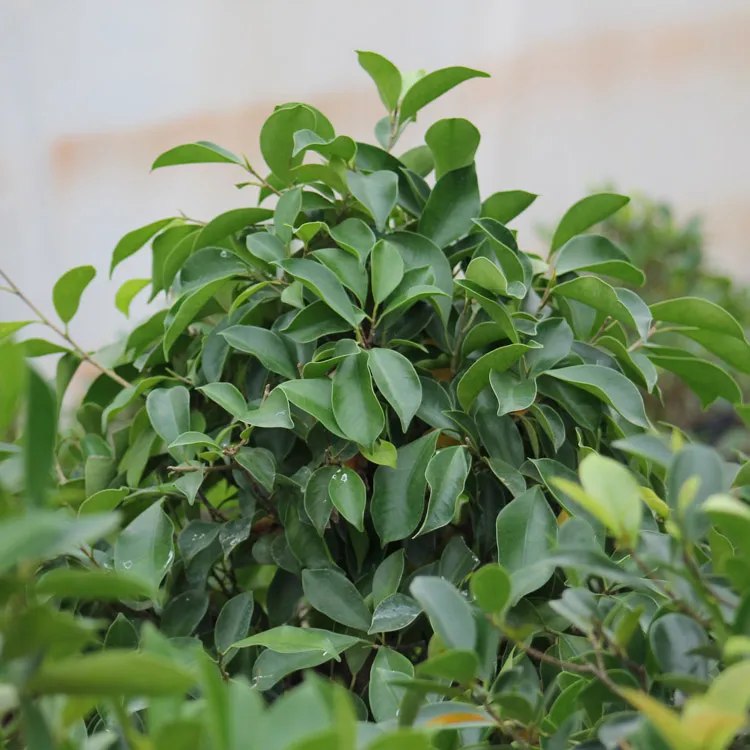
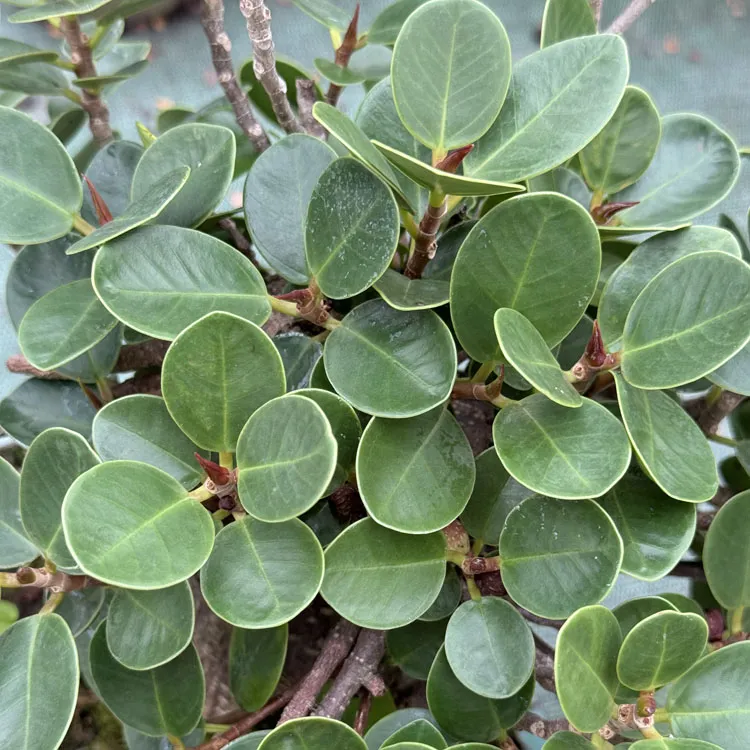
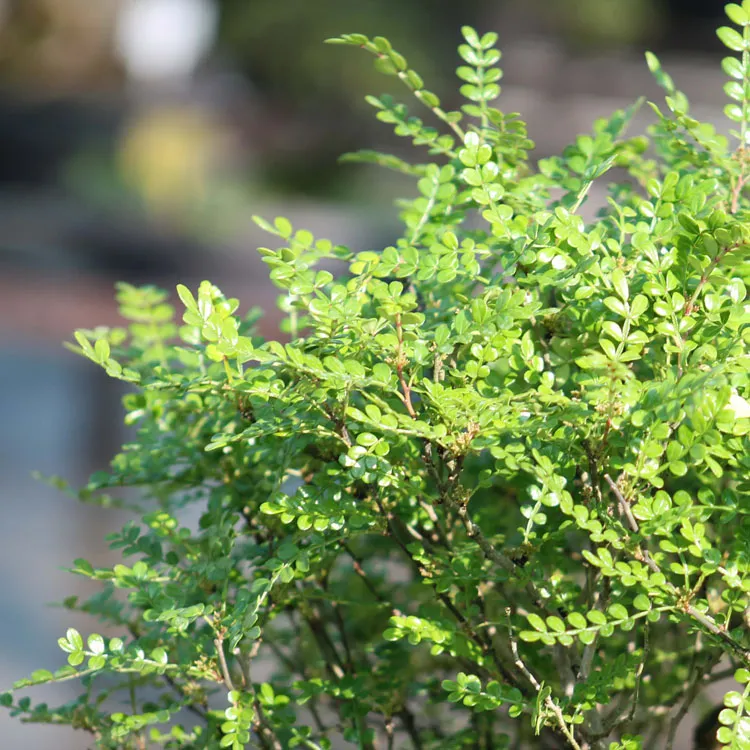
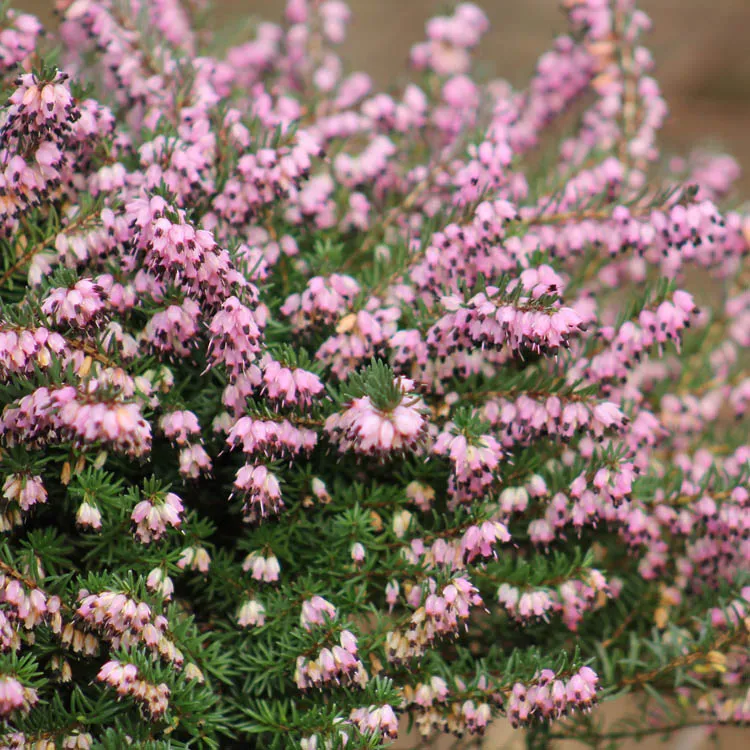
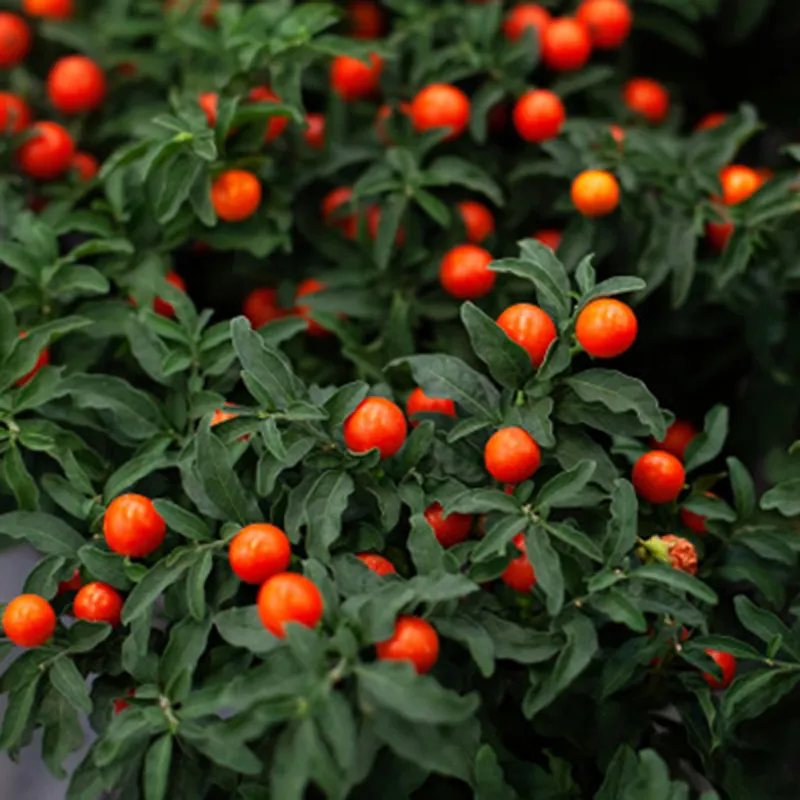
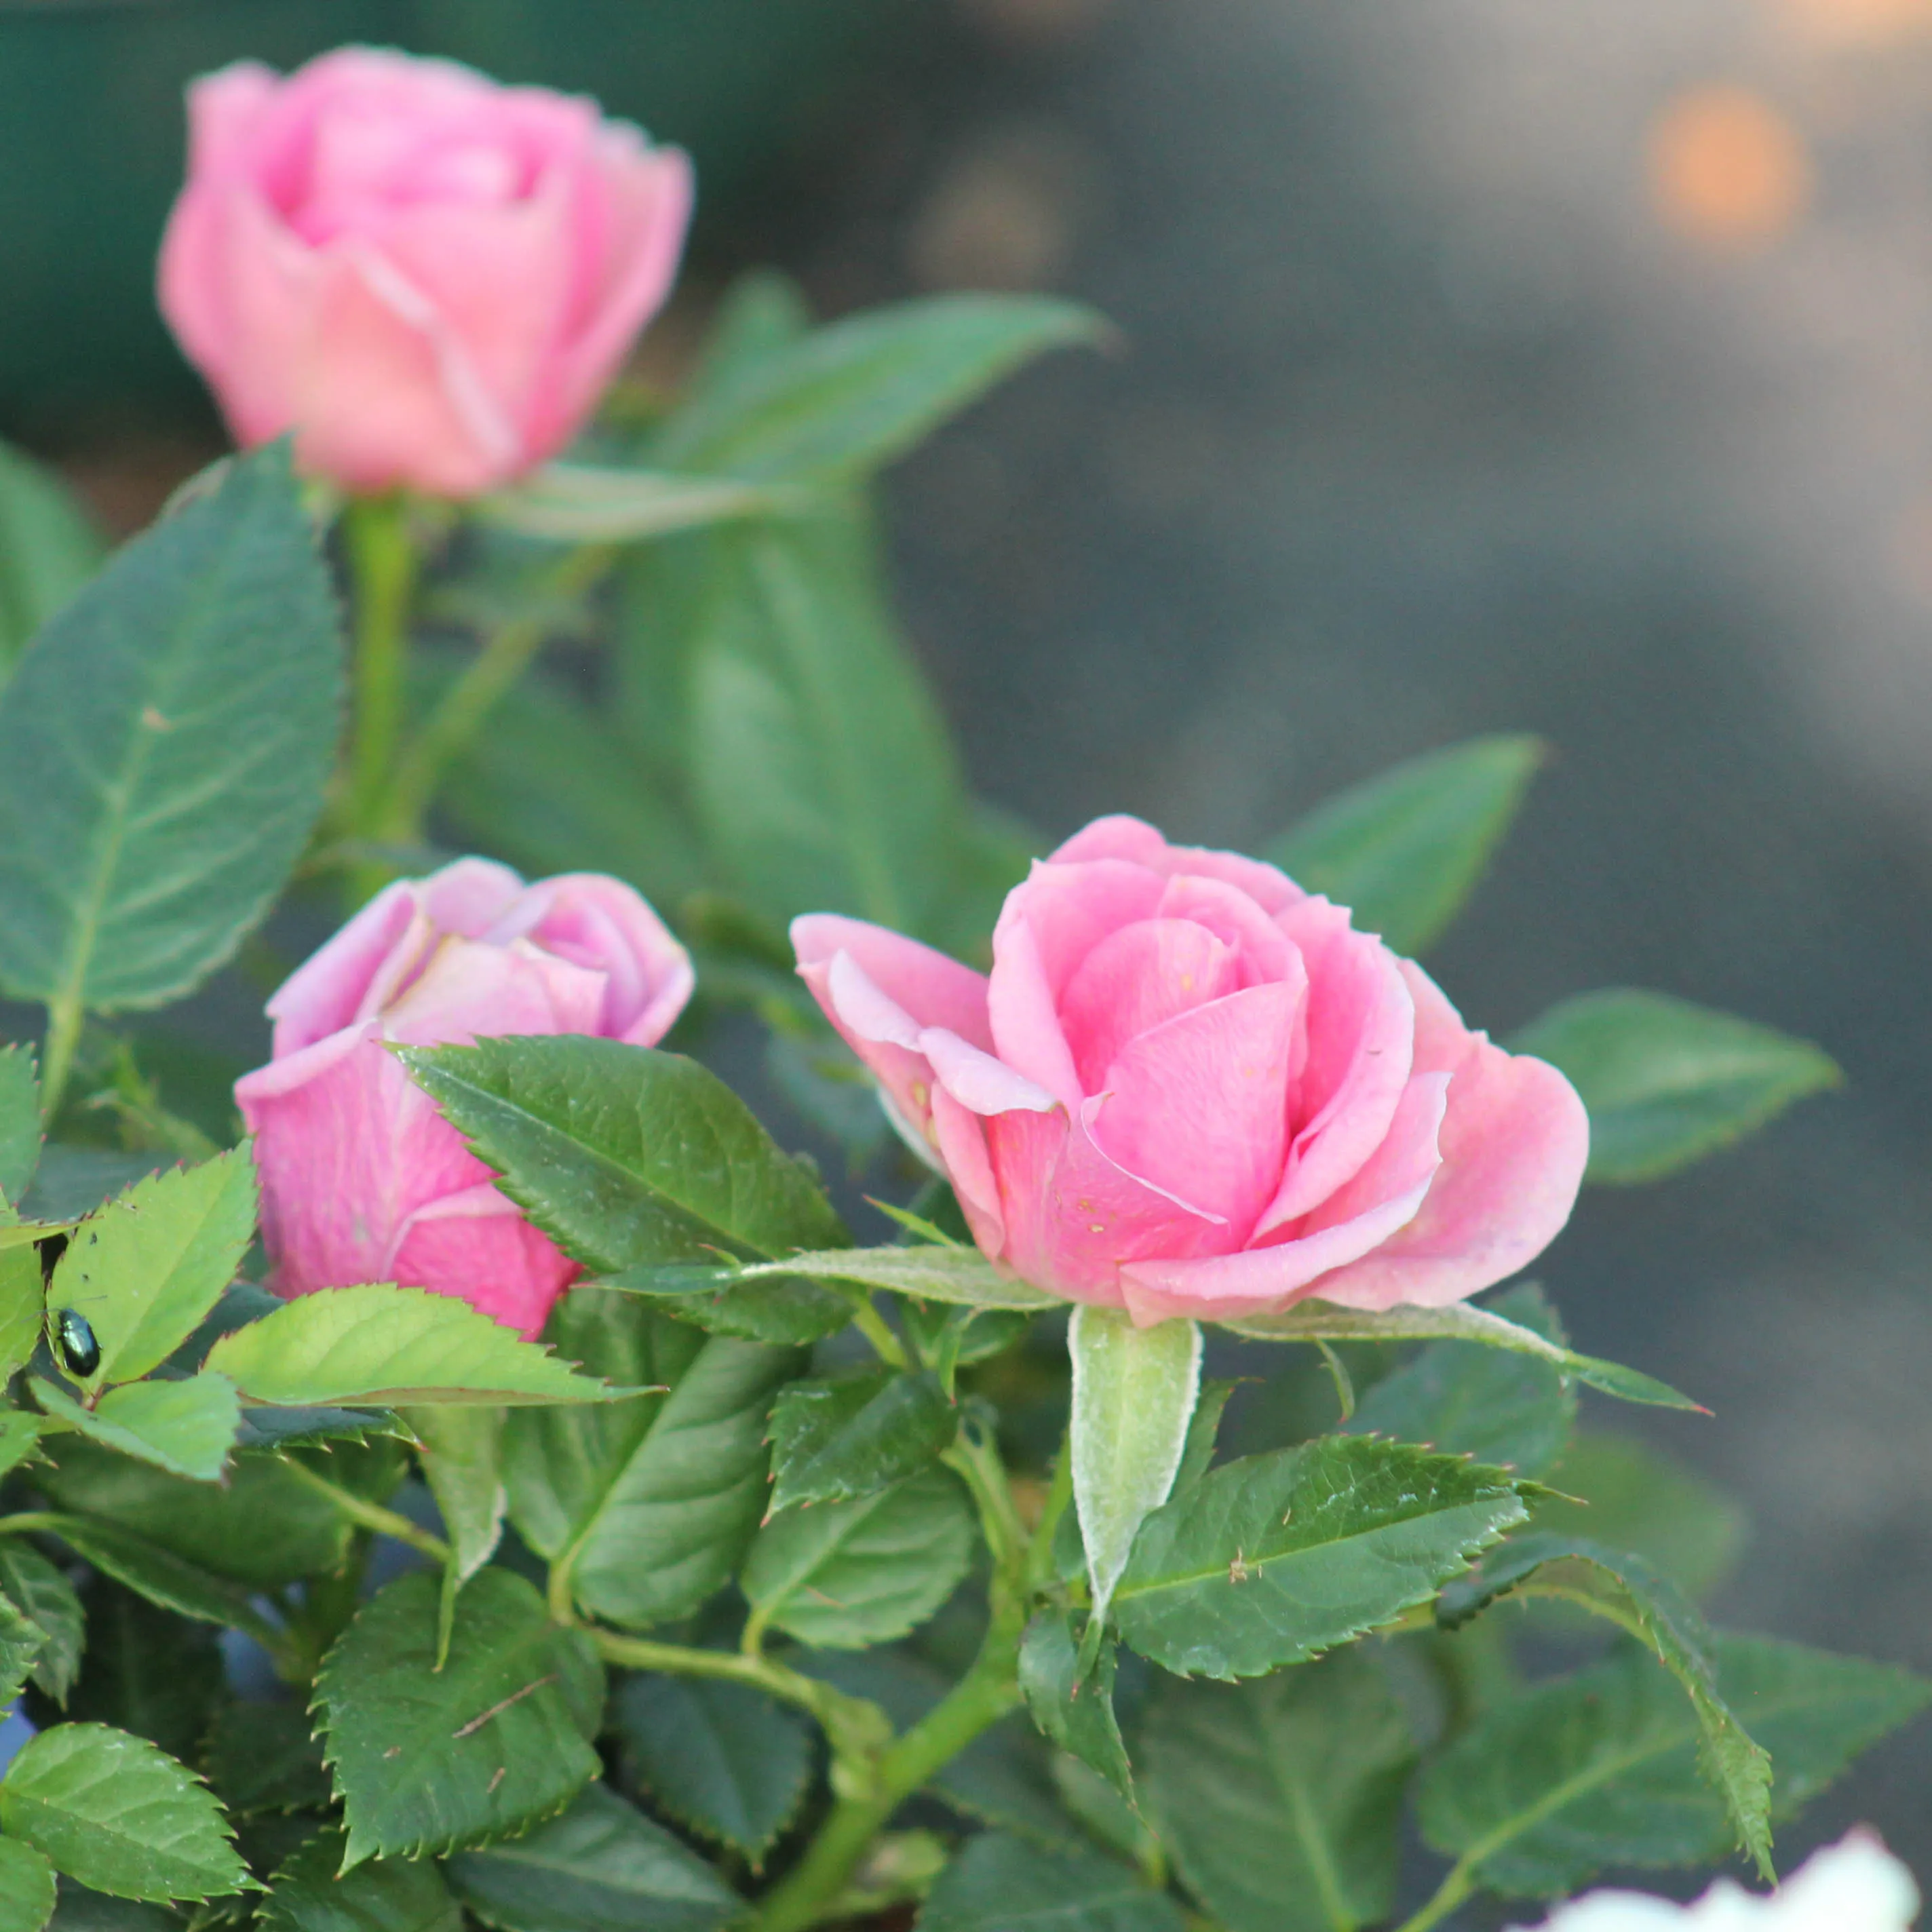
Which species are interesting to sow to create a bonsai? There are a lot of them. Here is a non-exhaustive list: Japanese maples, field maple, hornbeam, beech, hawthorn, pyracantha, Everest or Coccinella apple, linden, hackberry, pedunculate oak, etc. As for conifers, pines (especially Scots pine) are the easiest.
From seed to baby bonsai
The first step will be to germinate the seeds you have collected.
When should seeds be sown? From fall to spring, but it's important to respect nature's cycle, or at least make a seed understand that it's a good time to give birth to a small tree.
In order to germinate a seed, it is necessary to cause them to " awaken ". Because you've probably noticed that the seeds fall to the ground in the fall but don't germinate until spring. This is known as the " dormant period."

If a seed were to germinate at the beginning of winter, the freezing temperatures would be fatal for the small seedling that would not have accumulated enough strength to resist.
To ensure proper germination, it is therefore necessary to "give a cold snap" to the seeds, to make them understand that it is winter, then milder temperatures. This is called " stratification ." To do this, there are 2 methods:
- Sow in the fall, and leave your containers outside, protecting them from prolonged rains (prefer watering by hand when the top of the substrate is dry). When spring arrives, the seedlings will start to emerge from the substrate;
- Mix the seeds in a plastic bag containing slightly damp sand, and place everything for 2 months in the crisper drawer of your refrigerator. As early as April, you can isolate the seeds from the sand and sow them.
Some seeds also require a little preparation before sowing, especially those of fruit trees, such as apple trees (Malus Everest or Coccinella). Each fruit has several seeds; In nature, the fruit falls to the ground, decomposes, releasing the seeds.
Instead, we advise you to open the small apples to extract the small seeds that are inside. You'll have a much better chance of seeing them germinate.
To sow your seedlings, prepare containers in which you will only put one type of tree (so as not to mix them):
- On the bottom, put a layer of your usual bonsai substrate, draining with a good share of organic matter to retain moisture;
- Place the seeds on the substrate, leaving space between them;
- Cover thinner substrate with a layer of 1 to 2 centimetres;
- Water in a light rain so as not to disturb the substrate.
Transplanting seedlings
When your plants have grown at least two pairs of leaves, it's time to transplant them into small, individual pots. If you continue to grow them in a container, the roots will mix together and it will become very difficult to separate them.

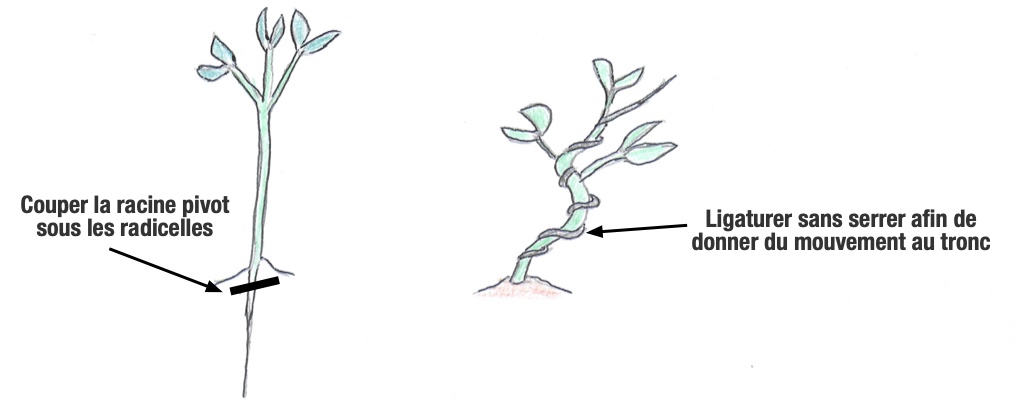
There is an essential step to do at this time: cutting the taproot. It is the large root, an extension of the trunk, that will try to sink into the ground to anchor the tree. Now, we are doing bonsai, and that taproot is useless.
What we want is to have roots that go star-shaped around the trunk. This is called NEBARI (which in Japanese, literally means " spreading roots ").
By cutting the pivot below small lateral roots, you will stimulate them, and they will take over. It's important not to make this cut too early, because if there are no roots other than the tap, the plant will have a hard time surviving.
Use a cutter with a clean blade, and trim about 1 centimeter below the side roots. Some also use cutting hormone in this cut, in order to promote the appearance of new roots.
Some of your plants won't be able to handle this pivot cut, so it's normal to have shedding. Those who resist are the most vigorous. So don't hesitate to sow many more seeds than you need (at worst, you can give some to your friends!).
After transplanting, store your pots in a humid atmosphere, without direct sunlight to avoid dehydration.
Giving a first shape
When transplanting and cutting the pivot, begin to shape what will become the trunk. It is still flexible, with a ligature thread laid roughly (without tightening), give a first curve near the start of the roots.
It is always more aesthetically pleasing to have a trunk that starts from the ground with a slight curvature, rather than a straight start.
Keep in mind that as the plant grows, the curve you give will fade. So don't hesitate to make one or more very pronounced curves.
If your goal is to create a bonsai in a straight style (CHOKKAN) or in a "broom " style (HOKIDACHI), it will be the other way around. You will use the ligature to keep the trunk rigorously straight. It's important to do this when the plant is still young, because as soon as it starts to grow and the trunk has a slight curve, it will be impossible to rectify afterwards.
During the following weeks, keep an eye on the ligature so that it doesn't get stuck (that's also why you have to make it very loose). As soon as it starts to tighten, you can take it off.
Get an idea of the bonsai you want to train
One of the difficulties of creating a bonsai from seed is that you have to have a more or less precise idea of the shape you want to achieve. Of course, you can let it grow and see which way the tree will take you. But starting from a seedling means having the possibility of being able to guide the plant in the chosen direction.
If you want to do a stunt, you need to give the trunk the right shape in the first few weeks.
Obviously, the chosen form must be done with respect for the essence. A cascading shape rarely works well with maple trees. You don't want to go against nature, but guide your tree to a shape that it could take in nature.
You also need to know what the final height of your bonsai will be, what trunk diameter you want to achieve. These choices are decisive for the operations you will carry out in the following months and years.
Having an idea of what you want to achieve is also not knowing precisely where the branches are going to be and how they are going to be. Creating a bonsai is not about carving, and there is always a certain margin of latitude between the initial project and what you will be able to lead the tree towards.
Starting from small plants also makes it easy to form multi-stem bonsai, or groves. In this style, you really need the trunks to be fused together at the base. When they are still seedlings, you just have to plant them against each other, whereas it becomes much more complicated when they are larger.
These multi-stems can also be used in the creation of a bonsai forest. This brings an extra aesthetic touch that is all too rarely seen. The most beautiful forests are often those that have been created with trees from seedlings.
Forming the trunk and branches
After a year of growth, you have piles of small trees just waiting to be worked. You need to start forming the trunk, as well as the main branches (those that start from the trunk).
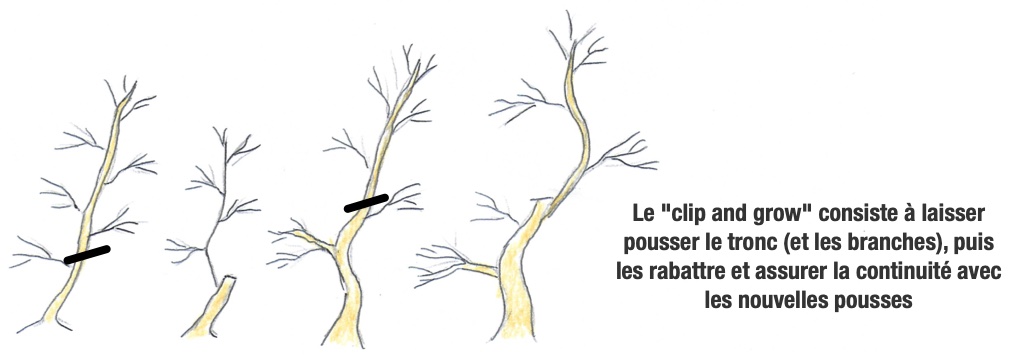
For this, there are 2 methods, and one is not better than the other, and share several concepts. Generally speaking, the principle is to let it grow to make it bigger, prune, let it grow, prune. This is the clip and grow technique.
The first method is to let the trunk grow to the desired height. The trunk, still frail, will be gradually tied as it grows, in order to give it movement.
The twigs that appear on the trunk will form the new branches, they must also be tied to put them horizontally and make them undulate to give movement.
When the trunk has reached the right height, you systematically prune the head so that the vigour is transferred to the branches, which will then start to grow.

The branches will not always be pruned once they reach the desired length. Instead, they should be allowed to grow throughout the season and then shortened during the winter. If you prune all the time, you weaken your bonsai and it will grow very slowly.
The principle is therefore to do the "clip and grow " only on the branches.
This method allows a very gentle work, without having large scars, and gives a very natural result, with soft and elegant curves. On the other hand, the training work is more time-consuming, and it is not necessarily a suitable method if you want to train a tree with a large, stocky trunk. Instead, use it for slender bonsai.
The second method is to " clip and grow " on the trunk and branches. You let the trunk grow to half the desired diameter and then cut it back sharply. Buds will appear on the bare wood. You make a selection of the twigs to keep the future head as well as some future branches.
Then you let the extension of the trunk and the branches grow, and you prune again. And so on.
This method works well if you want to get a large trunk, but the chosen species should be able to rebud easily on old wood. This is very often the case with deciduous trees, but more rarely with conifers. If you cut down the trunk of a pine tree without leaving a sap taffy, you will get a log to put in the chimney.
The movements obtained are much more marked than by ligature. In fact, you make the continuity of the trunk or a branch by using a branch that is not directly in the extension, but makes an angle. Over time, this will fade but you get very natural waves.
The big disadvantage is however that you will have large scars, which are not always easy to close. This can take years.
There is no absolute method for shaping the trunk and branches. Above all, you have to practice, and sometimes make a mix between different methods.
Should you grow in the ground?
If you leave it in a small pot, its growth is going to be limited. On the other hand, the more space a tree has for its roots to develop, the more it will grow and grow. If your goal is to create a bonsai tree with a large trunk, a passage in the ground allows you to go faster. But it's not without consequences.
First of all, let's make it clear that there is no need to put your plants in the ground. It is best to grow them for at least 2 or 3 years in pots, so that they gain strength. Only when the trunk is at least 1 centimeter in diameter can you consider growing it in the open field.
Take the opportunity to work the roots, cutting off those that dip downwards in favor of those that grow horizontally.
In the first year in the ground, you will have the impression that your tree is not growing vigorously. It's normal, the roots are taking hold. It is only the following year that you will see rapid development, with branches that can grow more than a meter long, and the trunk that starts to grow.
The problem with growing in the ground is that development is (too) fast. You're going to have long internodes, big roots are going to run through the earth. If you are not careful, you will quickly end up with a coarse tree, unsightly branches that will have to be cut (which will leave scars).
This is the price to pay for rapid trunk enlargement. You can't have your cake and eat it too.
However, a good compromise is to grow in a large container, i.e. a container much larger than a bonsai pot, in which your tree will be able to flourish, but not as much as growing in the open field.
At the nursery, some of our bonsai trees have spent a few years in the ground. Our goal was to form a big trunk, nothing more. Then we grow them in large pots in order to form the branches. This results in shorter internodes, resulting in less coarse branch movements.
Work on the root should also be regular. Every 2 or 3 years, repot your bonsai by pruning the roots that dip, shorten those that grow more horizontally. They are the ones that will promote a widening of the base of the trunk.
How long to make a bonsai from seed?
Sowing is THE real school of patience. Don't expect to get something that looks like a bonsai until 10 years of good cultivation. Then you have the basic structure; The trunk and main branches have the desired diameter.
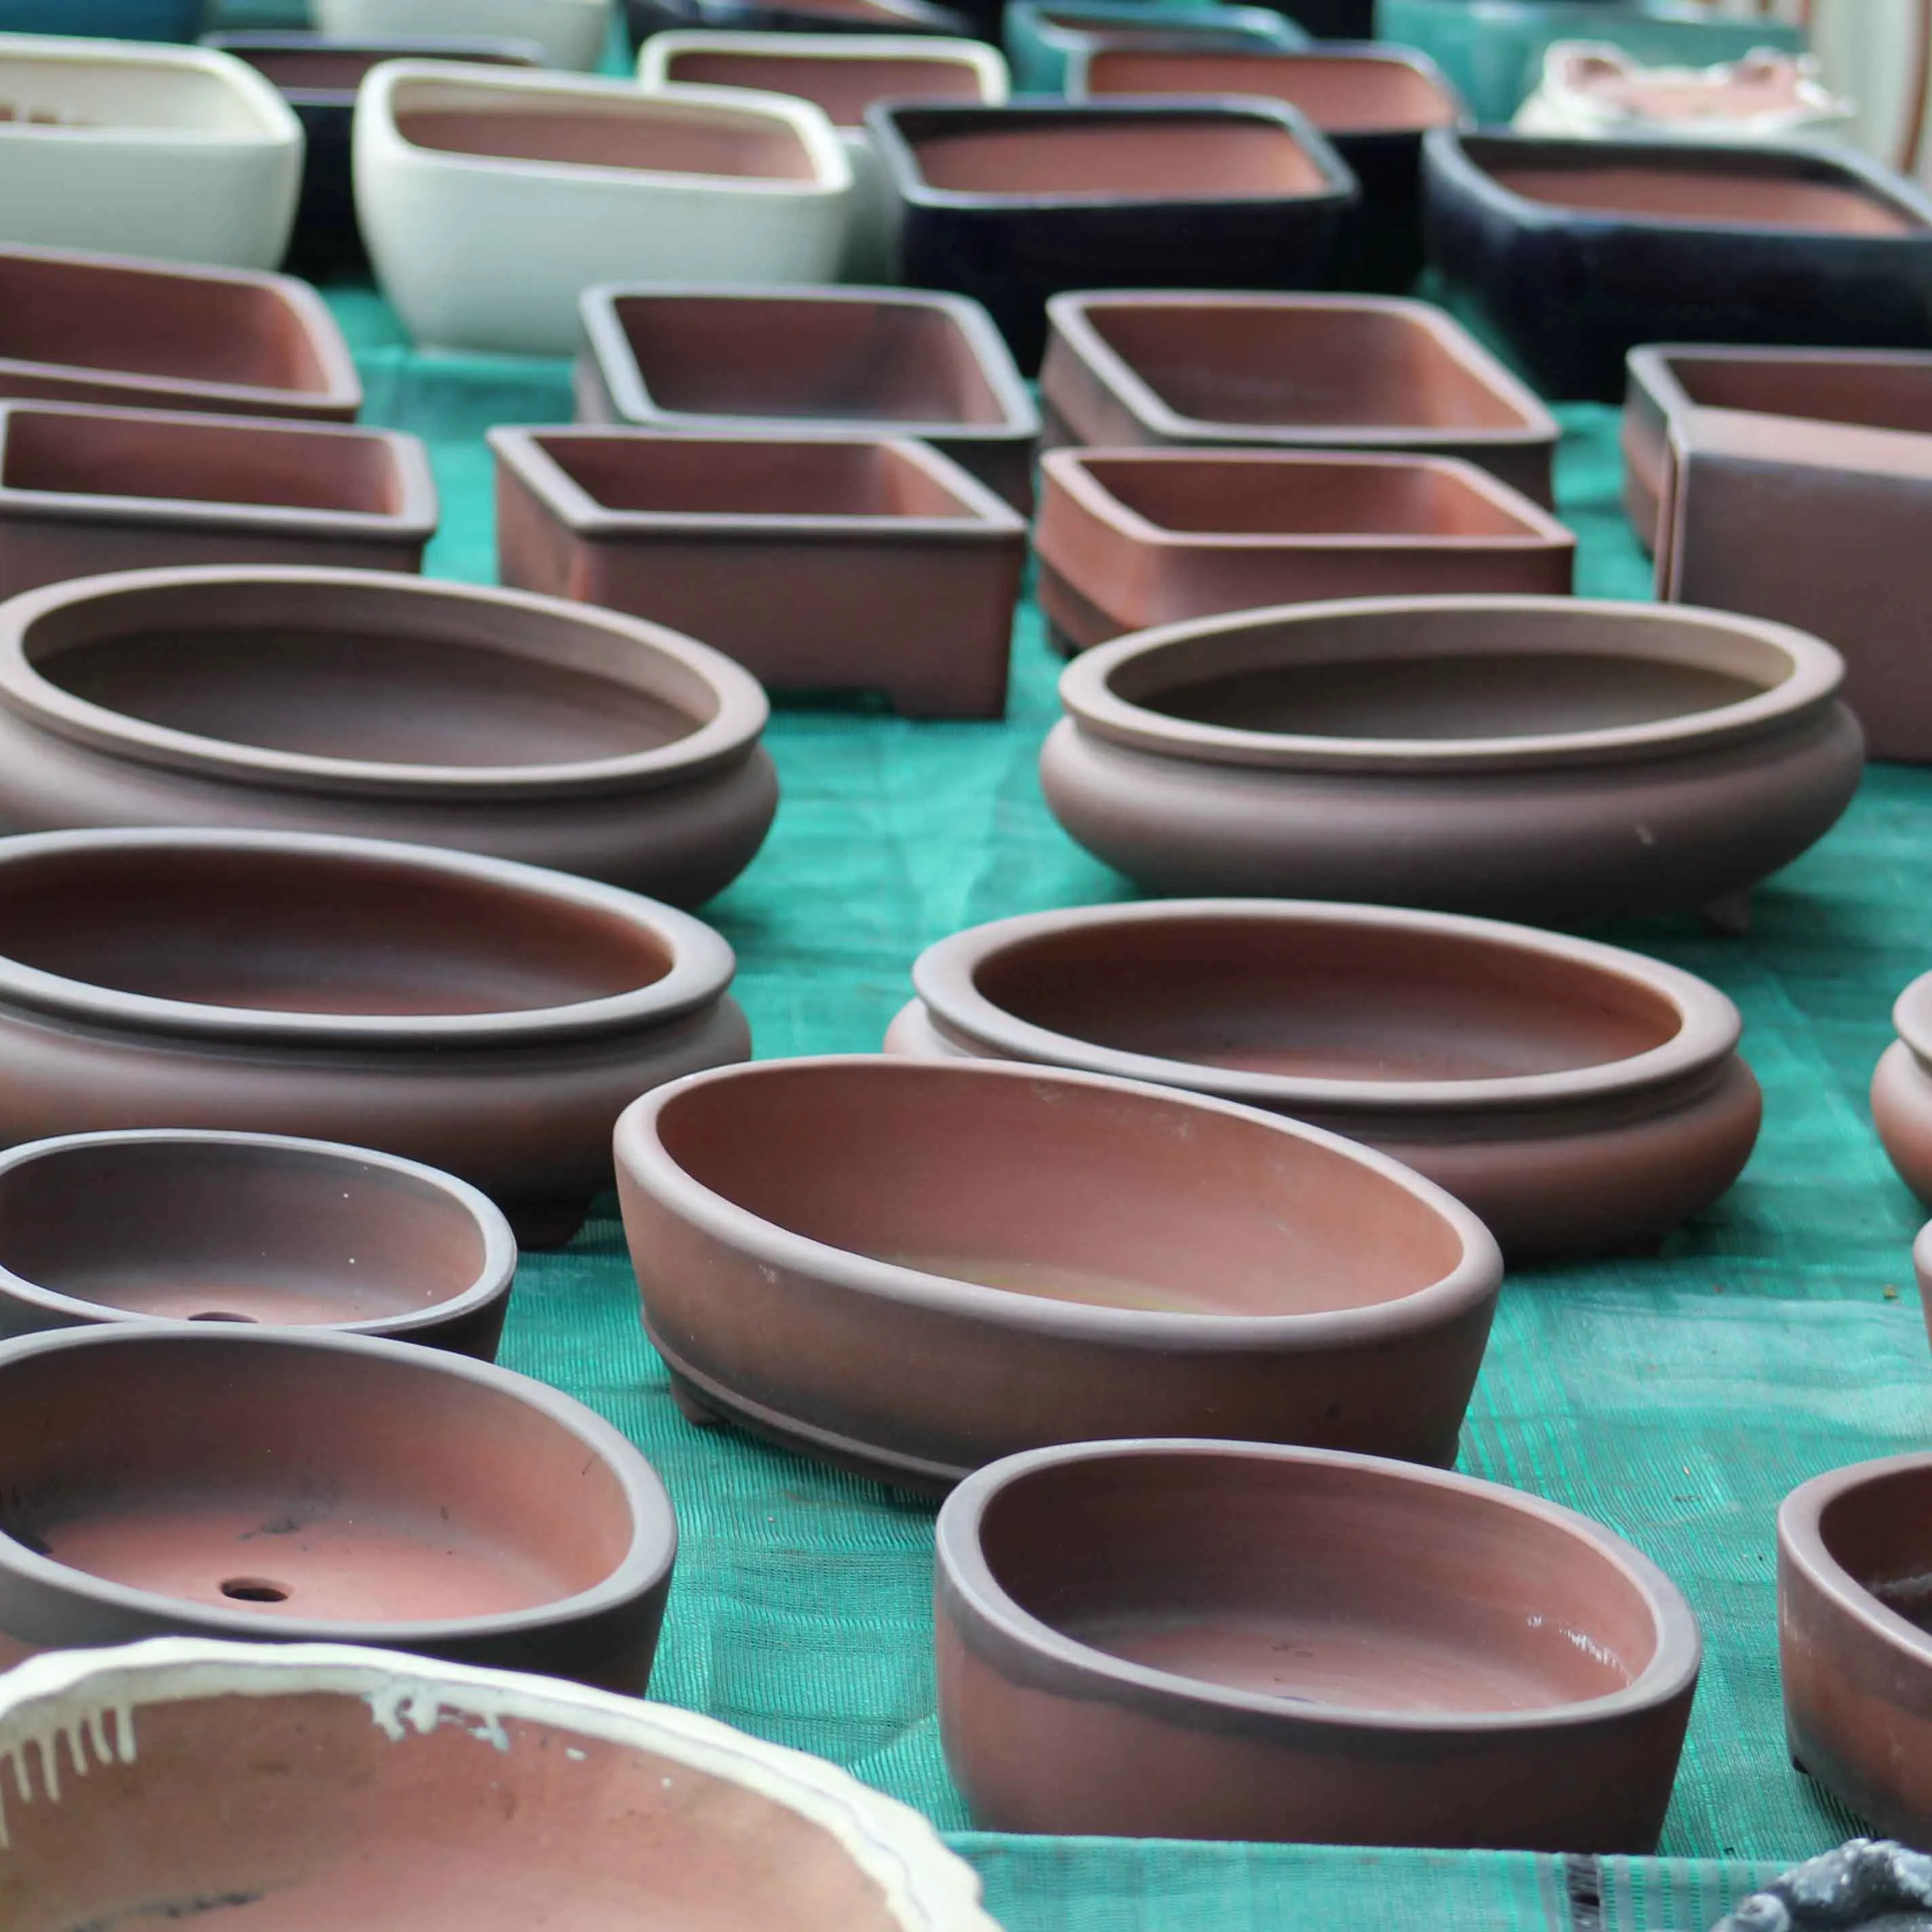
The next step is refinement. She is the one who will transform this pre-bonsai into a bonsai. You're going to work on the branching, finish closing the scars. It is therefore important to grow in a pottery that will be almost the size of the final pot.
Repotting should be more spaced out, the roots should be a little tightly packed, they should develop less quickly and they should divide. What happens at the roots, happens at the foliage. To obtain a fine branching, you need to have a lot of small rootlets (ideally close to the trunk).
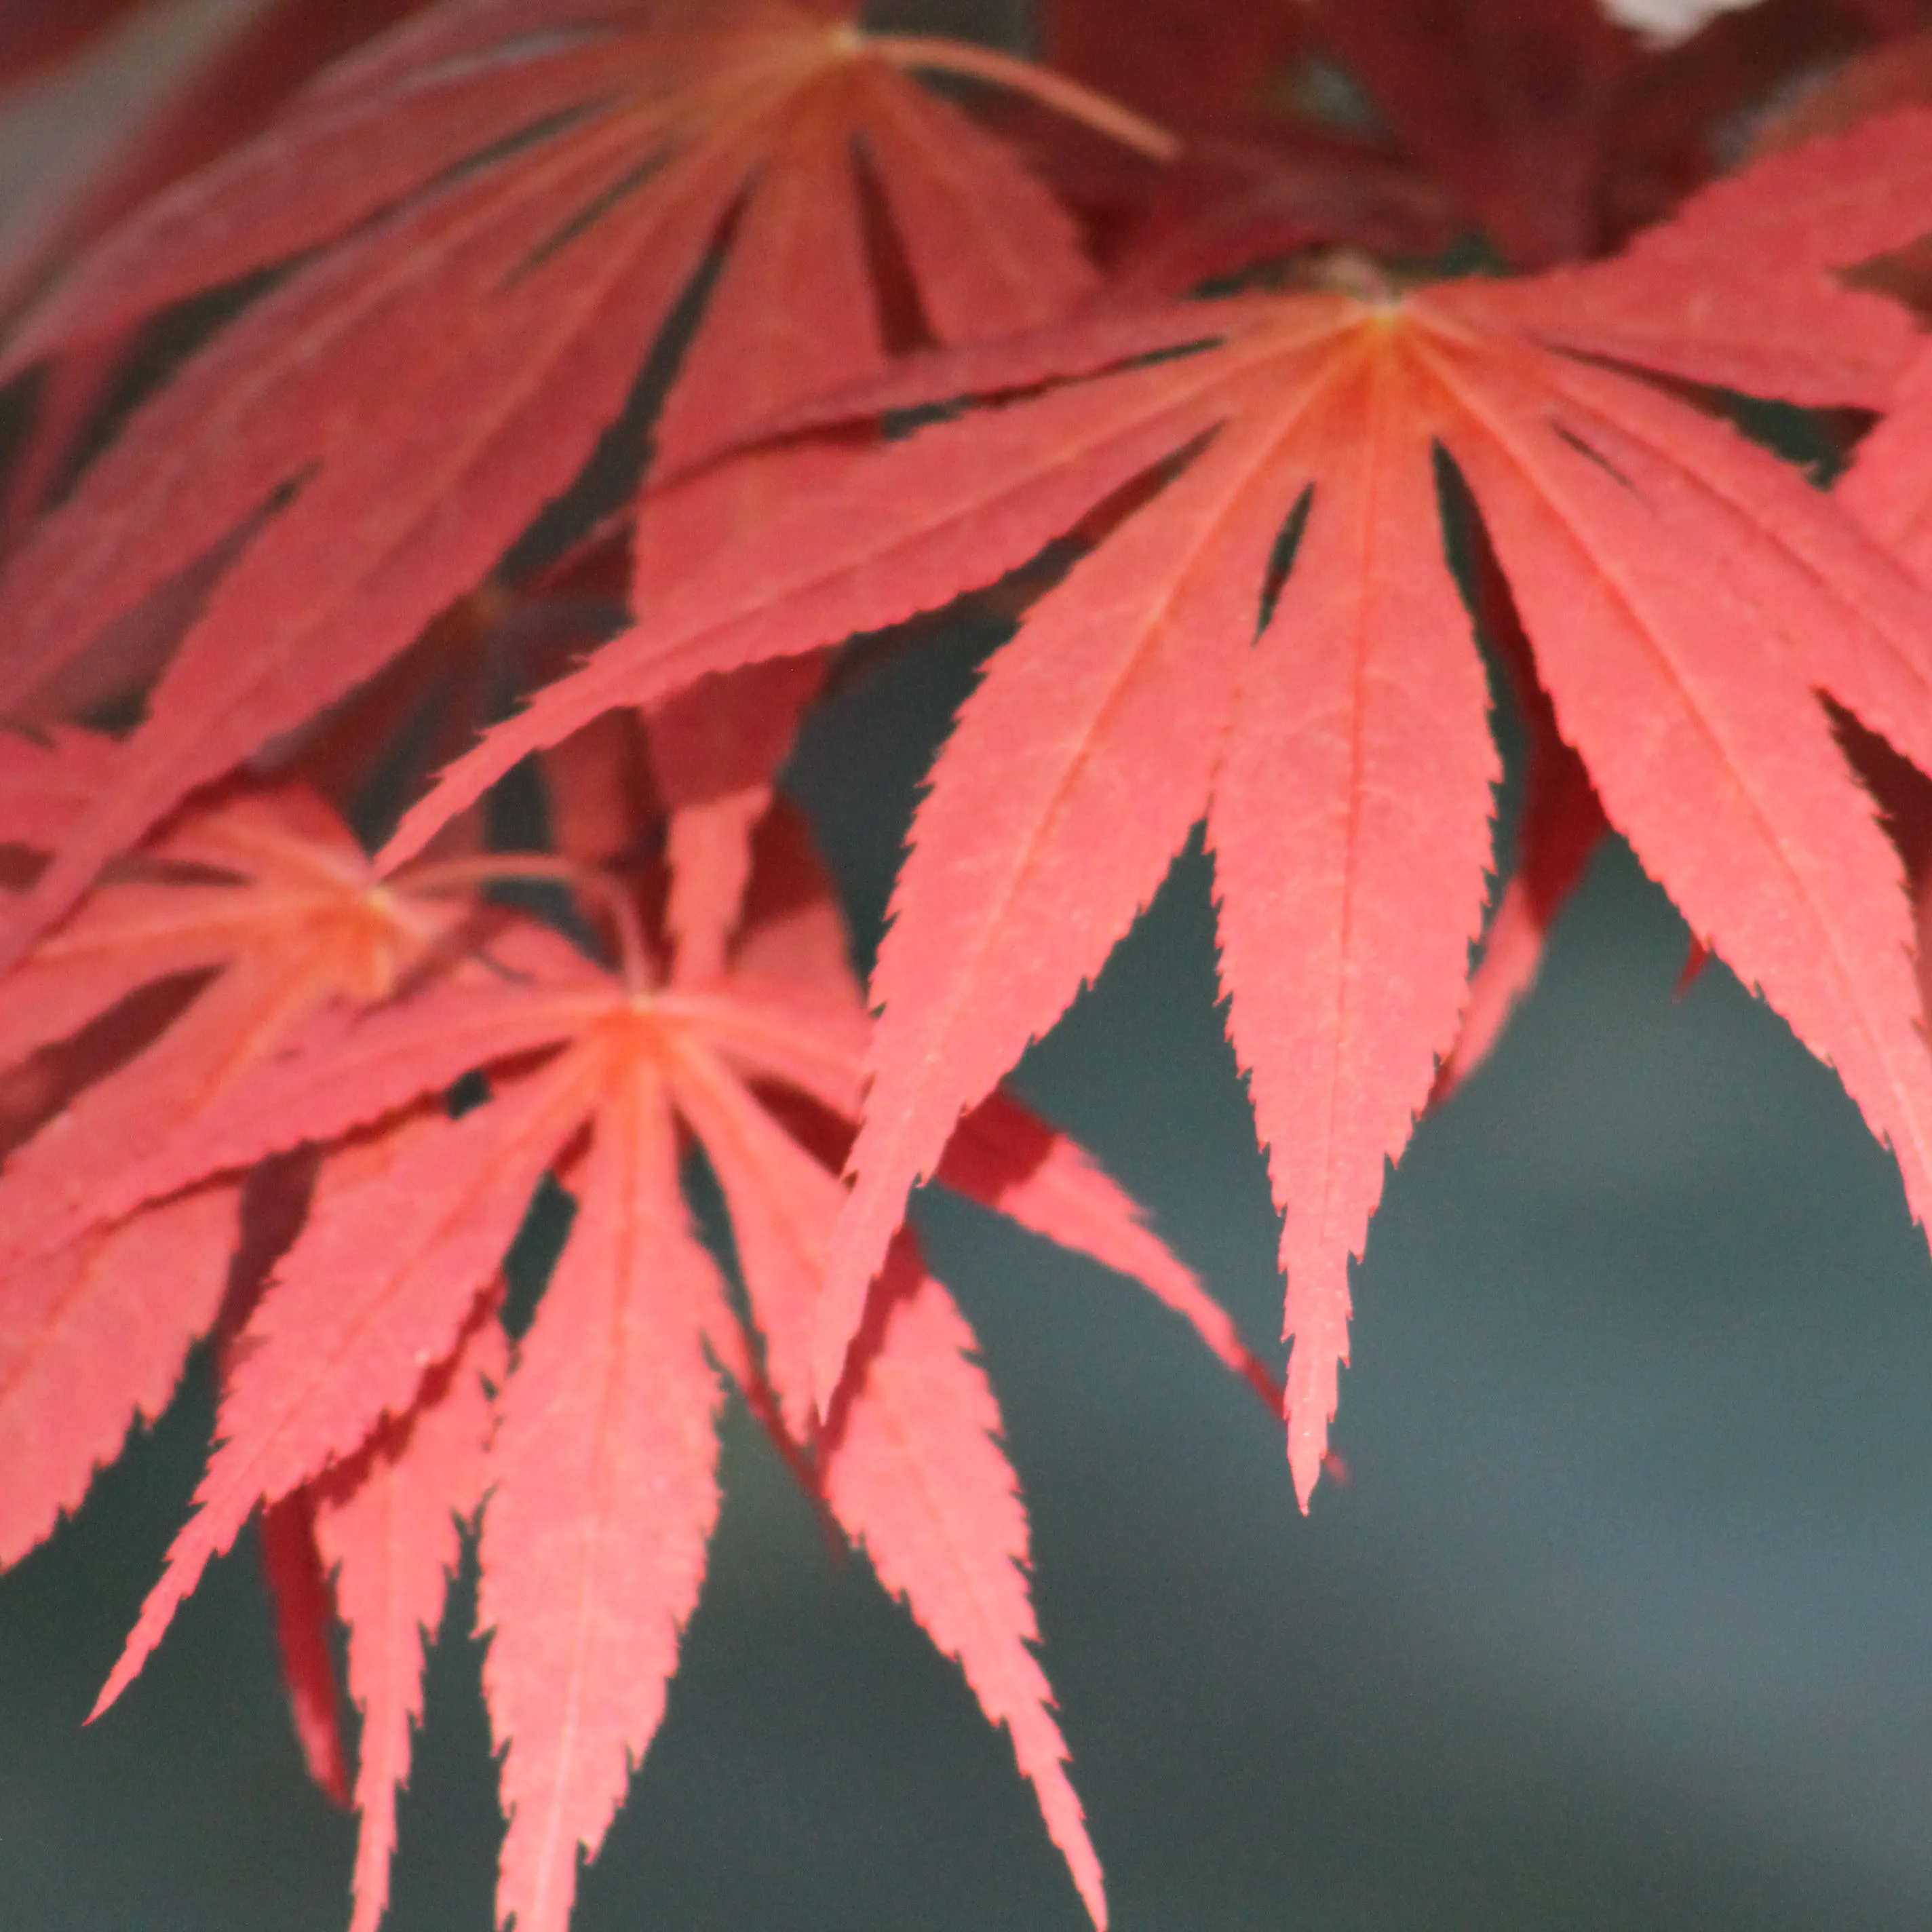
Gradually, the patina will appear on the shaft. The bark of the pines will crack, the bark of the Japanese maples will begin to turn grey. Traces of human intervention will disappear.
This stage of refining is certainly the most exciting, and this is the real work of bonsaika, which year after year, makes a remarkable bonsai emerge from the tree.
Thus, allow at least 15 years to obtain a bonsai deciduous tree from seed (Japanese stable, hornbeam, etc.). For conifers, such as pines, it takes even longer.
To go further, see our article: How long to make a bonsai?
Should you do bonsai seedlings?
For the hobbyist who starts out in bonsai, wanting to start only from seedlings is a mistake. For 10 years, he only did cultivation. Bonsaika's work isn't just about that. It's best to get a few bonsai shoes to learn the basics of maintenance and fitness techniques right away.
Rather, sowing should be seen as a side hustle or unpretentious fun. And you can't imagine how much you can learn from growing seedlings.
You probably tell yourself that you don't have time, that you're too old, that you'll never see the bonsai that will emerge from that little seed.
Let's turn it upside down. Wouldn't you appreciate it if an old gentleman, who sowed seeds 15 or 20 years ago, bequeathed some to you? What makes Japan superior to Europe is that they have bonsai trees that have been cultivated for decades. If you don't sow for yourself, do it for the next generations!